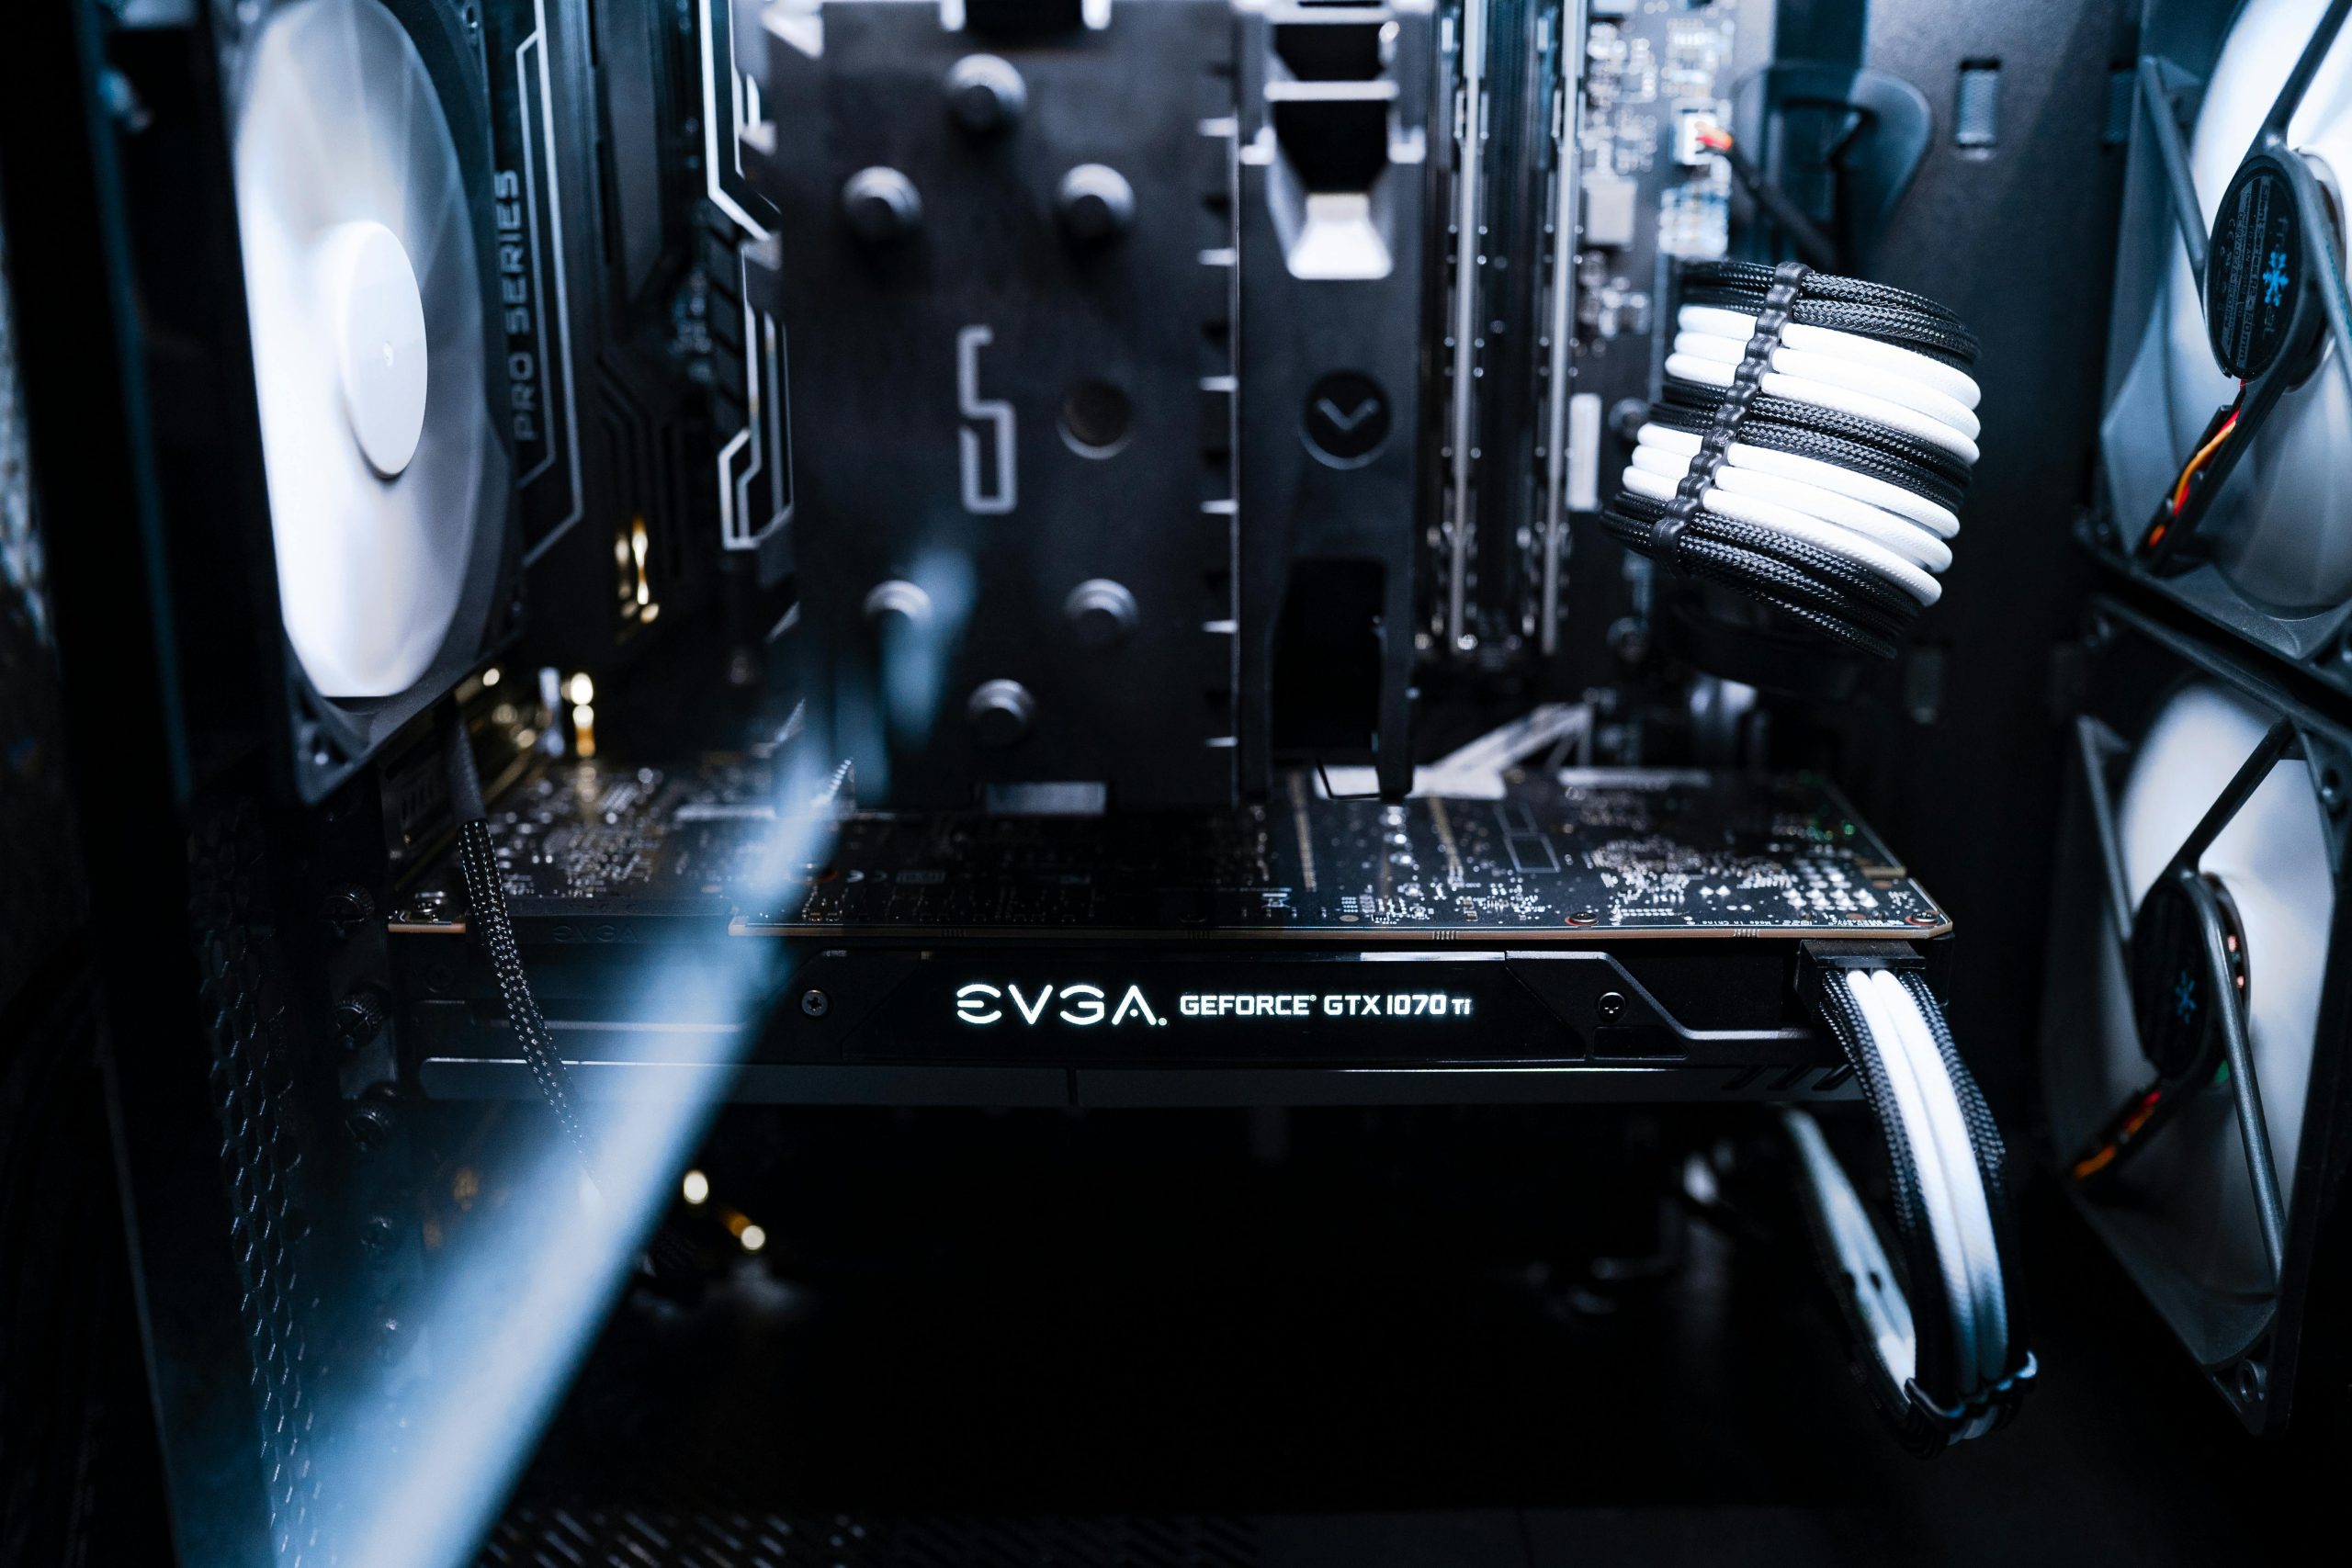
Troubleshooting a PC That Won’t Boot: Understanding the Significance of an Orange Motherboard Light
Encountering boot issues can be a frustrating experience for PC users, especially when an indicator like an orange LED light appears on your motherboard. Such signals can often point to underlying hardware problems that need to be addressed to restore your system’s functionality. In this article, we’ll explore what an orange motherboard light typically indicates and outline systematic steps you can take to troubleshoot and resolve the issue.
Understanding Motherboard Indicator Lights
Motherboards often feature built-in diagnostic LEDs or status indicators designed to assist users and technicians in identifying hardware issues quickly. The color and behavior of these lights can vary across motherboard manufacturers, but an orange or amber light generally suggests a problem related to:
- Memory (RAM) modules
- Power delivery or supply issues
- Motherboard faults
- CPU seating or health
It’s essential to consult your motherboard’s manual for precise interpretation of indicator signals.
Initial Troubleshooting Steps
-
Power Cycle and Basic Checks
Begin by completely powering down your PC and disconnecting it from the power source. Wait for a few minutes before reconnecting and attempting to boot again. This simple step can sometimes clear residual issues. -
Inspect Hardware Connections
Ensure all cables are securely connected. Double-check the seating of RAM modules, graphics cards, and other expansion cards. Even minor misalignments can prevent booting. -
Reseating RAM Modules
Since you’ve already cleaned and reseated your RAM, consider testing each module individually. Remove all RAM modules and then insert one module at a time into the recommended slot, attempting to boot after each installation. This process helps identify faulty or incompatible modules. -
Test with Known-Good Hardware
If available, test your RAM in another compatible system or replace the current RAM with a known working module to rule out memory issues. Similarly, check your power supply and other critical components.
Advanced Troubleshooting Strategies
-
Reset BIOS/UEFI Settings
A corrupted BIOS or incorrect settings can prevent successful booting. Clear the CMOS by removing the motherboard’s battery temporarily or using the clear CMOS jumper, then reassemble and attempt to boot. -
Check for Physical Damage or Shorts
Inspect the motherboard for visible signs of damage, burn marks, or corrosion. Ensure there are no loose screws or metal objects causing shorts. -
Update or Reinstall BIOS Firmware
If you can boot into a recovery mode or use a minimal configuration, updating or
Share this content:

