Troubleshooting a Dell Latitude E6540 Battery and Charging Port Access: A Step-by-Step Guide
Dealing with hardware issues on laptops can be challenging, especially when certain components are difficult to access or visibly damaged. In this article, we will discuss common problems related to the Dell Latitude E6540, specifically focusing on battery and charging port access, and provide guidance to help you navigate potential repairs.
Understanding the Dell Latitude E6540 Battery and Charging Port
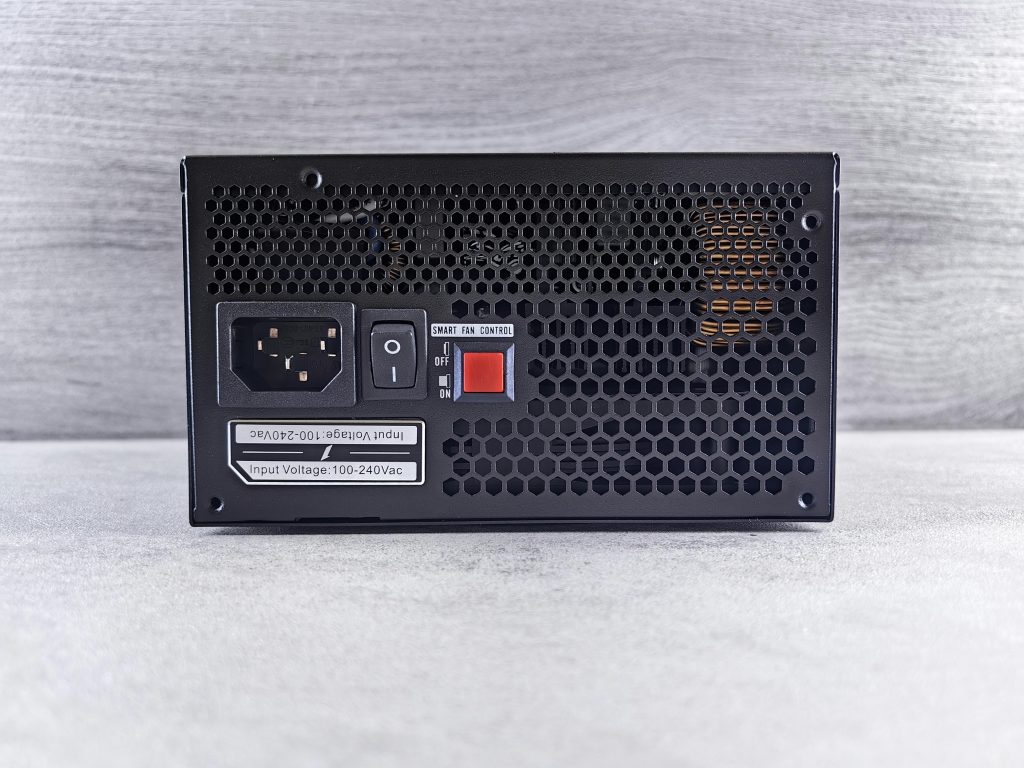
The Dell Latitude E6540 is a business-class laptop known for its durability and performance. When the device fails to power on or the battery refuses to hold a charge, it often points to underlying hardware issues. A key step in troubleshooting involves inspecting the battery and charging port, which are typically housed within the device’s chassis.
The component you’re referring to is generally known as the battery connector port or battery slot, which may be integrated into the motherboard or connected via a connector. The metal piece wrapped in plastic that you’ve described might be part of the port or an anchoring bracket.
Common Challenges and How to Address Them
- Visual Damage and Bent Components:
If you’ve observed that the battery or its port is bent or damaged, it could be preventing proper contact or power flow. Carefully examining these parts can help determine whether repair or replacement is necessary.
- Accessing Internal Components:
Accessing internal components like the battery or charging port often requires removing the bottom cover of the laptop. Usually, this involves unscrewing multiple screws and gently prying open the casing.
- Removing the Battery and Related Components:
Before proceeding, ensure the device is powered off and disconnected from any power source.
-
Removing the Battery:
- Locate the battery release latches.
- Slide or unlock the latches, then carefully lift the battery out of its compartment.
-
Accessing the Charging Port:
- This may require removing additional screws securing the port or shield.
- Carefully disconnect any connected cables or connectors.
-
Dealing with Small Metal or Plastic Parts:
The metal piece wrapped in plastic may be a connector shield, a mounting bracket, or part of the port assembly. Be cautious when removing it; using appropriate tools like plastic prying tools and precision screwdrivers helps prevent further damage.
- Handling Damaged Components:
Since you’ve noted the port appears “beaten up,”
Share this content: