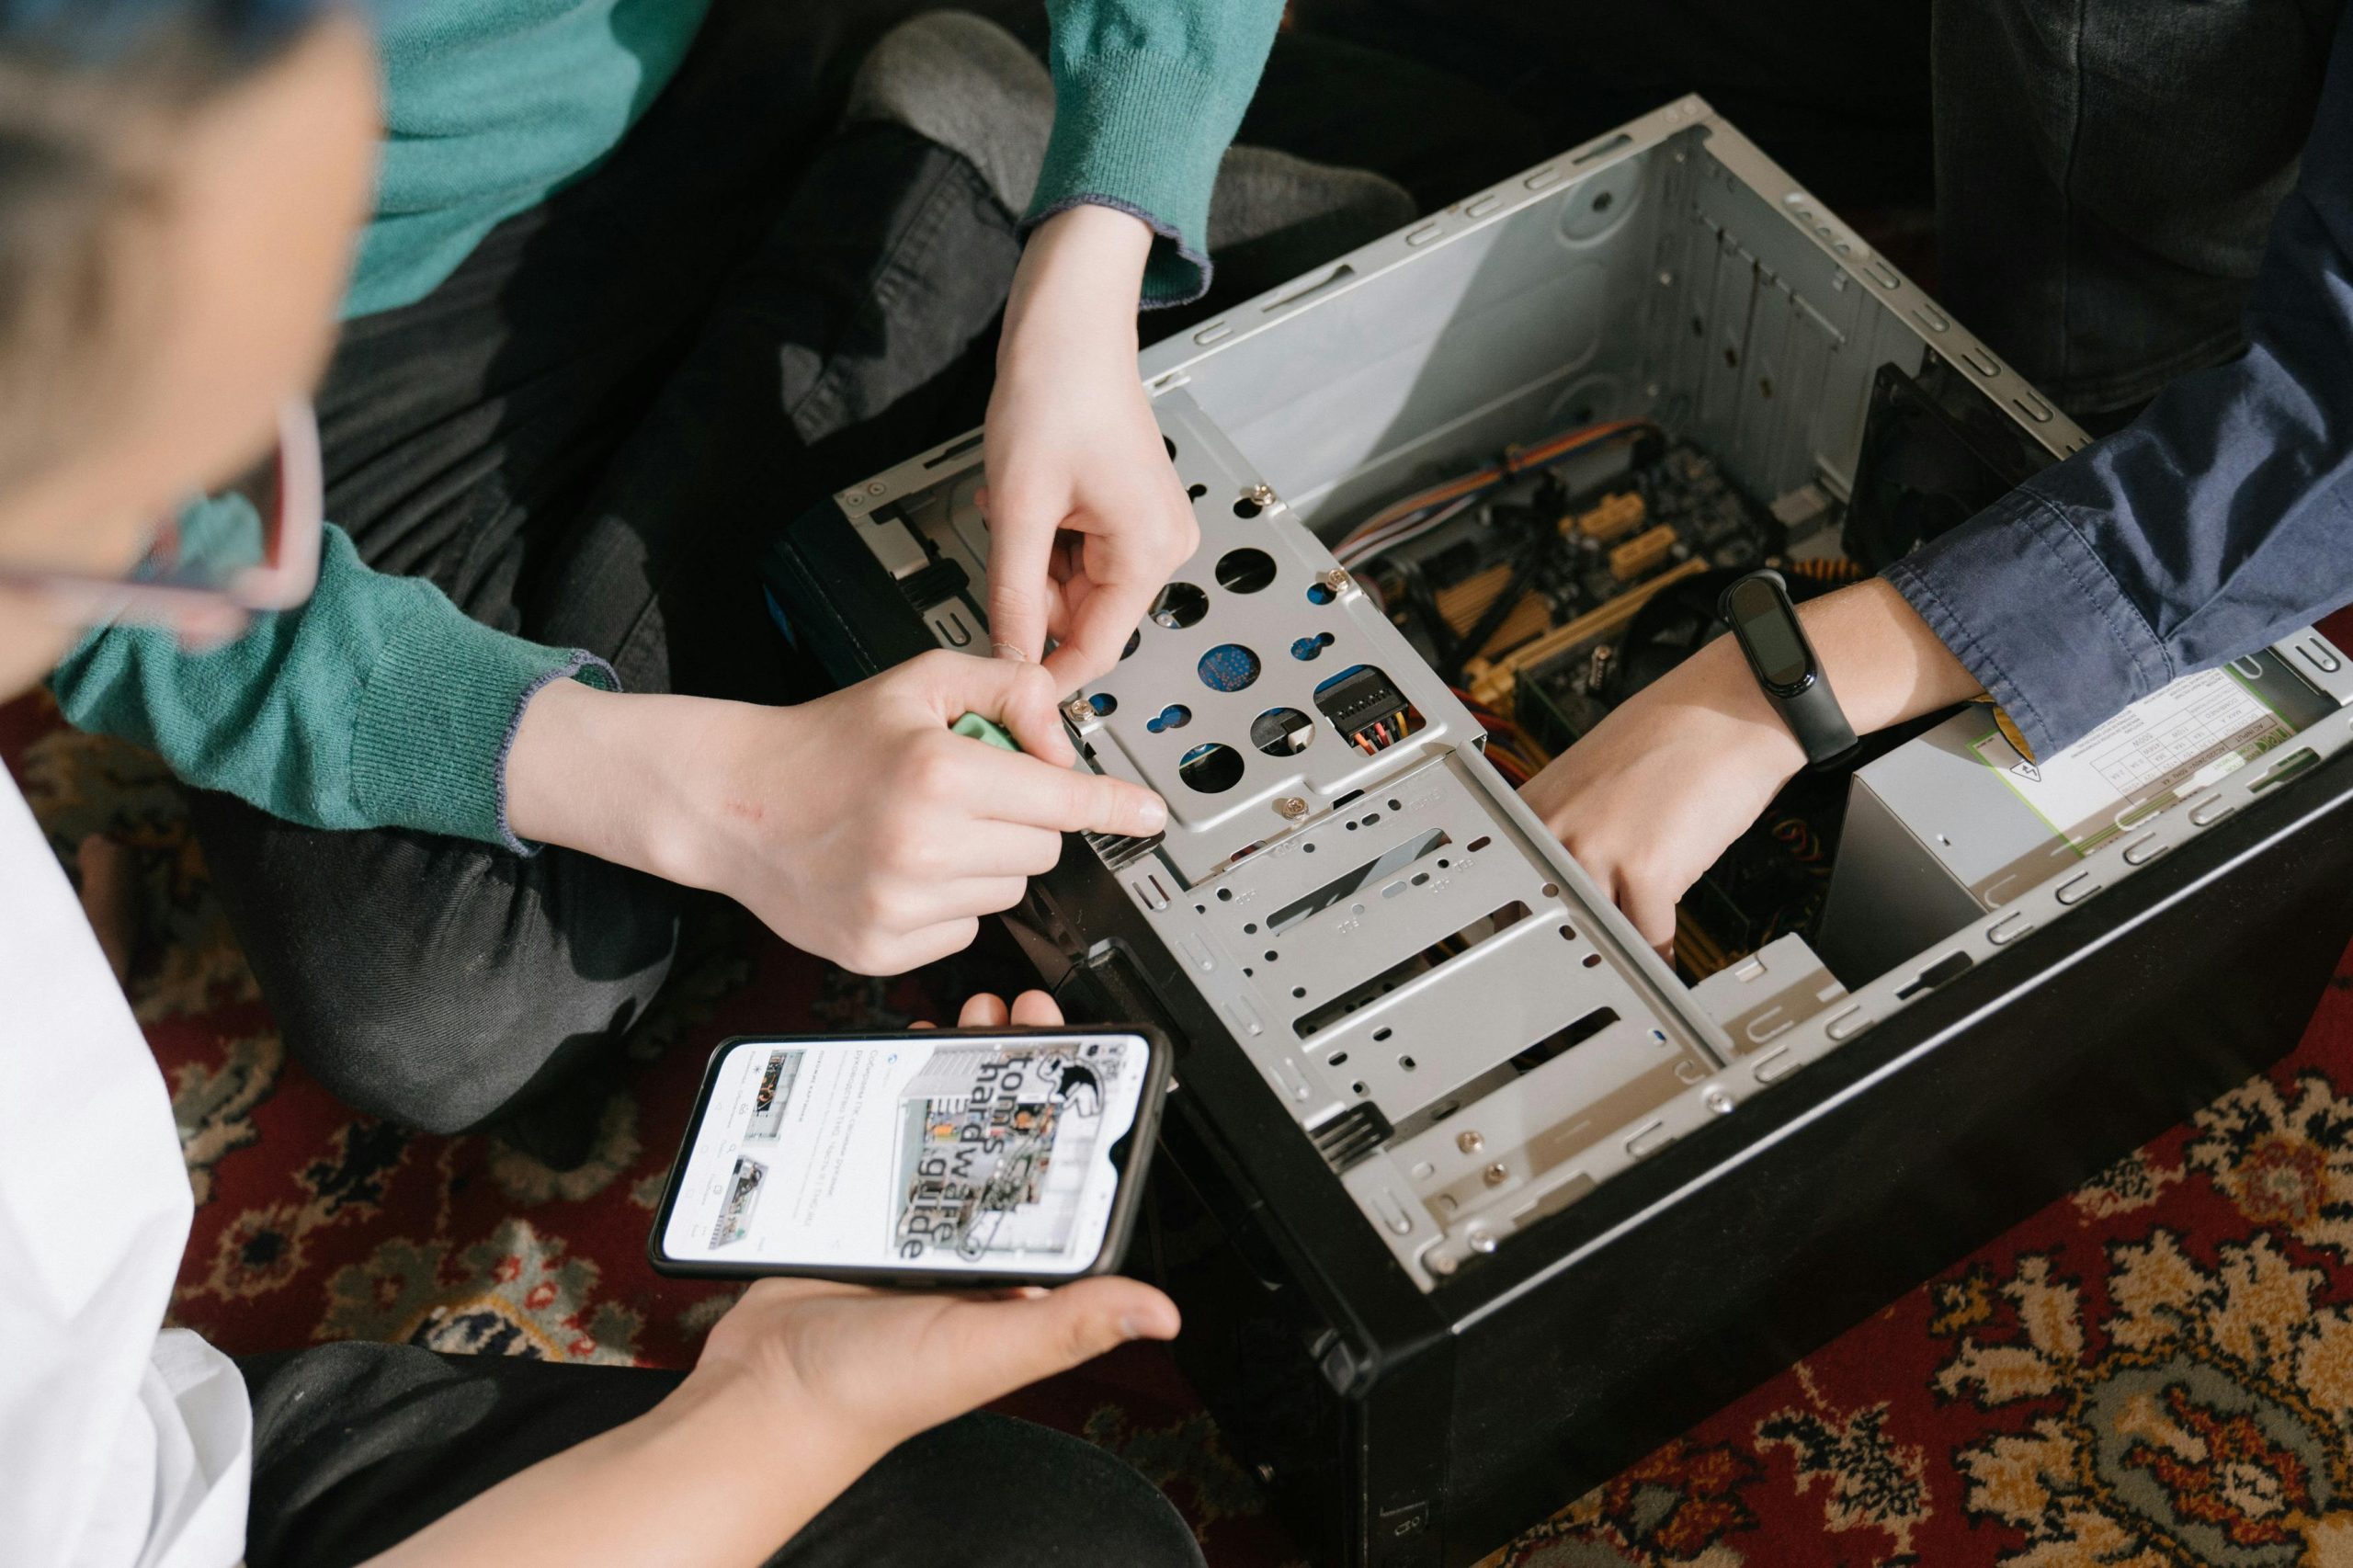
Upgrading Your PC: Replacing Motherboard, CPU, RAM, and Installing New SSDs – Best Practices and Tips
Embarking on a major PC upgrade can be both exciting and daunting. Recently, I ordered a new Intel Core i5-14600KF processor, along with a GIGABYTE Z790 AORUS Elite AX motherboard, complemented by additional SSDs and RAM modules. This upgrade aims to address significant CPU bottlenecks that have hampered performance for years.
If you’re considering a similar upgrade, you might wonder: should I completely reinstall Windows and start fresh as if setting up a new system, or is there a more straightforward method to retain my existing data and settings?
Understanding the Scope of Hardware Changes
Replacing multiple core components such as the motherboard, CPU, and RAM essentially constitutes a substantial hardware overhaul. This process often involves:
- Installing new motherboard, CPU, and RAM modules
- Adding or replacing storage devices
- Potentially updating or reinstalling the operating system
Given these factors, it’s generally recommended to approach this upgrade as a fresh start for optimal stability and performance.
Should You Reinstall Your Operating System?
In most cases, a clean installation of Windows provides the best results following significant hardware changes. This ensures:
- Compatibility with new hardware drivers
- Elimination of residual system files that may cause conflicts
- Improved system stability and performance
However, there are scenarios where a more seamless transition can be achieved without a full reinstall, especially if you prefer to retain your existing setup.
Best Practices for Upgrading Without Losing Data
-
Backup Essential Data: Before starting, create comprehensive backups of your personal files, documents, and important data.
-
Gather Necessary Drivers: Download the latest drivers for your new motherboard and components in advance.
-
Prepare Installation Media: Create a Windows installation USB or disc for clean installation or repair.
-
Perform a Clean Installation (Recommended):
- Disconnect all unnecessary peripherals.
- Replace the motherboard, CPU, and RAM.
- Use the Windows installation media to perform a fresh install.
- During the setup, delete existing partitions on your system drive.
-
Proceed with installation, then reinstall necessary drivers and software.
-
If You Prefer to Keep Your Existing Windows Installation:
- Boot into Safe Mode and uninstall previous motherboard drivers.
- Power down, replace hardware, then boot into Windows.
–
Share this content:


