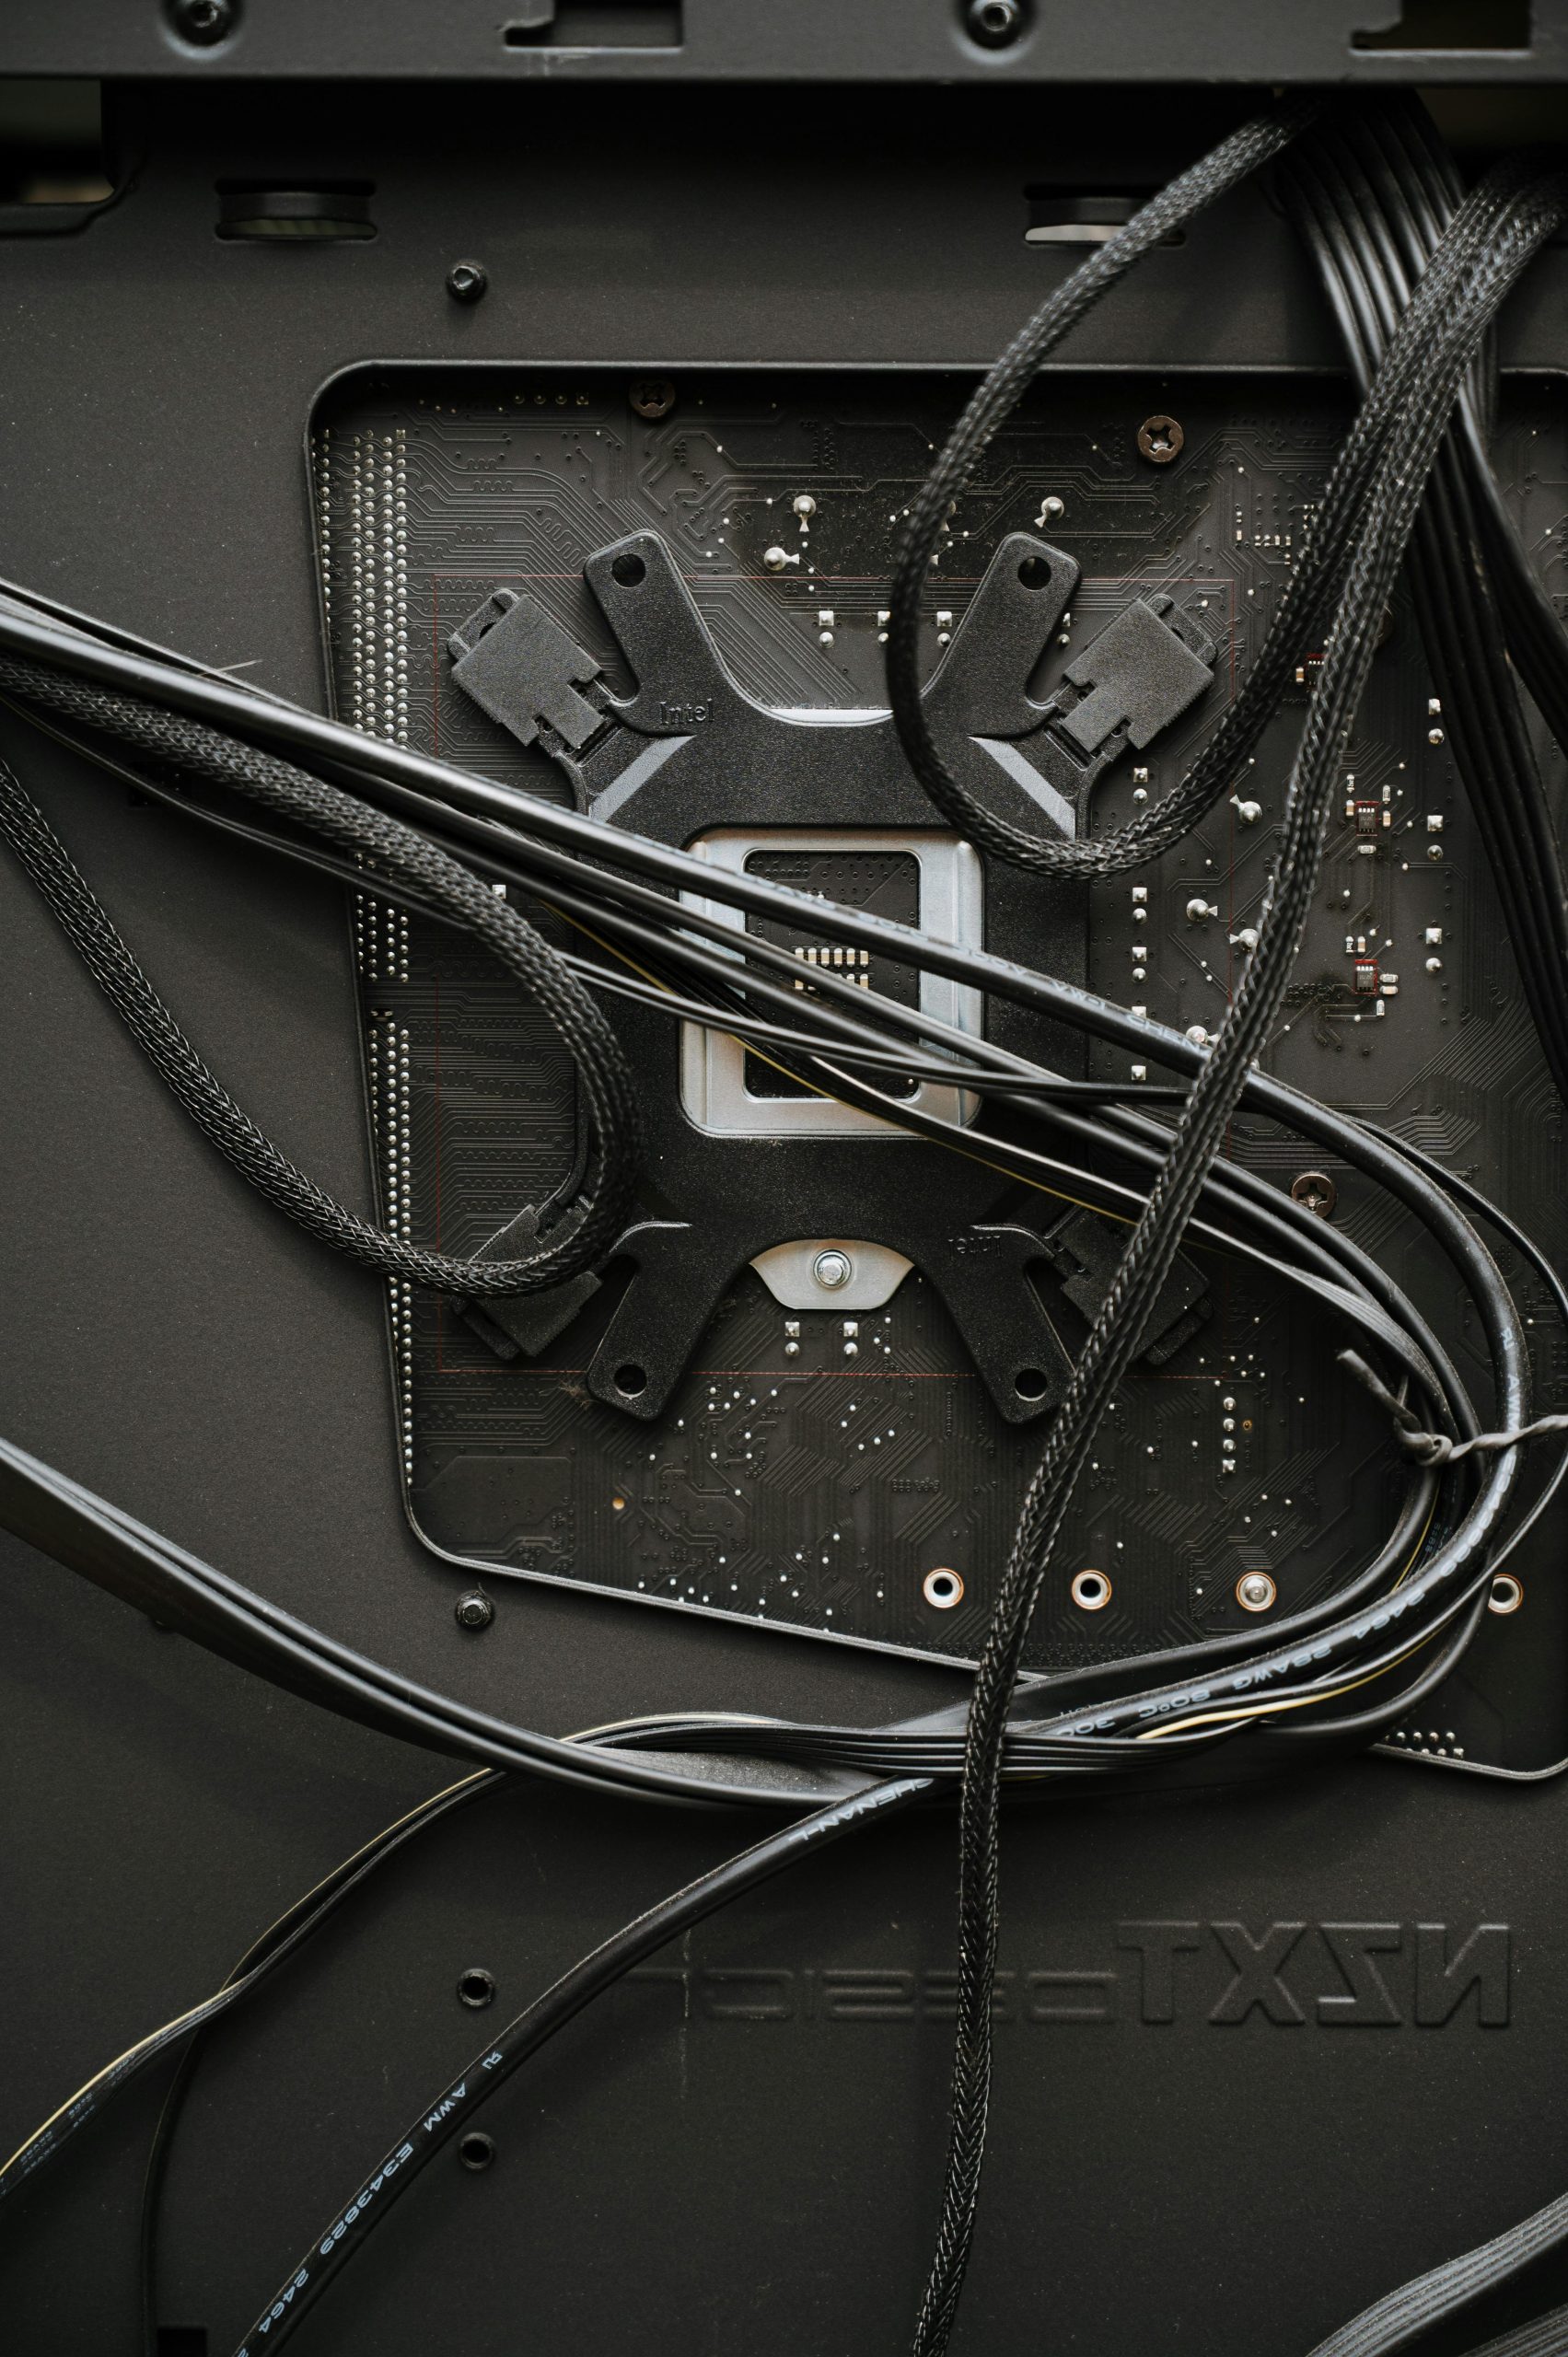
Title: A Step-by-Step Guide to Safely Removing Cables from Your Motherboard
Are you looking to disconnect cables from your motherboard but unsure about the best approach? Whether you’re upgrading components, cleaning your PC, or troubleshooting, knowing how to safely remove these cables is essential to avoid any potential damage. Here’s a comprehensive guide to help you navigate this process seamlessly.
Assess the Situation
Before diving in, take a moment to identify the cables you want to disconnect. This may include power cables, data cables, or other connection types. Understanding what each cable connects to will help prevent mistakes and ensure a smooth disconnection process.
Gather Your Tools
While most cable removals can be performed by hand, having a few basic tools on hand can make the process easier. Consider having the following items ready:
– A pair of tweezers (for those harder-to-reach areas)
– A small screwdriver (in case any screws are securing the cables)
– A flashlight (to improve visibility in dark spaces)
Power Down and Unplug
Safety is paramount. Start by shutting down your computer completely and unplugging it from the power source. This step will prevent any electrical issues and protect both you and your components.
Document the Connections
If you’re concerned about reconnecting the cables later, take photos or make notes of where each cable is attached. This will provide a helpful reference when you’re ready to put everything back together.
Carefully Disconnect the Cables
-
Power Cables: Typically, these are connected to the motherboard with a secure clip. Gently squeeze or push the clip while pulling away from the motherboard, ensuring you apply even pressure to avoid damaging the connectors.
-
Data Cables: For SATA or other data transfer cables, gently wiggle the connector back and forth while pulling it away. Make sure you don’t use excessive force, as this can cause permanent damage to both the cable and the port.
-
Front Panel Connectors: These are usually small, delicate cables that can be tricky. Ensure you familiarize yourself with their orientation before removing them. Gently pull on the connector rather than the wire itself to prevent any fraying.
Final Steps
Once all the cables are removed, take a moment to inspect both the cables and motherboard for any signs of wear or damage. This is a great opportunity to clean the connectors if necessary before you proceed with any upgrades or maintenance.
Conclusion
With these steps
Share this content:


Removing cables from your motherboard can be straightforward if you follow some essential safety steps. First, ensure your PC is completely powered off and unplugged to prevent electrical hazards. Before disconnecting, it’s helpful to take photos or notes of each connection to avoid confusion during reassembly. When removing power and data cables, gently squeeze or wiggle the connectors—avoid pulling on the wires directly to prevent damage. For smaller or delicate front panel connectors, carefully pull on the connector itself while keeping the wires steady. Once everything is disconnected, inspect the cables and motherboard for any signs of wear and use this opportunity to clean the connectors if needed. If you’re unsure about specific cables or connections, consulting your motherboard’s manual can provide detailed identification and instructions. If you need further assistance with your motherboard disassembly or cable management, feel free to ask!