Successfully Repairing a Chromebook Hinge: A Step-by-Step Guide
If you own a Chromebook, you may have experienced issues with the hinge over time. Whether due to wear and tear or accidental damage, a malfunctioning hinge can be a significant inconvenience. Fortunately, repairing a Chromebook hinge is a manageable task if approached correctly. In this post, we will walk you through the necessary steps to restore your device effectively.
Understanding the Issue
Before delving into the repair process, it’s essential to identify the problem with the hinge. Common signs of hinge failure include a creaking sound when opening or closing the lid, difficulty in adjusting the angle of the screen, or visible damage to the hinge itself. Assessing the severity will help determine if a simple fix is possible or if more extensive repairs are needed.
Tools and Materials Needed
To successfully repair your Chromebook hinge, gather the following tools:
- A small Phillips screwdriver
- A plastic spudger or wedge tool
- Super glue or a strong adhesive (if necessary)
- Replacement hinge (if applicable)
- A microfiber cloth for cleaning
Step-by-Step Repair Process
1. Prepare Your Work Area
Begin by clearing a clean, well-lit workspace. It’s advisable to lay down a soft surface to prevent scratching your Chromebook.
2. Power Down and Disconnect
Ensure that your Chromebook is powered off and unplugged. Remove any accessories, such as USB drives or external batteries, to avoid any accidental damage.
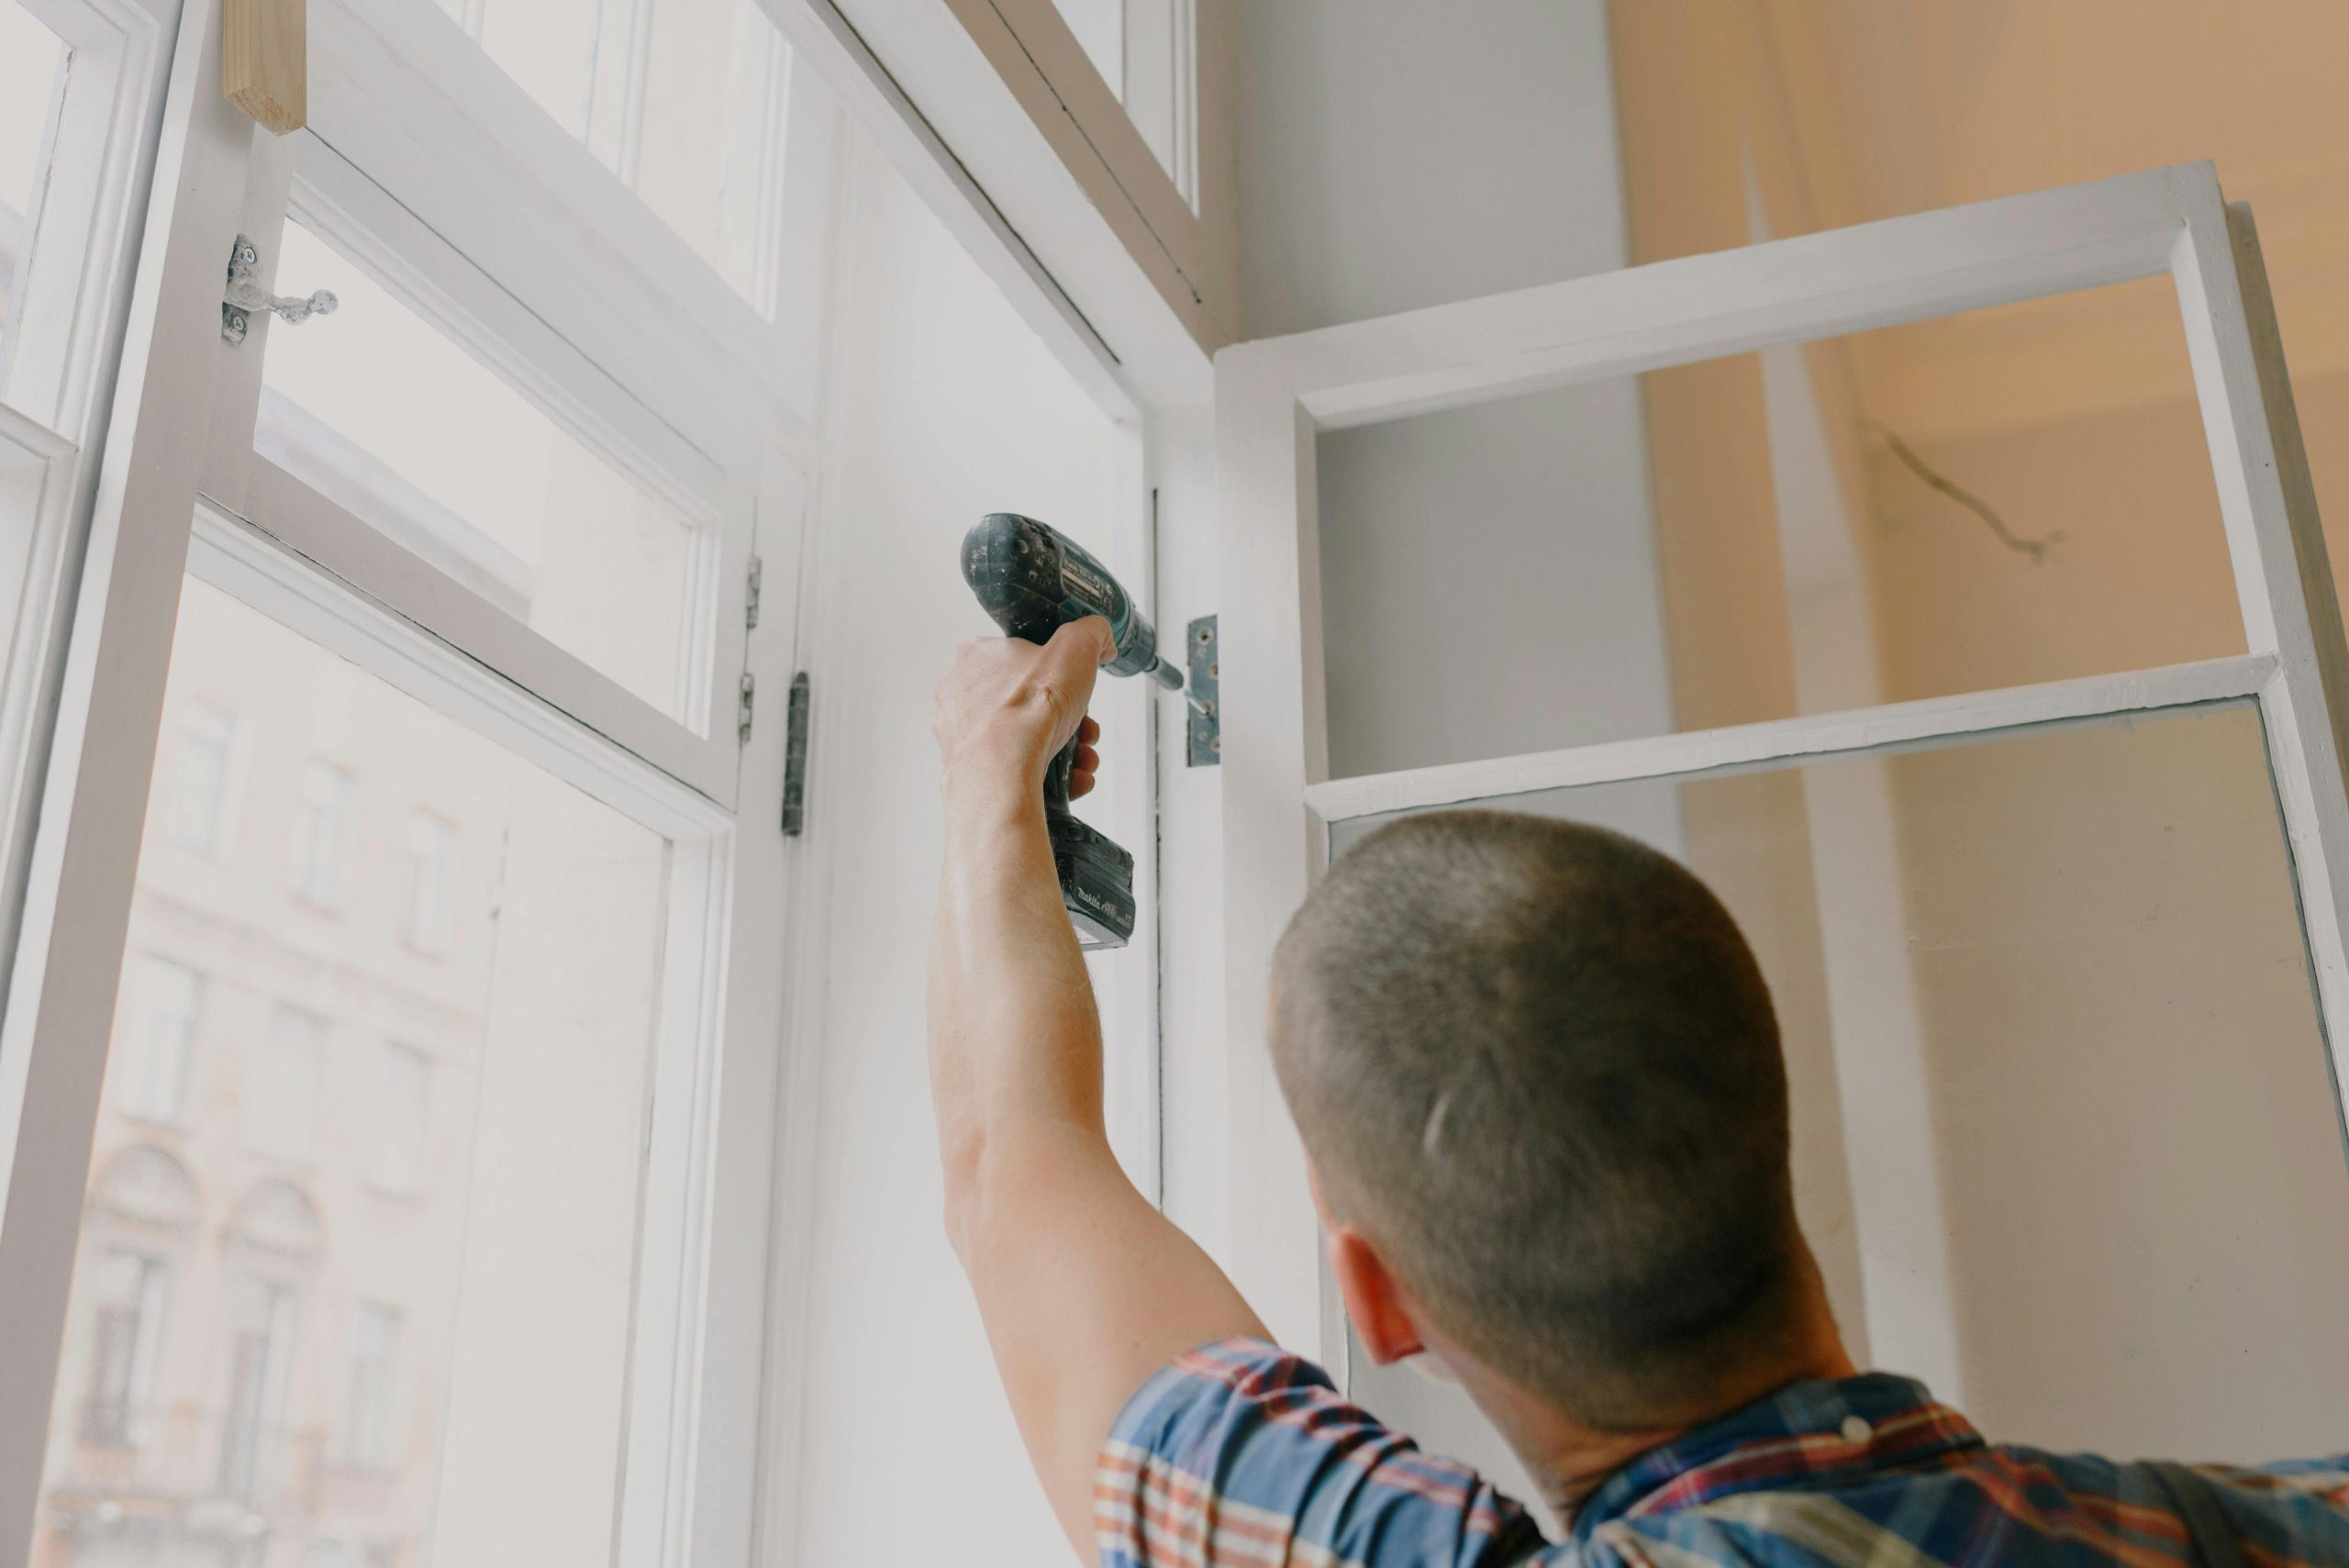
3. Open the Chromebook
Gently open the Chromebook screen to expose the hinge area. Depending on the model, you may need to remove screws that secure the front bezel or the main body of the device.
4. Inspect the Hinge
Carefully examine the hinge for any breaks or loose connections. If it appears that the hinge has come loose, you may be able to reattach it by tightening screws. If there is visible damage, consider replacing the hinge altogether.
5. Reattach or Replace the Hinge
If the hinge is intact, apply a small amount of super glue to the affected area and hold it in place for a few minutes. For a replacement hinge, align it with the mounting holes, ensure it seats properly, and secure it with screws.
6. Reassemble Your Chromebook
Once the hinge is secured, carefully reassemble your Chromebook. Replace any screws, reattach the bezel, and ensure everything is back in its original
Share this content:


Thank you for sharing this detailed guide on repairing a Chromebook hinge. If you’re currently experiencing issues with your device’s hinge, it’s crucial to follow these steps carefully to avoid further damage. Here are a few additional tips that might help:
Having the right tools and patience is key to successfully restoring your Chromebook’s hinge functionality. If you encounter any difficulties or notice persistent issues after repair, don’t hesitate to seek professional assistance to ensure your device remains reliable and safe to use.