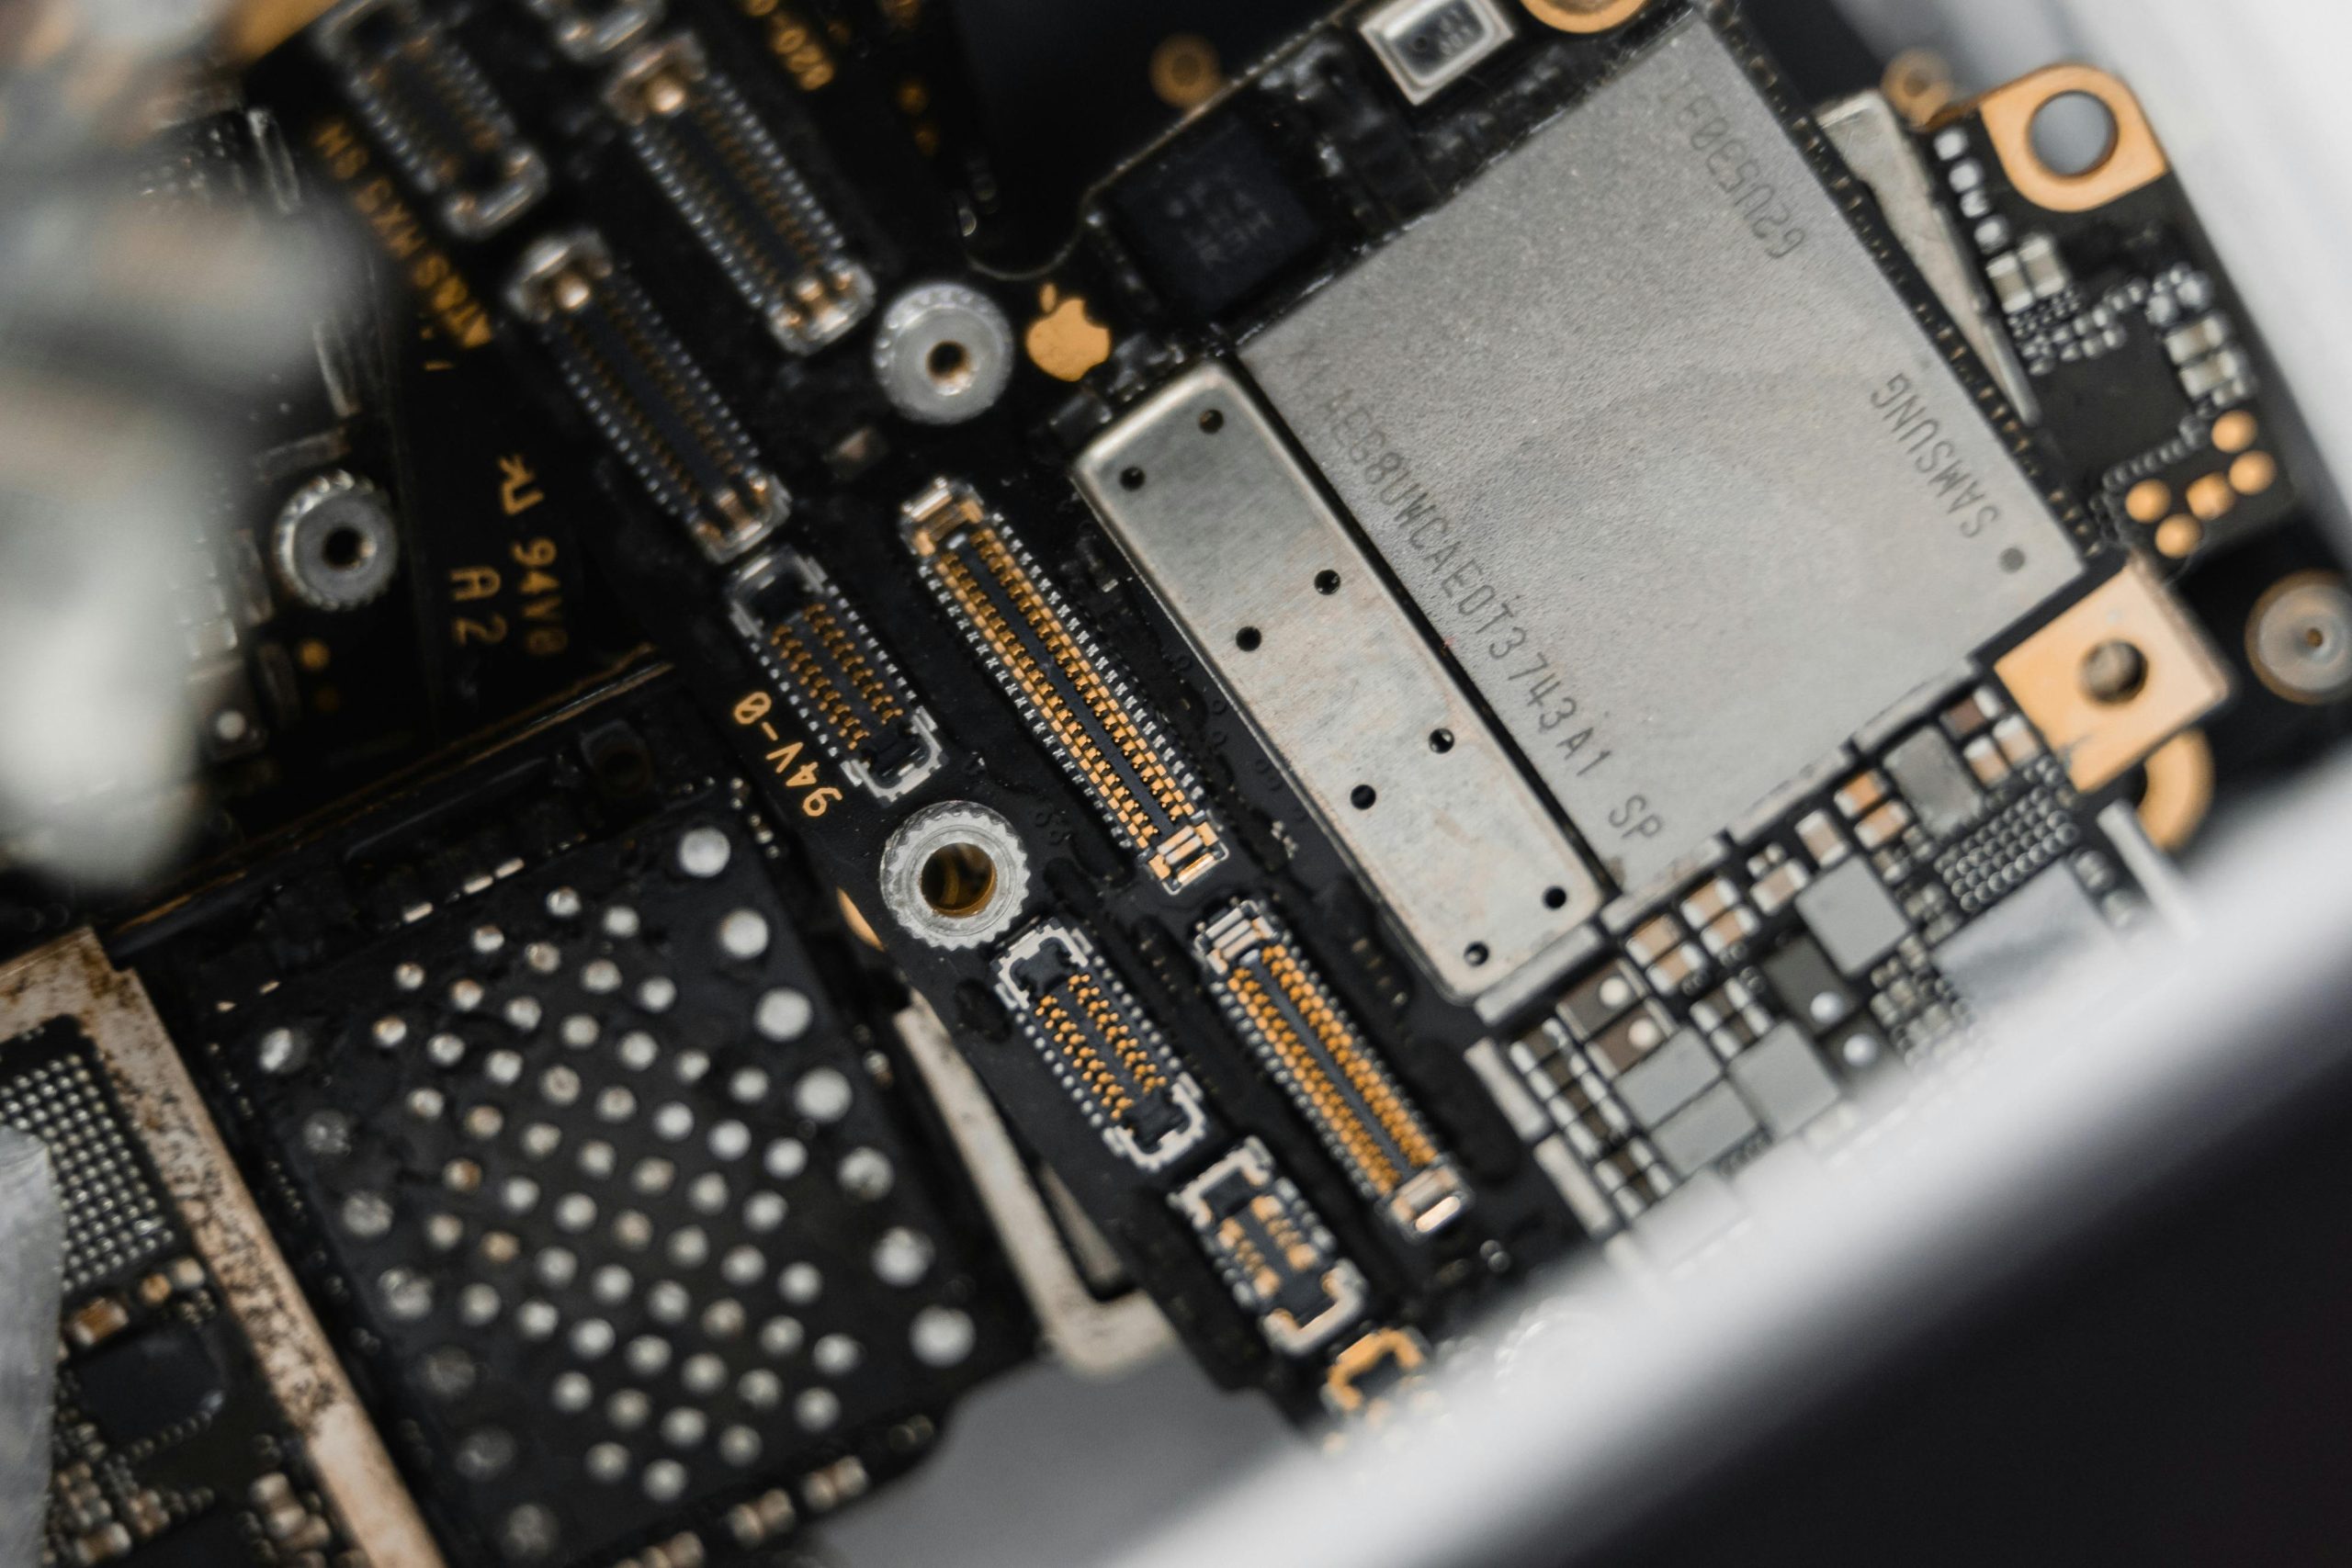
How to Address Damaged U.FL Connectors: A Guide
If you’ve ever worked with U.FL connectors as part of a Wi-Fi card setup, you might have encountered a frustrating situation: the careful removal of a connector can sometimes lead to unforeseen damage. This can be particularly challenging when the connector pries off along with the PCB on the Wi-Fi card itself.
In my case, I was planning on upgrading my Wi-Fi card anyway, so the old one wasn’t a concern; however, I quickly found out that removing the remnants of the broken connector from the U.FL socket is not as straightforward as I had anticipated.
If you’re in a similar predicament and are unsure how to proceed, I’ve gathered some advice based on experience and community suggestions.
Tips for Safely Removing a Broken U.FL Connector
-
Assess the Damage: Before taking any action, closely examine the U.FL socket to understand the extent of the damage. Identify any broken pieces lodged within.
-
Use Appropriate Tools: A pair of precision tweezers and a magnifying glass can be incredibly helpful. If the broken pieces are particularly stubborn, consider using a soldering iron to gently heat the area—just be cautious not to damage surrounding components.
-
Leverage Adhesives: For smaller pieces that are tightly wedged, applying a small amount of adhesive to a thin rod or pick can help you extract the fragments without causing additional damage.
-
Seek Professional Help: If you’re feeling overwhelmed or the remnants are refusing to budge, consider seeking assistance from a professional technician. They have the tools and expertise to safely remove the connector without damaging the board further.
-
Plan for the Upgrade: If you’re upgrading anyway, it might be worth considering a whole new setup rather than investing too much time on a card with a damaged connector.
Points to keep in mind: always handle components with care, and make sure to ground yourself to avoid static damage.
If anyone has additional tricks or experiences tackling similar situations, feel free to share in the comments below! Your insights could make this journey a lot smoother for someone else.
Share this content:


When dealing with damaged U.FL connectors on Wi-Fi cards, safety and precision are key. If you’re attempting to remove broken remnants yourself, consider the following tips:
Always handle components in an ESD-safe environment, and work patiently to prevent further damage. If you’re not confident in performing these steps, professional repair services are recommended to protect your device’s integrity.