Reviving a Broken Laptop: Can You Install Its SSD in a Desktop PC?
If you’re facing a situation where your laptop is no longer functional, it can be disheartening, especially when repair costs are prohibitive. However, if you’re interested in breathing new life into your stationary computer and have access to a broken laptop, the good news is that you may be able to extract its SSD (Solid State Drive) and install it in your desktop setup.
Understanding the Process
I recently encountered a similar scenario with my Matebook 13, which suffered a broken charging port. The cost to repair it was substantially high compared to the value it offered. Meanwhile, my desktop was running on an old HDD that was painfully slow, with boot times often taking 15 minutes or more due to constant high disk usage. This prompted me to consider transferring the SSD from my laptop to my desktop.
What You Need to Know
-
Compatibility: Before embarking on this DIY project, it’s crucial to ensure that the SSD from your laptop is compatible with your desktop computer. Most modern laptops use either SATA or NVMe SSDs, and you need to check if your desktop supports the same interface.
-
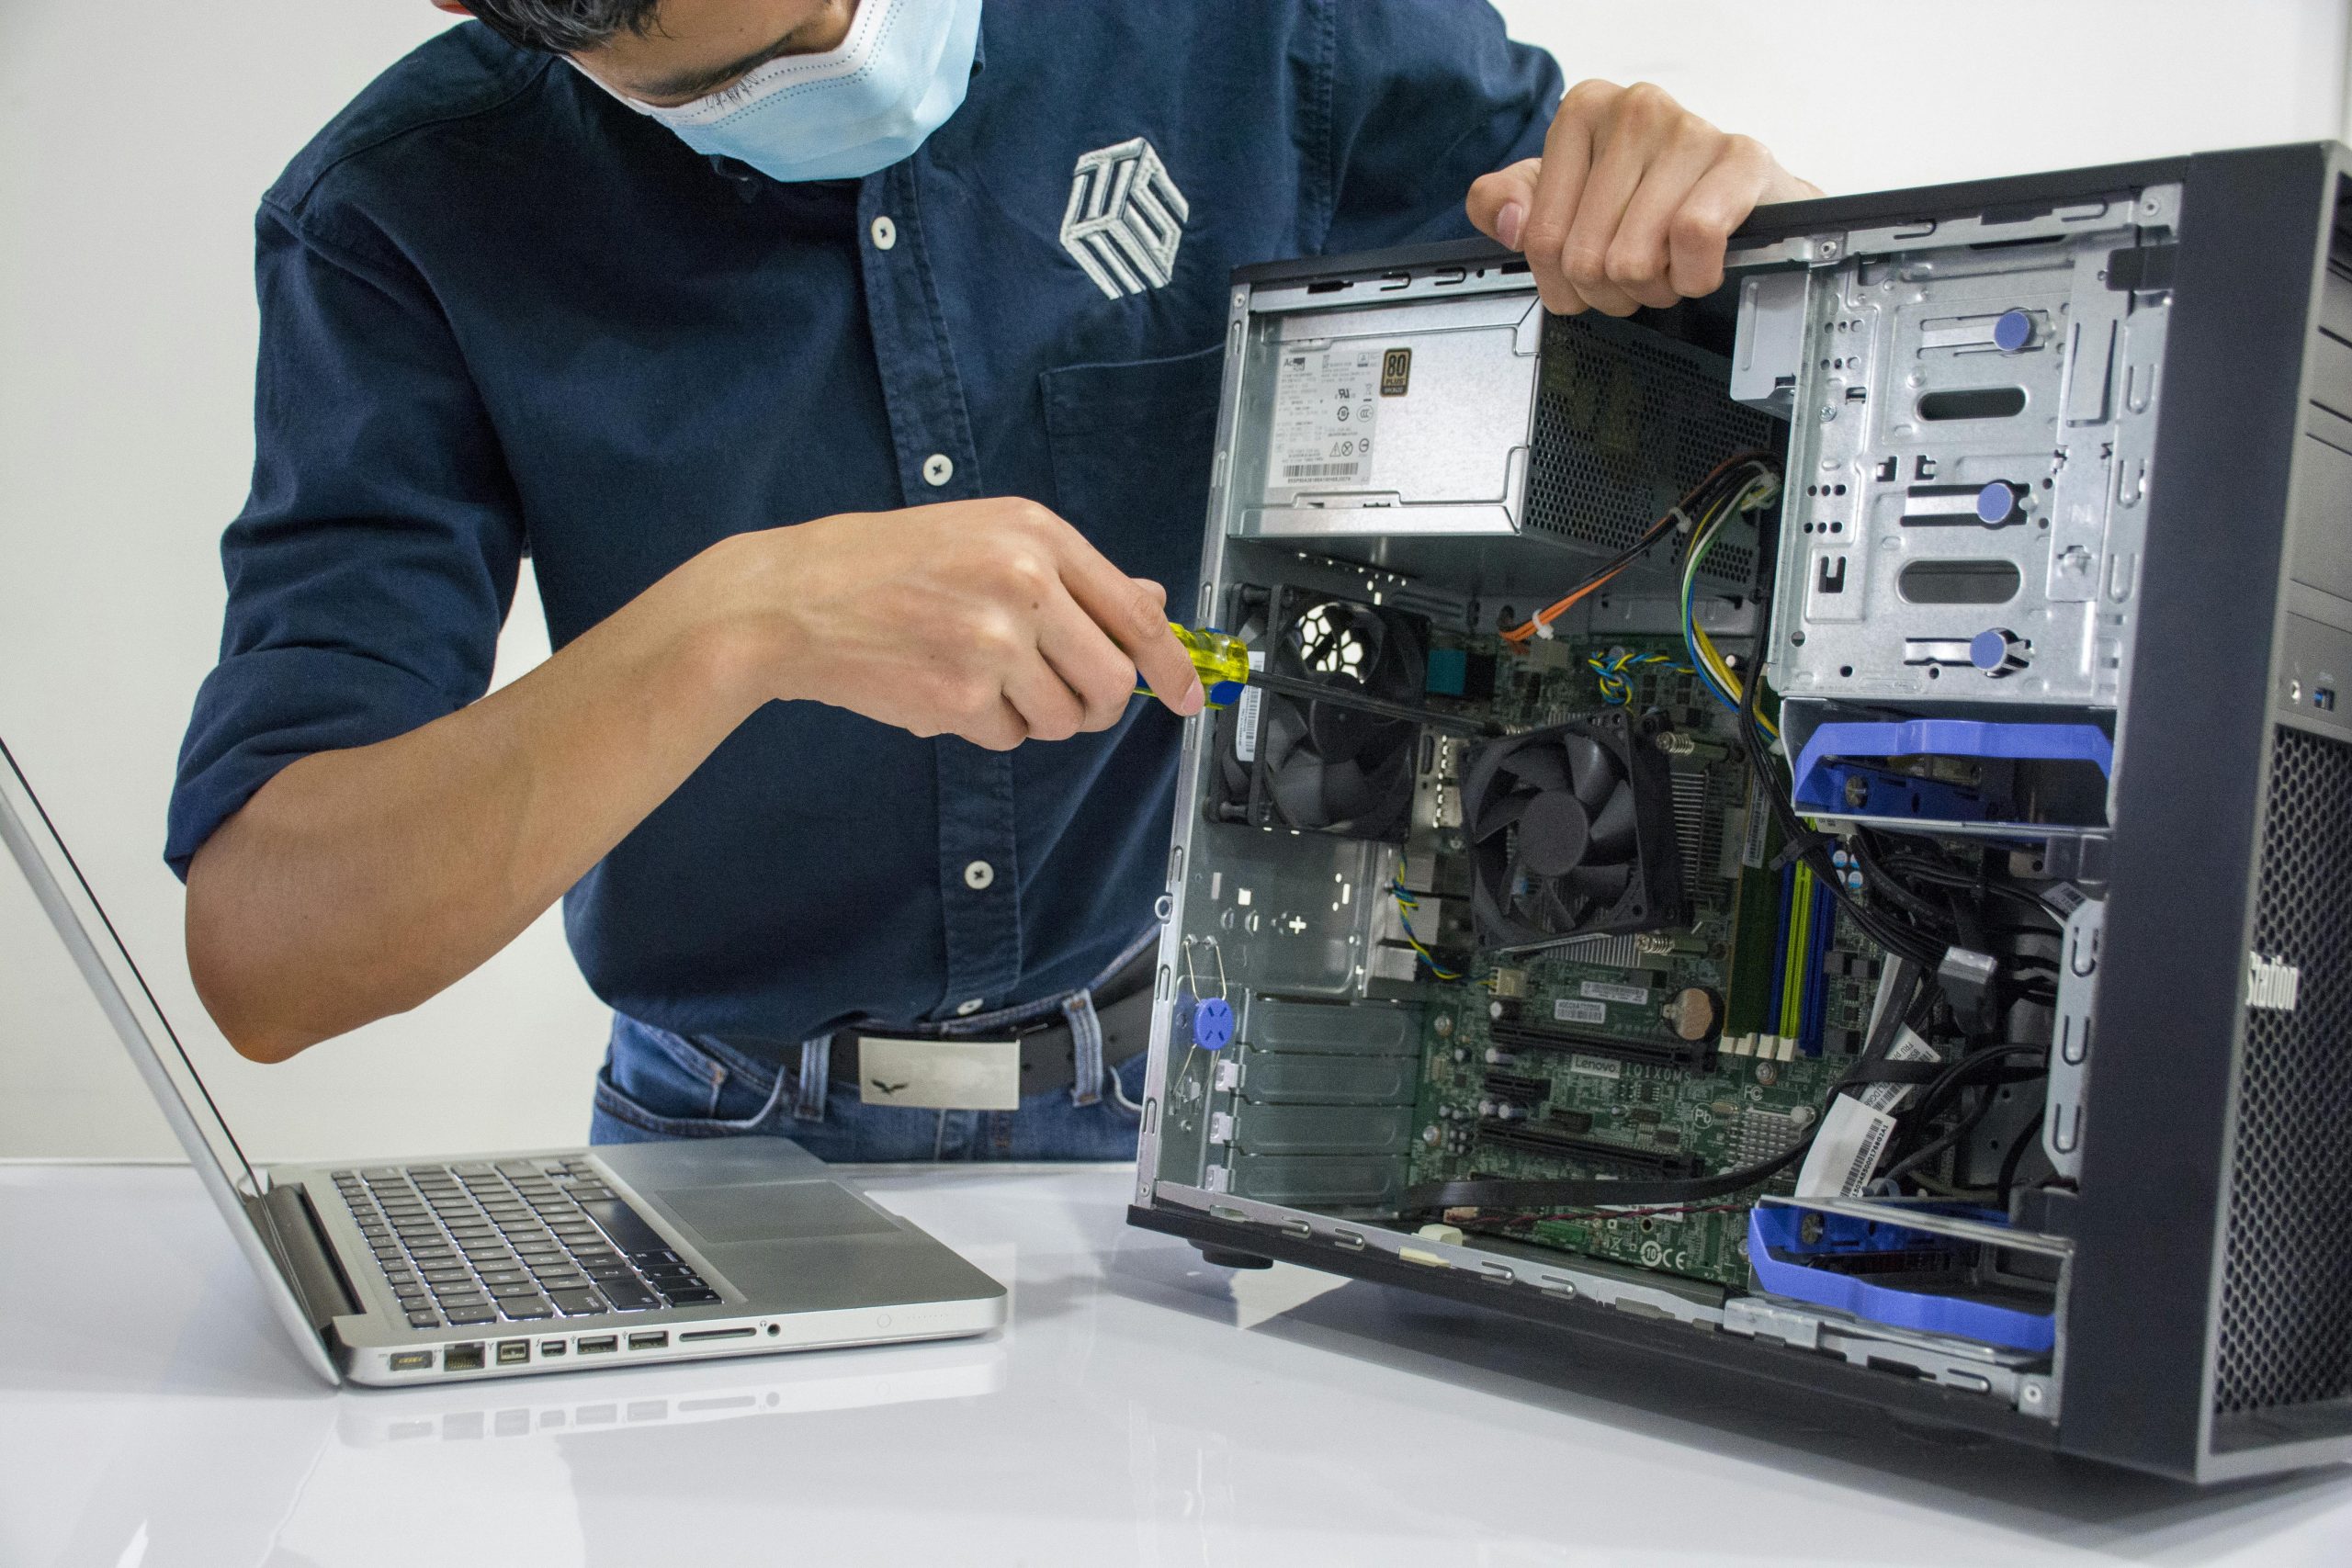
Tools Required: The primary tool you’ll need is an electronics screwdriver, which is generally sufficient for removing the SSD from your laptop. Depending on your laptop’s design, you might need additional tools for accessing the drive, such as a plastic spudger or tweezers.
-
Installation: Once you have safely extracted the SSD, installing it into your desktop is often a straightforward process. Open your desktop case, locate the drive bay appropriate for SSDs, and secure the SSD in place. Make the necessary connections to the motherboard and power supply.
-
Risk Factor: If you handle the components carefully, the risk of damaging your desktop is minimal. It’s important to ground yourself to prevent static electricity from damaging any internal parts. Follow an online guide or video tutorial specific to your desktop model for additional assurance.
Conclusion
Transferring an SSD from a broken laptop to a desktop computer can be a rewarding way to improve your system’s performance and make the most of your hardware. With a little patience and attention to detail, you can successfully boost your desktop’s capabilities while recycling parts from your old device.
If you’re ready to take on this project, I encourage you to give it a shot. Not only will it enhance your computing experience, but
Share this content:


Great question! Yes, it is generally possible to remove an SSD from a broken laptop and install it into a desktop computer, provided the drive is intact and compatible with your desktop’s interface. First, determine whether the SSD is SATA or NVMe. SATA drives are widely compatible with most desktops, requiring only a suitable drive bay and SATA data/power cables. NVMe drives, which use an M.2 slot, require a compatible motherboard with an M.2 socket.
Before proceeding, ensure you have the necessary tools, such as a precision screwdriver, and take static precautions by grounding yourself. Carefully remove the SSD from the laptop, following your device’s service manual or online guides if needed. When installing into your desktop, locate an appropriate slot or drive bay, connect the drive to the motherboard via the proper interface, and connect any power cables.
Keep in mind that after installation, you may need to reconfigure boot settings in BIOS/UEFI or reinstall your operating system if the drive was previously configured in a different hardware environment. If you encounter issues, checking the disk’s health with diagnostics tools like CrystalDiskInfo or similar can help determine if the SSD is still in good condition.
Overall, repurposing an SSD in this way can be a cost-effective upgrade, making your desktop faster and more responsive. Just ensure compatibility and handle all components with care. Good luck with your upgrade!