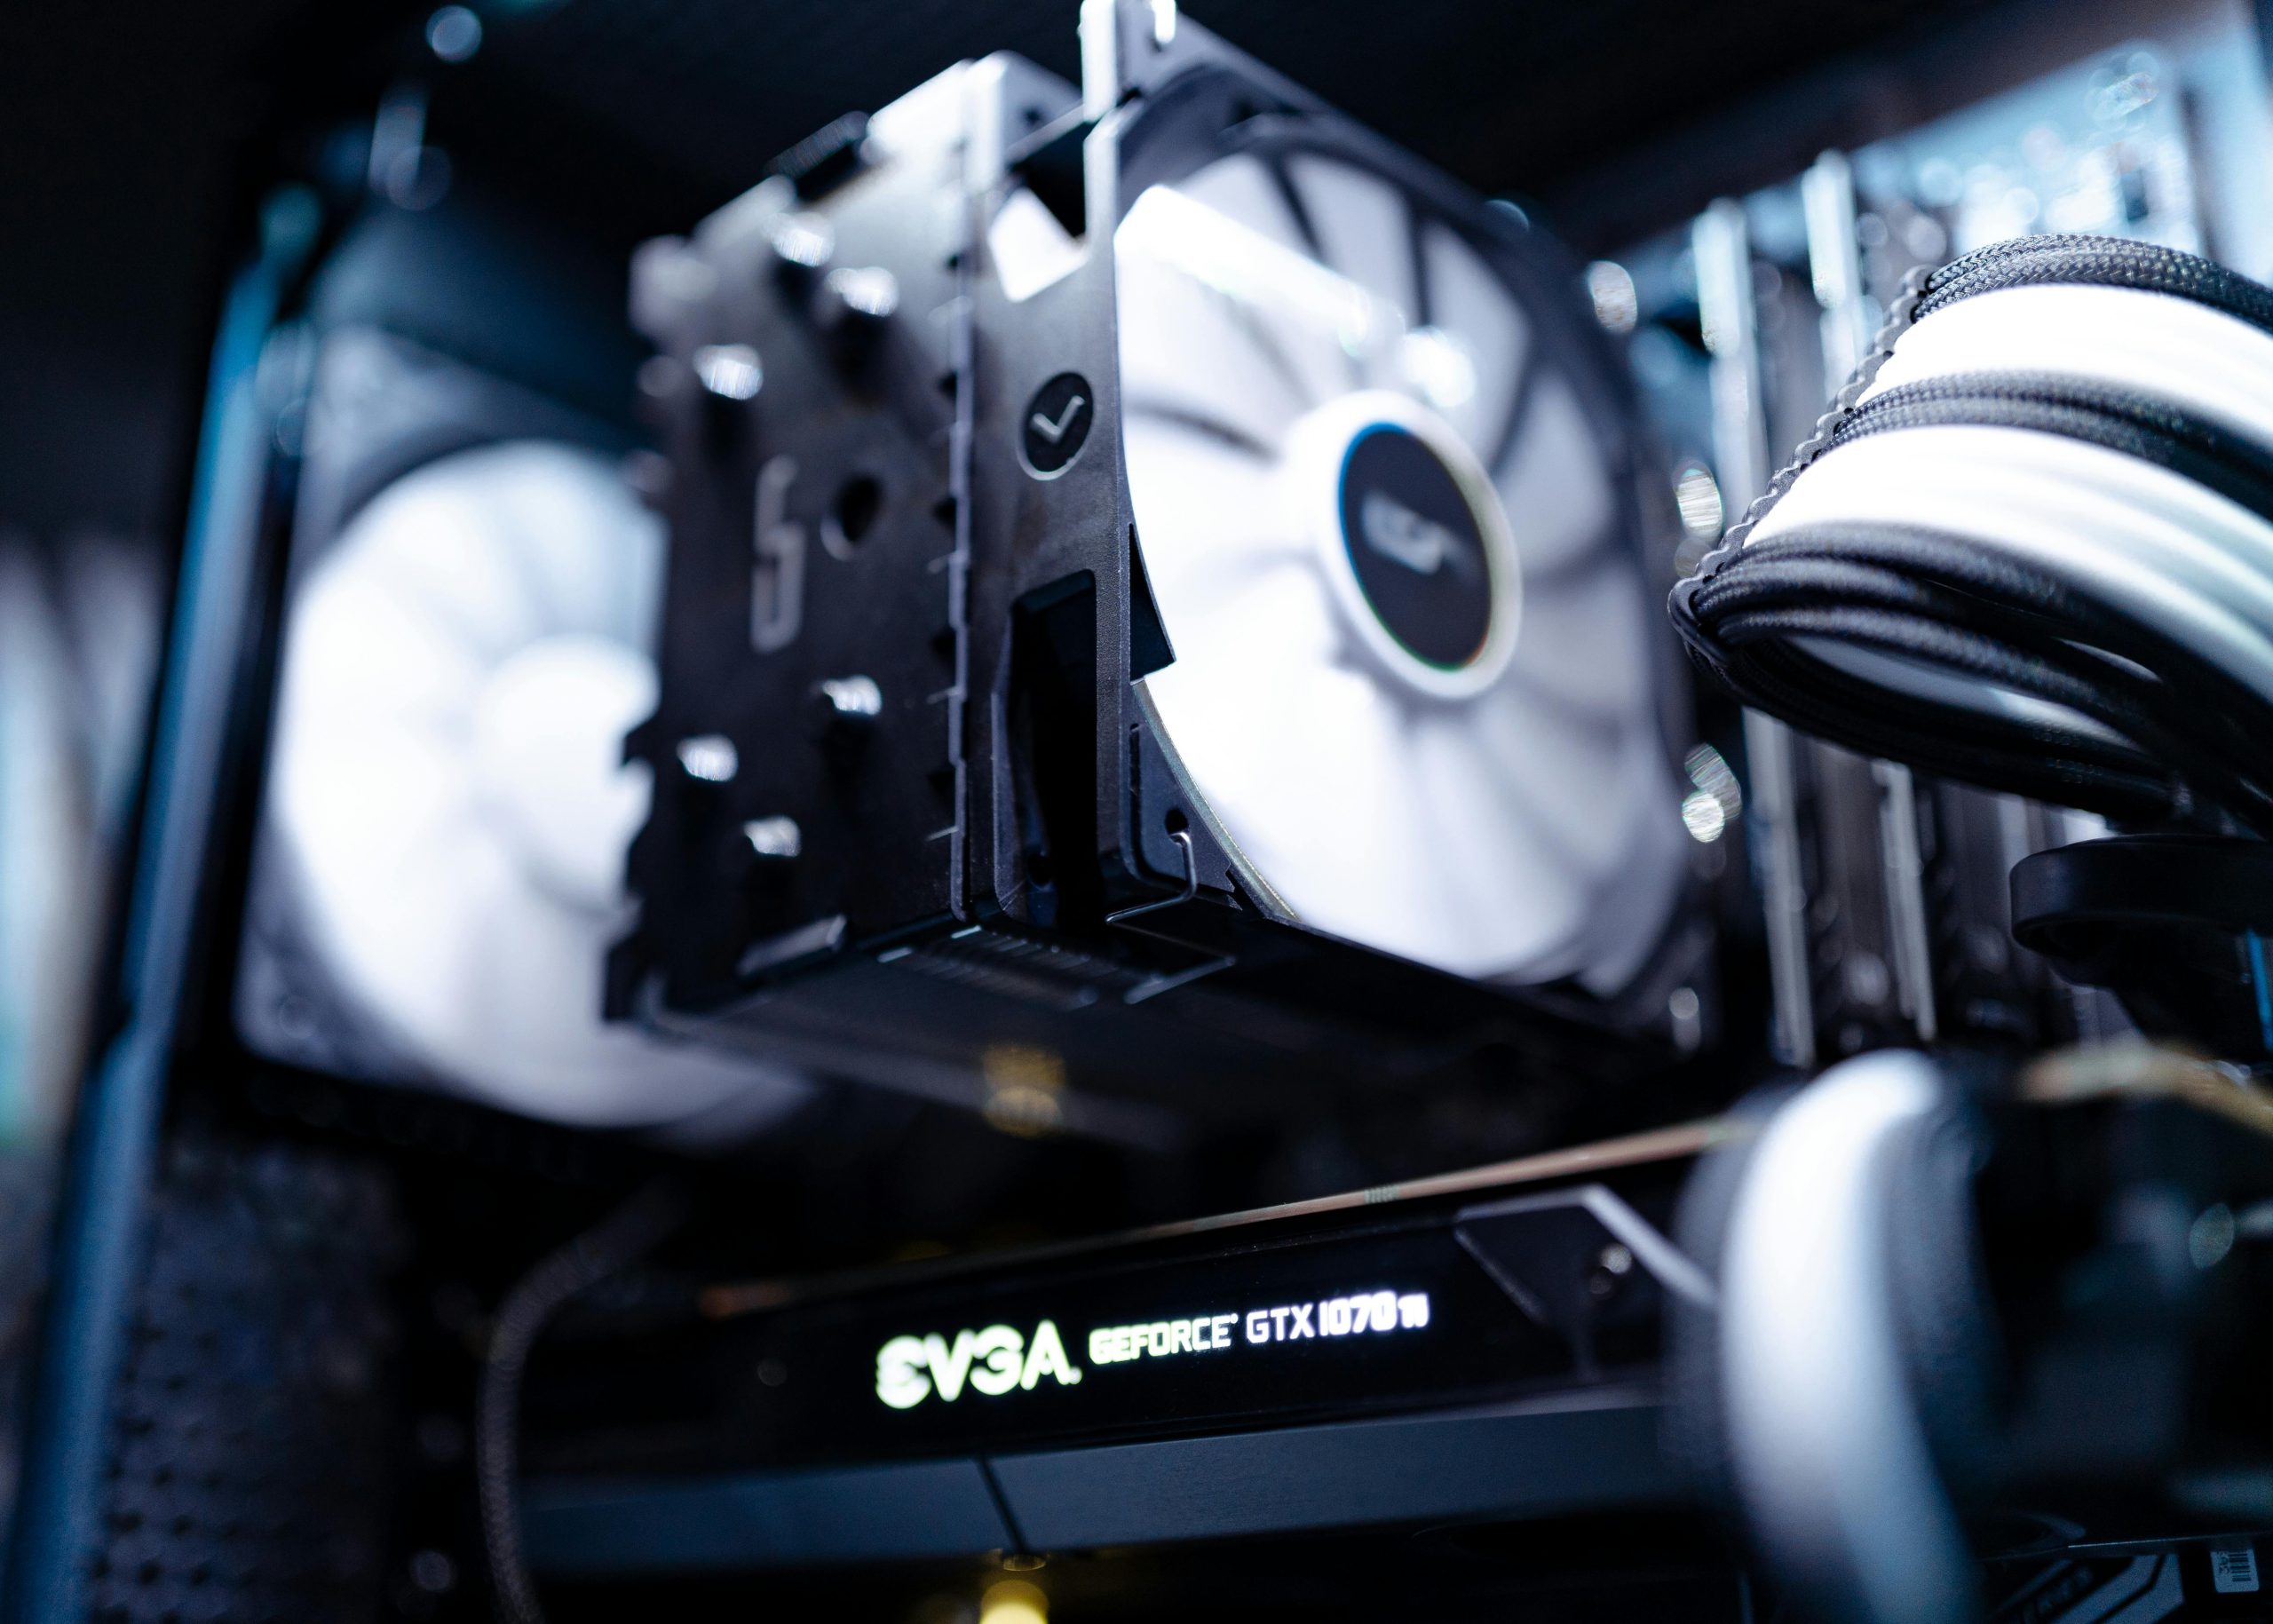
Tackling GPU Fan Issues: What to Do When Your GTX 1070 Fan Stops Spinning
If you’ve been using your graphics card for several years, it’s not uncommon to encounter some wear and tear. A user recently faced a similar issue with their GTX 1070—the fan abruptly stopped spinning after nearly five years of continuous use. Considering budget constraints that thwart immediate replacement, this situation raises the question: how can you effectively resolve fan issues on a custom GPU?
Diagnosing the Problem
When a graphics card fan ceases to operate, it’s essential to conduct a thorough examination. Start by checking for any obstructions or debris that may have inadvertently lodged themselves in the fan assembly. Sometimes, a simple cleaning can restore functionality.
If the fan is still non-responsive after cleaning, it may be a sign of signal or power failure due to wear on the fan motor. In this case, external cooling solutions, such as temporary fan installations, can help manage temperature until a permanent fix is implemented.
Exploring Replacement Options
For those looking to replace the fan, such as in the case of the GTX 1070 by Gigabyte, it is crucial to source the correct replacement parts. Whether you opt for an identical fan or a compatible aftermarket part, ensure it meets the necessary specifications for your GPU.
Online marketplaces and specialized computer hardware retailers often list compatible cooling solutions, enabling you to locate a new fan that fits your model precisely. You can also explore forums and communities of fellow tech enthusiasts who may offer insights or recommendations based on their experiences.
Installation Process
Replacing a GPU fan requires some technical knowledge, but it can be a fulfilling DIY task. Here’s a concise guide to get you started:
-
Preparation: Make sure to power down your system and unplug all cables. It’s also advisable to work in a static-free environment.
-
Remove the GPU: Carefully unscrew the graphics card from the case and disconnect it from the motherboard.
-
Detach the Fan: Remove the screws securing the fan to the heatsink and carefully disconnect it from the circuit board.
-
Install the New Fan: Position the new fan where the old one was located, ensuring it aligns correctly, and reconnect any wires.
-
Reassemble: Secure the GPU back into the case, plug everything back in, and power up your system.
Final Thoughts
While experiencing hardware issues can be frustrating, troubleshooting
Share this content:


Hi there,
It’s great that you’re troubleshooting your GTX 1070 fan issue. Based on your description, here are some additional steps and tips you can consider: