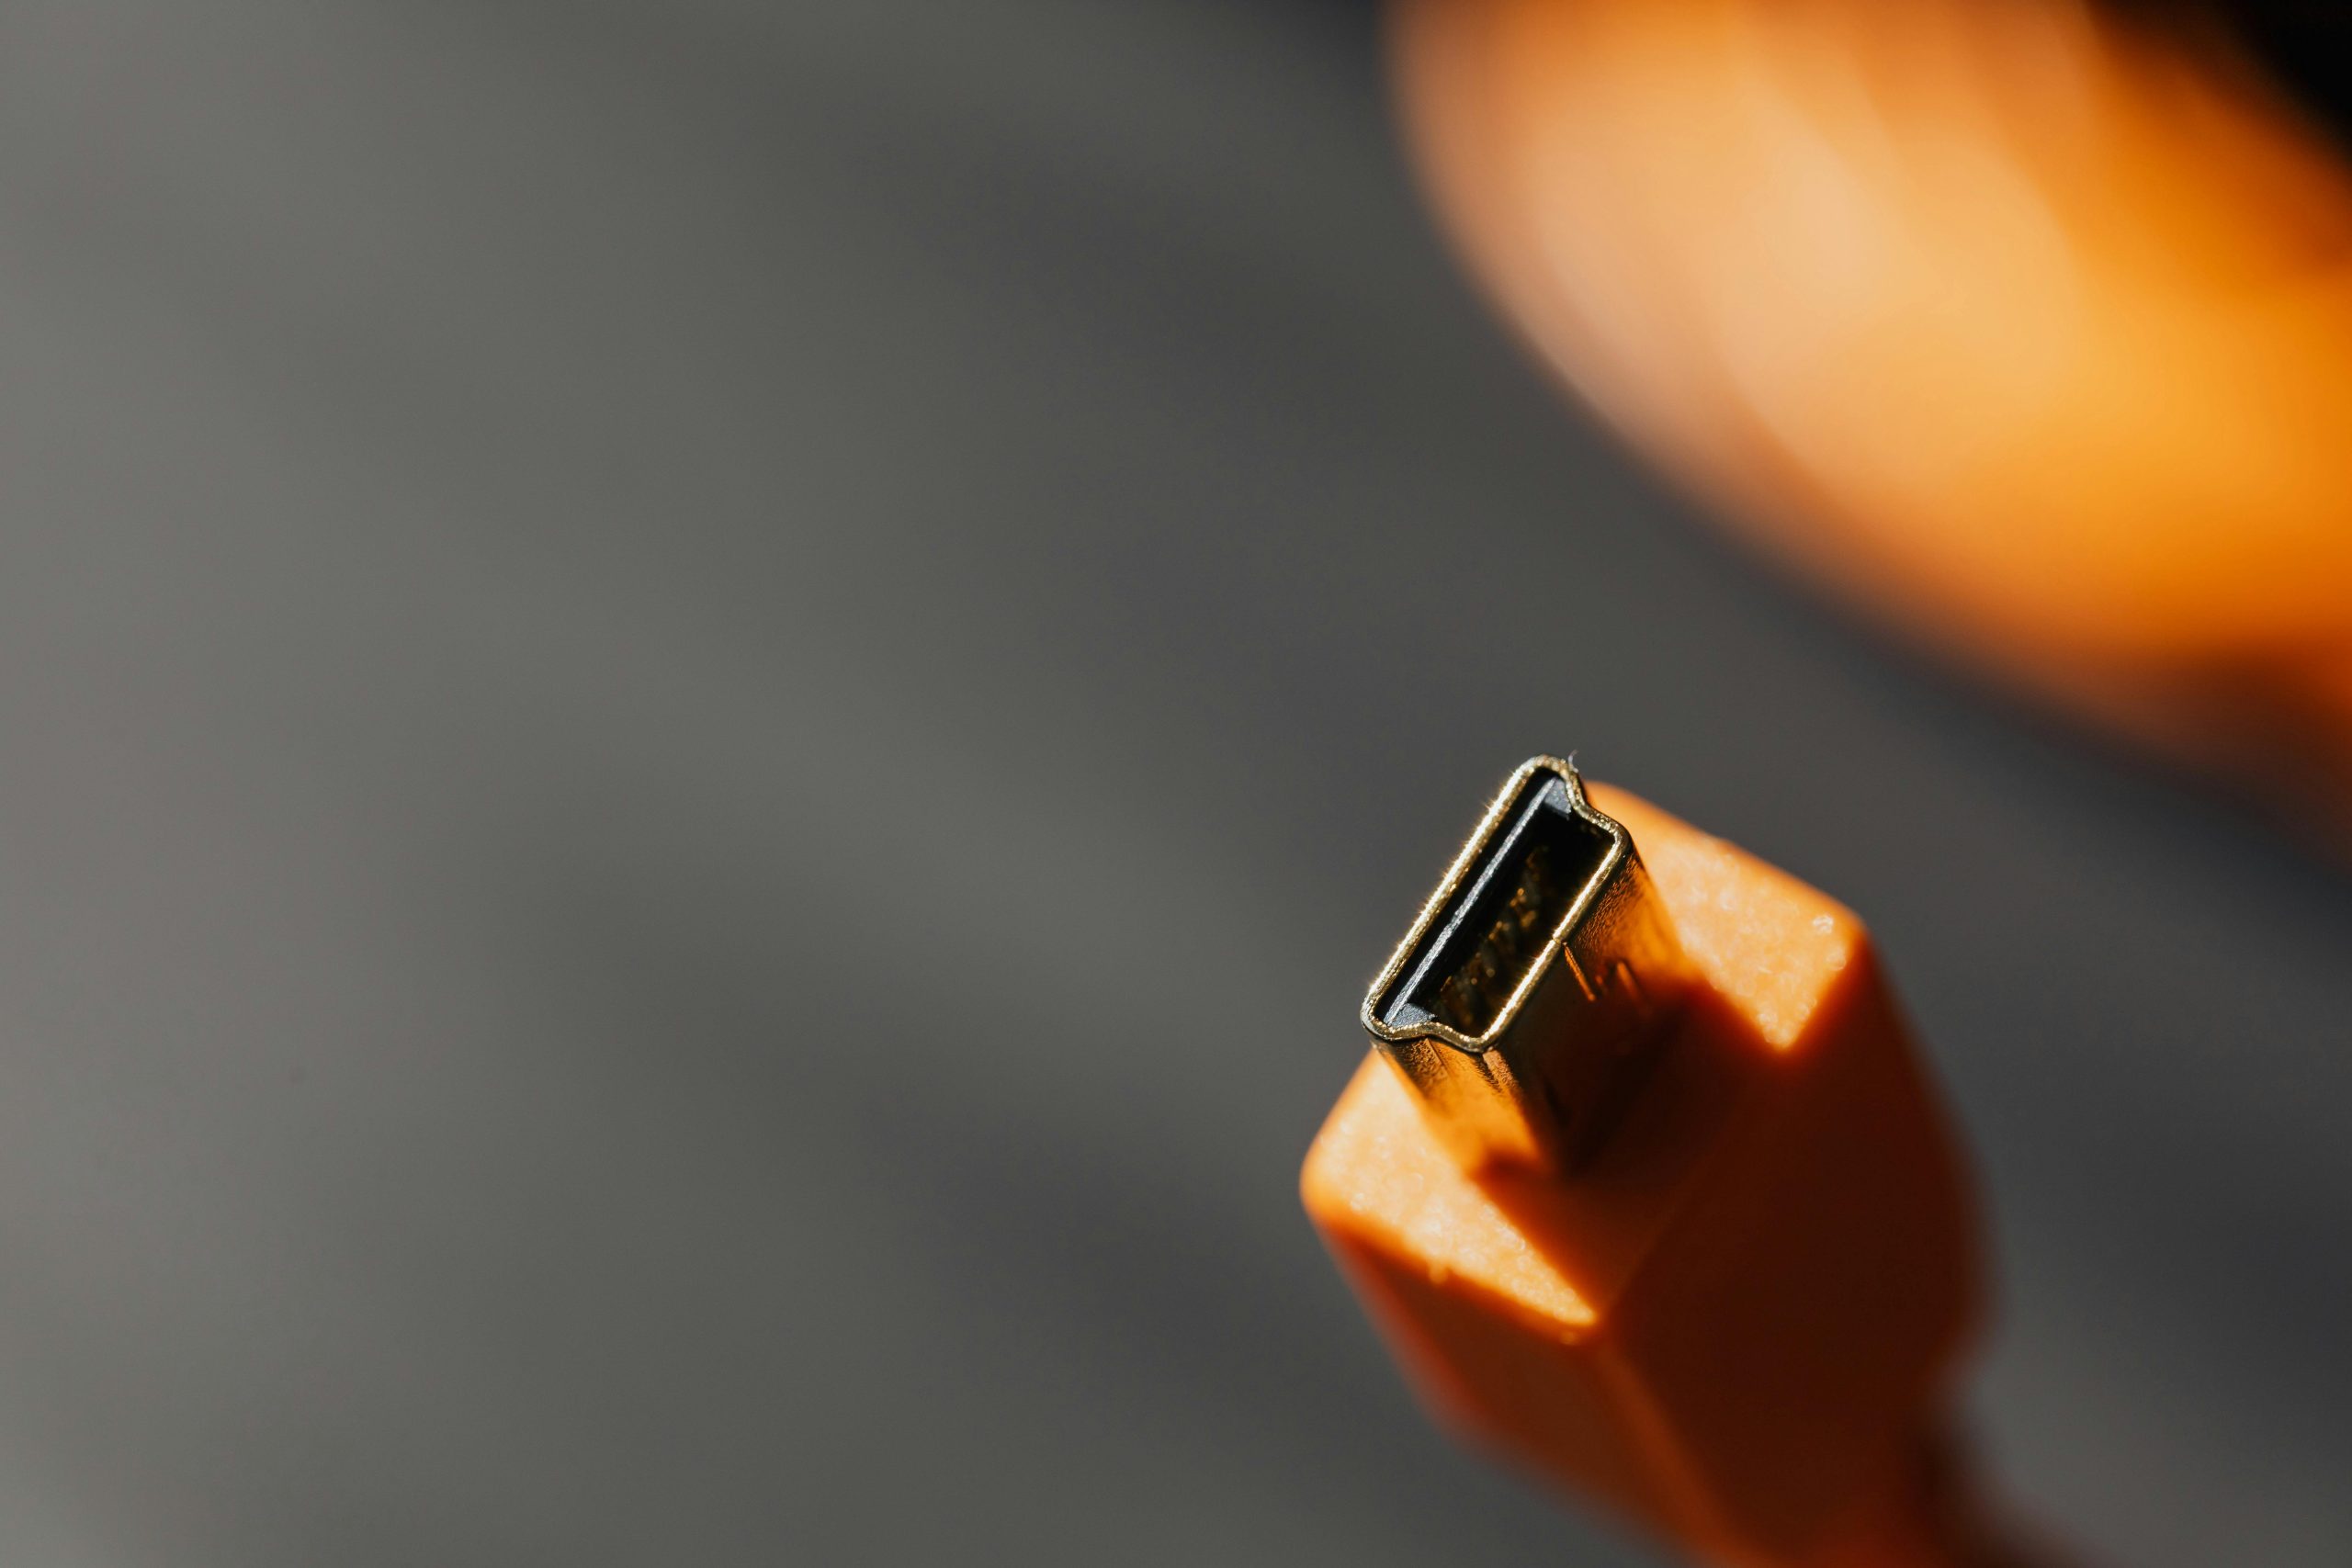
DIY Guide: Repairing Your Laptop’s Charging Port
Are you facing issues with your Dell laptop not charging because of a damaged charging port? You’re not alone—this is a common problem among laptop users. Fortunately, if you’re on a budget and need a solution that won’t break the bank, you may be able to tackle this issue yourself. In this blog post, we’ll explore some steps you can take to address a hole in your charging port and restore your device’s functionality.
Understanding the Problem
A malfunctioning charging port can stem from various issues, but physical damage, such as a hole or broken connector, is often the culprit. This kind of damage may prevent your charger from making a proper connection, leaving you with a device that won’t power up.
Step-by-Step Repair Process
Here’s a straightforward guide to fixing a damaged charging port:
-
Assess the Damage
Before jumping into repairs, take a close look at the charging port. Is it merely a hole, or are there broken parts? Ensure you have a clear idea of what needs fixing. -
Gather Your Tools
Depending on the severity of the damage, you may need some basic tools. These can include: - A small screwdriver (usually Phillips-head)
- Tweezers
- A plastic prying tool or spudger
- Electrical tape
-
A soldering kit (if you’re comfortable with soldering)
-
Disassemble the Laptop (if necessary)
If the damage is severe, you may need to open your laptop to access the charging port. Follow a reliable guide specific to your Dell model for this process, paying close attention to any screws or clips that may need to be removed. -
Repairing the Charging Port
- For minor holes: Use electrical tape to cover the hole and create stability for the charging connector. This should provide a temporary fix until you can replace the part.
-
For more extensive damage: If you’re adept with soldering, attempt to reconnect any loose wires or replace broken solder joints in the charging port. Be cautious to avoid over-heating components.
-
Reassemble the Laptop
Once you’ve completed the repairs, carefully reassemble your laptop. Make sure all screws are tightened and components are secured to prevent future issues. -
Testing
After reassembly, plug in your charger and check if the laptop charges successfully. If it
Share this content:


Thank you for sharing your detailed DIY guide on repairing a laptop’s charging port. Such repairs can be quite delicate, especially when soldering or disassembling your device. If you’re attempting this yourself, please ensure you have the proper tools and follow safety precautions to avoid damaging your laptop further.
For minor holes, electrical tape can provide a temporary fix, but for a long-term solution, replacing the damaged port or having a certified technician perform the repair is recommended. If you’re uncomfortable with soldering or disassembly, reaching out to a professional service might be the safest approach to prevent additional issues.
Additionally, always back up your data before attempting any repairs, and double-check your replacement parts’ compatibility with your specific Dell model. If you need further assistance or specific guidance on your laptop model, feel free to provide details, and we’ll do our best to support you.