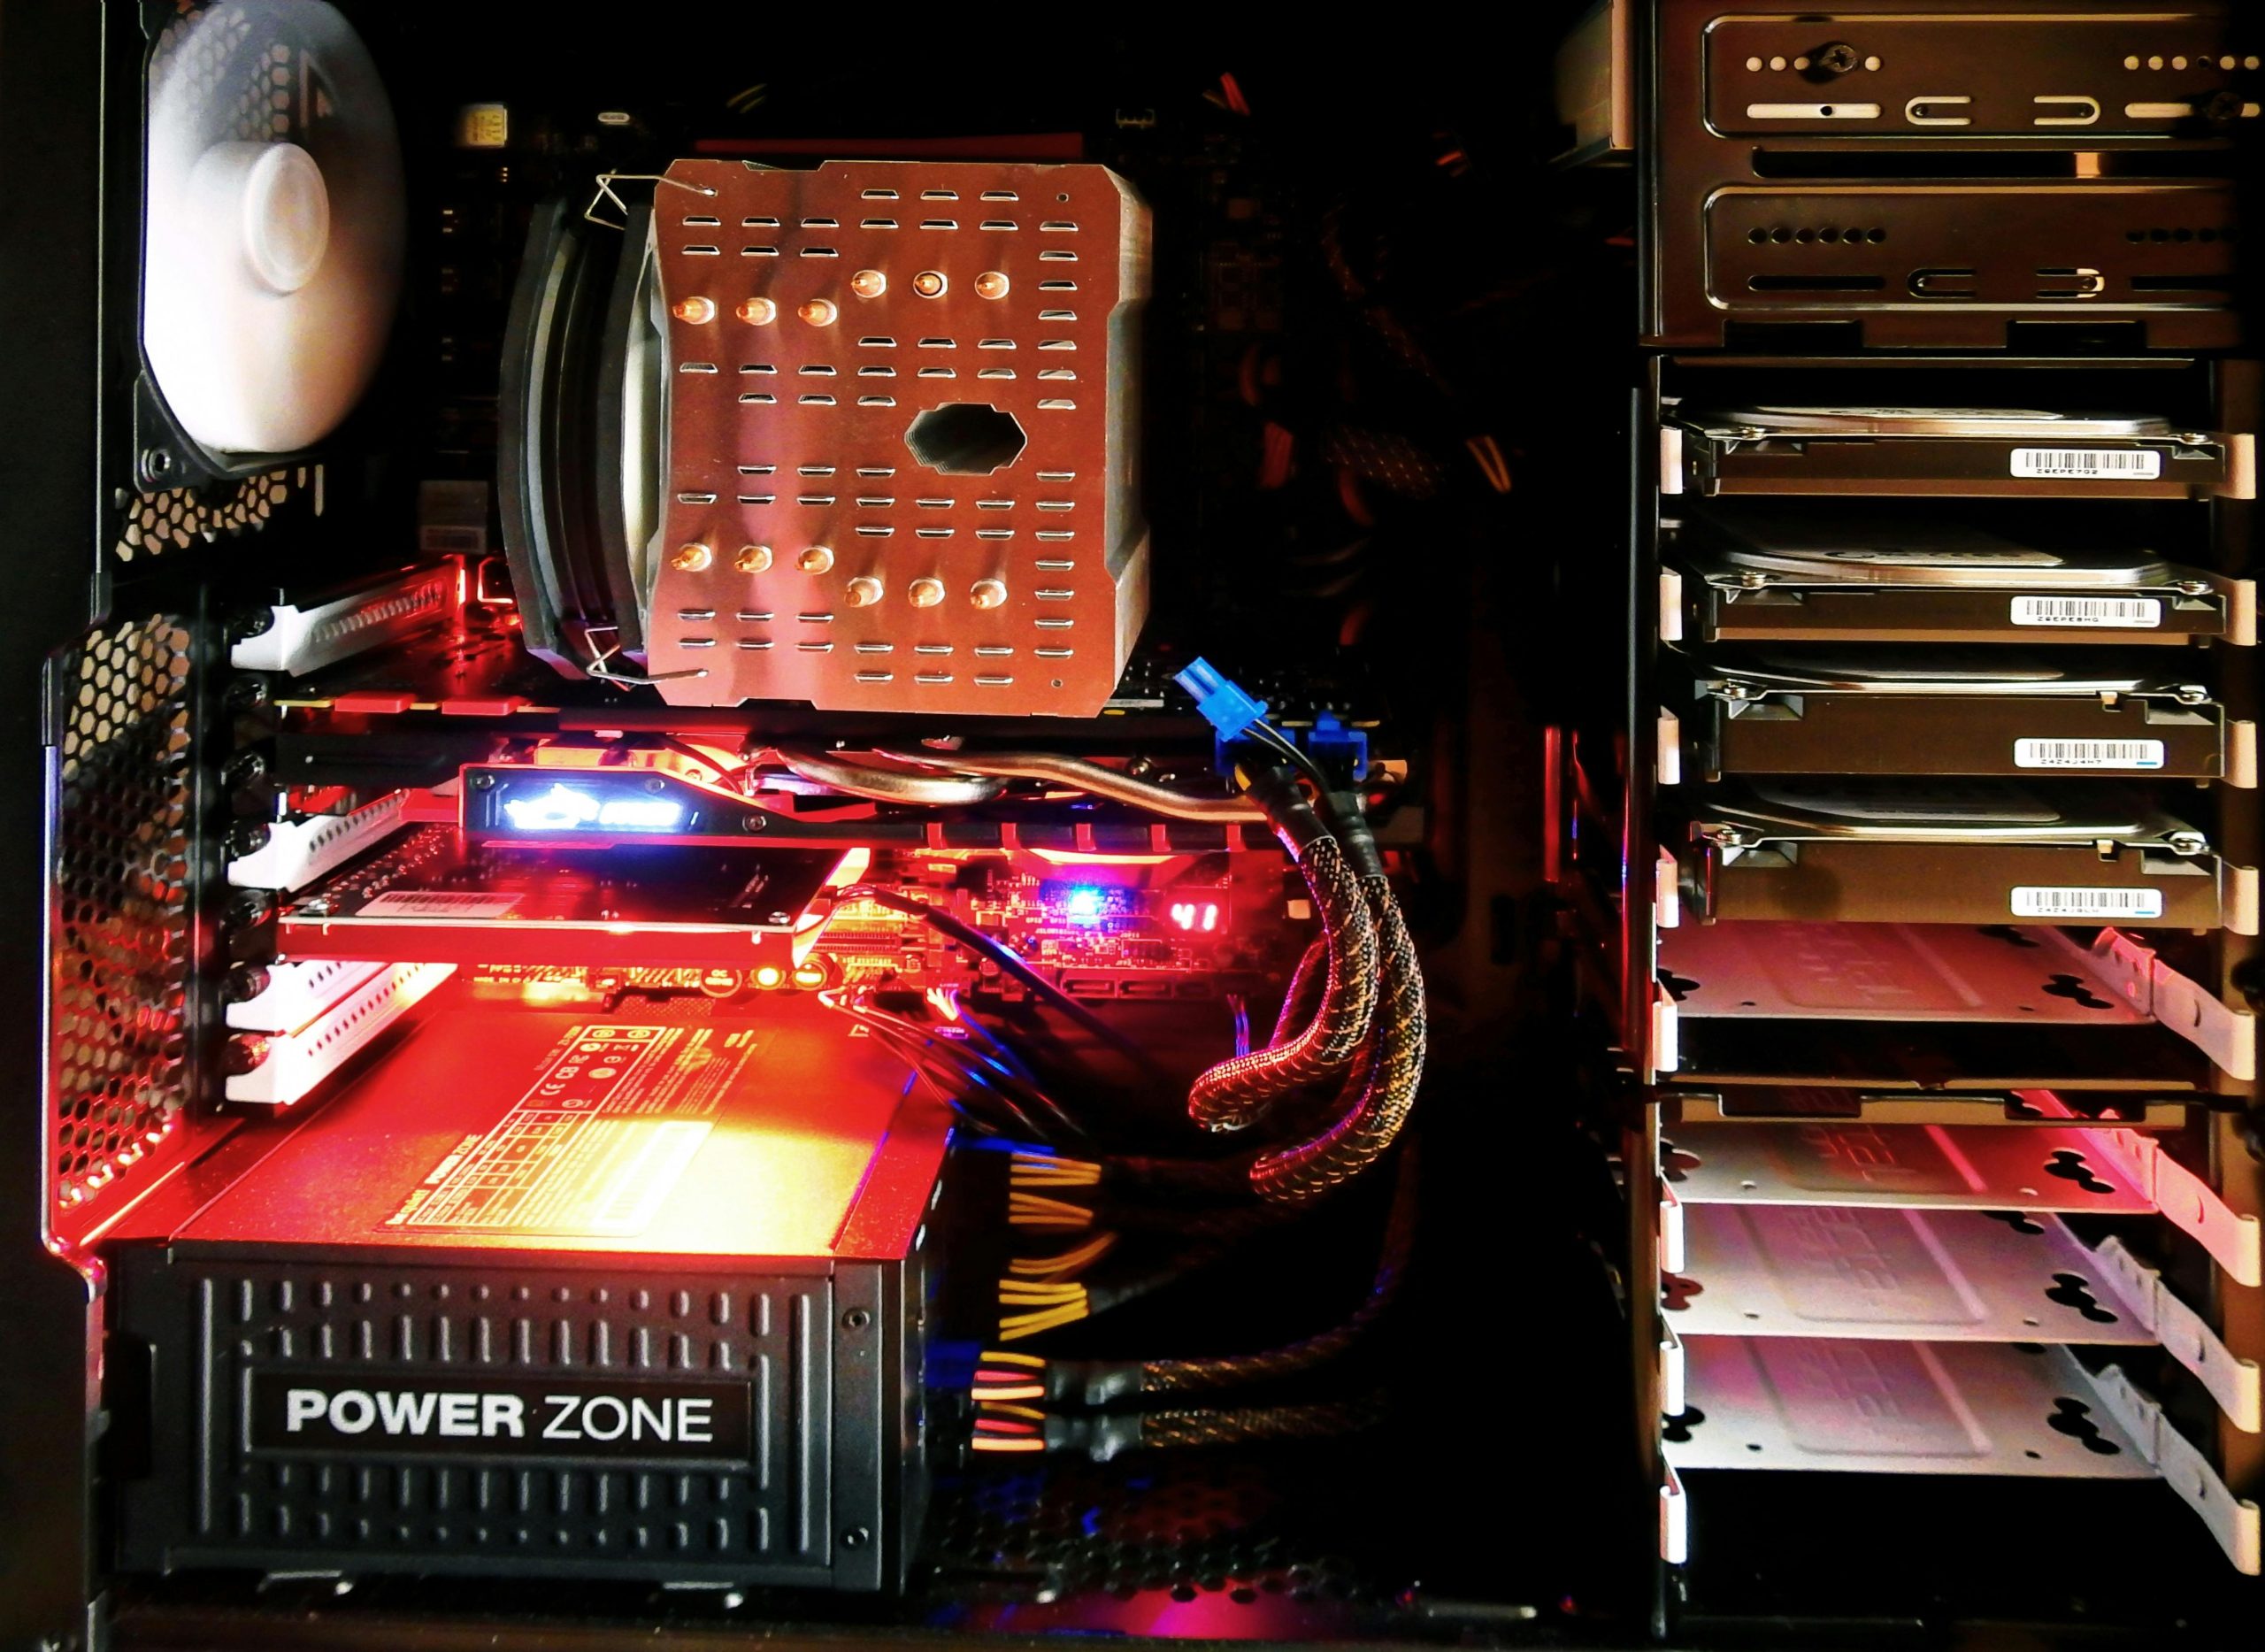
A Step-by-Step Guide to Installing an SSD in Your Dell Inspiron 3020S
If you’re the proud owner of a Dell Inspiron 3020S and finding it increasingly difficult to manage space on your current hard drive, you’re not alone. Many users experience similar frustrations as their storage capacities fill up. Fortunately, upgrading to a Samsung Evo 870 1TB SSD is an excellent way to enhance your desktop’s performance and expand its storage capabilities. However, if you’re uncertain about the installation process, don’t worry! Here’s a detailed guide to help you navigate through the installation smoothly.
Preparing for the Installation
Before diving into the assembly of your desktop, it’s essential to gather all the necessary tools. You’ll typically need a small Phillips screwdriver and possibly an anti-static wrist strap to prevent any static electricity from damaging your components. Make sure your Samsung Evo 870 SSD is ready and that you have backed up any important data from your existing drive.
Step 1: Power Off Your Computer
Before you begin, it’s crucial to shut down your desktop completely and unplug it from the power outlet. This ensures your safety and prevents any electrical mishaps while working on the internal components.
Step 2: Open the desktop Case
Carefully remove the cover of your Dell Inspiron 3020S. Depending on the model, there may be specific latches or screws that need to be released. Consulting the user manual can provide valuable insights on how to proceed without damaging your case.
Step 3: Identify the Drive Bays
Once the case is open, locate the drive bays. In most Dell models, these will be easy to find, but if you’re unsure, you can look for the existing hard drive or any mounting brackets that can accommodate your new SSD.
Step 4: Install the SSD
Align the Samsung Evo 870 SSD with the mounted screws or bracket in the drive bay. Firmly secure it in place, ensuring that it is properly connected. Most SSDs use a SATA connection, so connect the SSD to the SATA port on your motherboard and attach the power cable from your power supply.
Step 5: Reassemble Your Desktop
After the SSD is securely installed, it’s time to put your desktop case back together. Ensure all screws and latches are tightened before reconnecting your computer to the power source.
Step 6: Boot Up and Configure
Once everything is reassembled, power on your computer.
Share this content:


