Understanding and Troubleshooting the “Disk Read Error Occurred” and Initialization Failures on Windows
Encountering startup errors can be a frustrating experience for Windows users. One common issue involves encountering a message such as “A disk read error occurred” alongside persistent repair attempts or system errors like “IO1 initializing failed.” This article aims to guide you through understanding these errors, potential causes, and options for resolution.
Typical Scenario Overview
Many users report seeing the following during their Windows startup:
- A prompt stating: “A disk read error occurred”, followed by instructions to press Ctrl+Alt+Del.
- After pressing these keys, the system attempts to initiate Automatic Repair, but instead of the usual loading dots, only the Windows logo with the message “Preparing Automatic Repair” remains.
- Repeated restarts often lead to a blue screen displaying “IO1 initializing failed”.
- In some cases, resetting BIOS settings to default may temporarily allow Windows to load, but the issue persists when the system reaches the loading phase.
Understanding the Error Messages
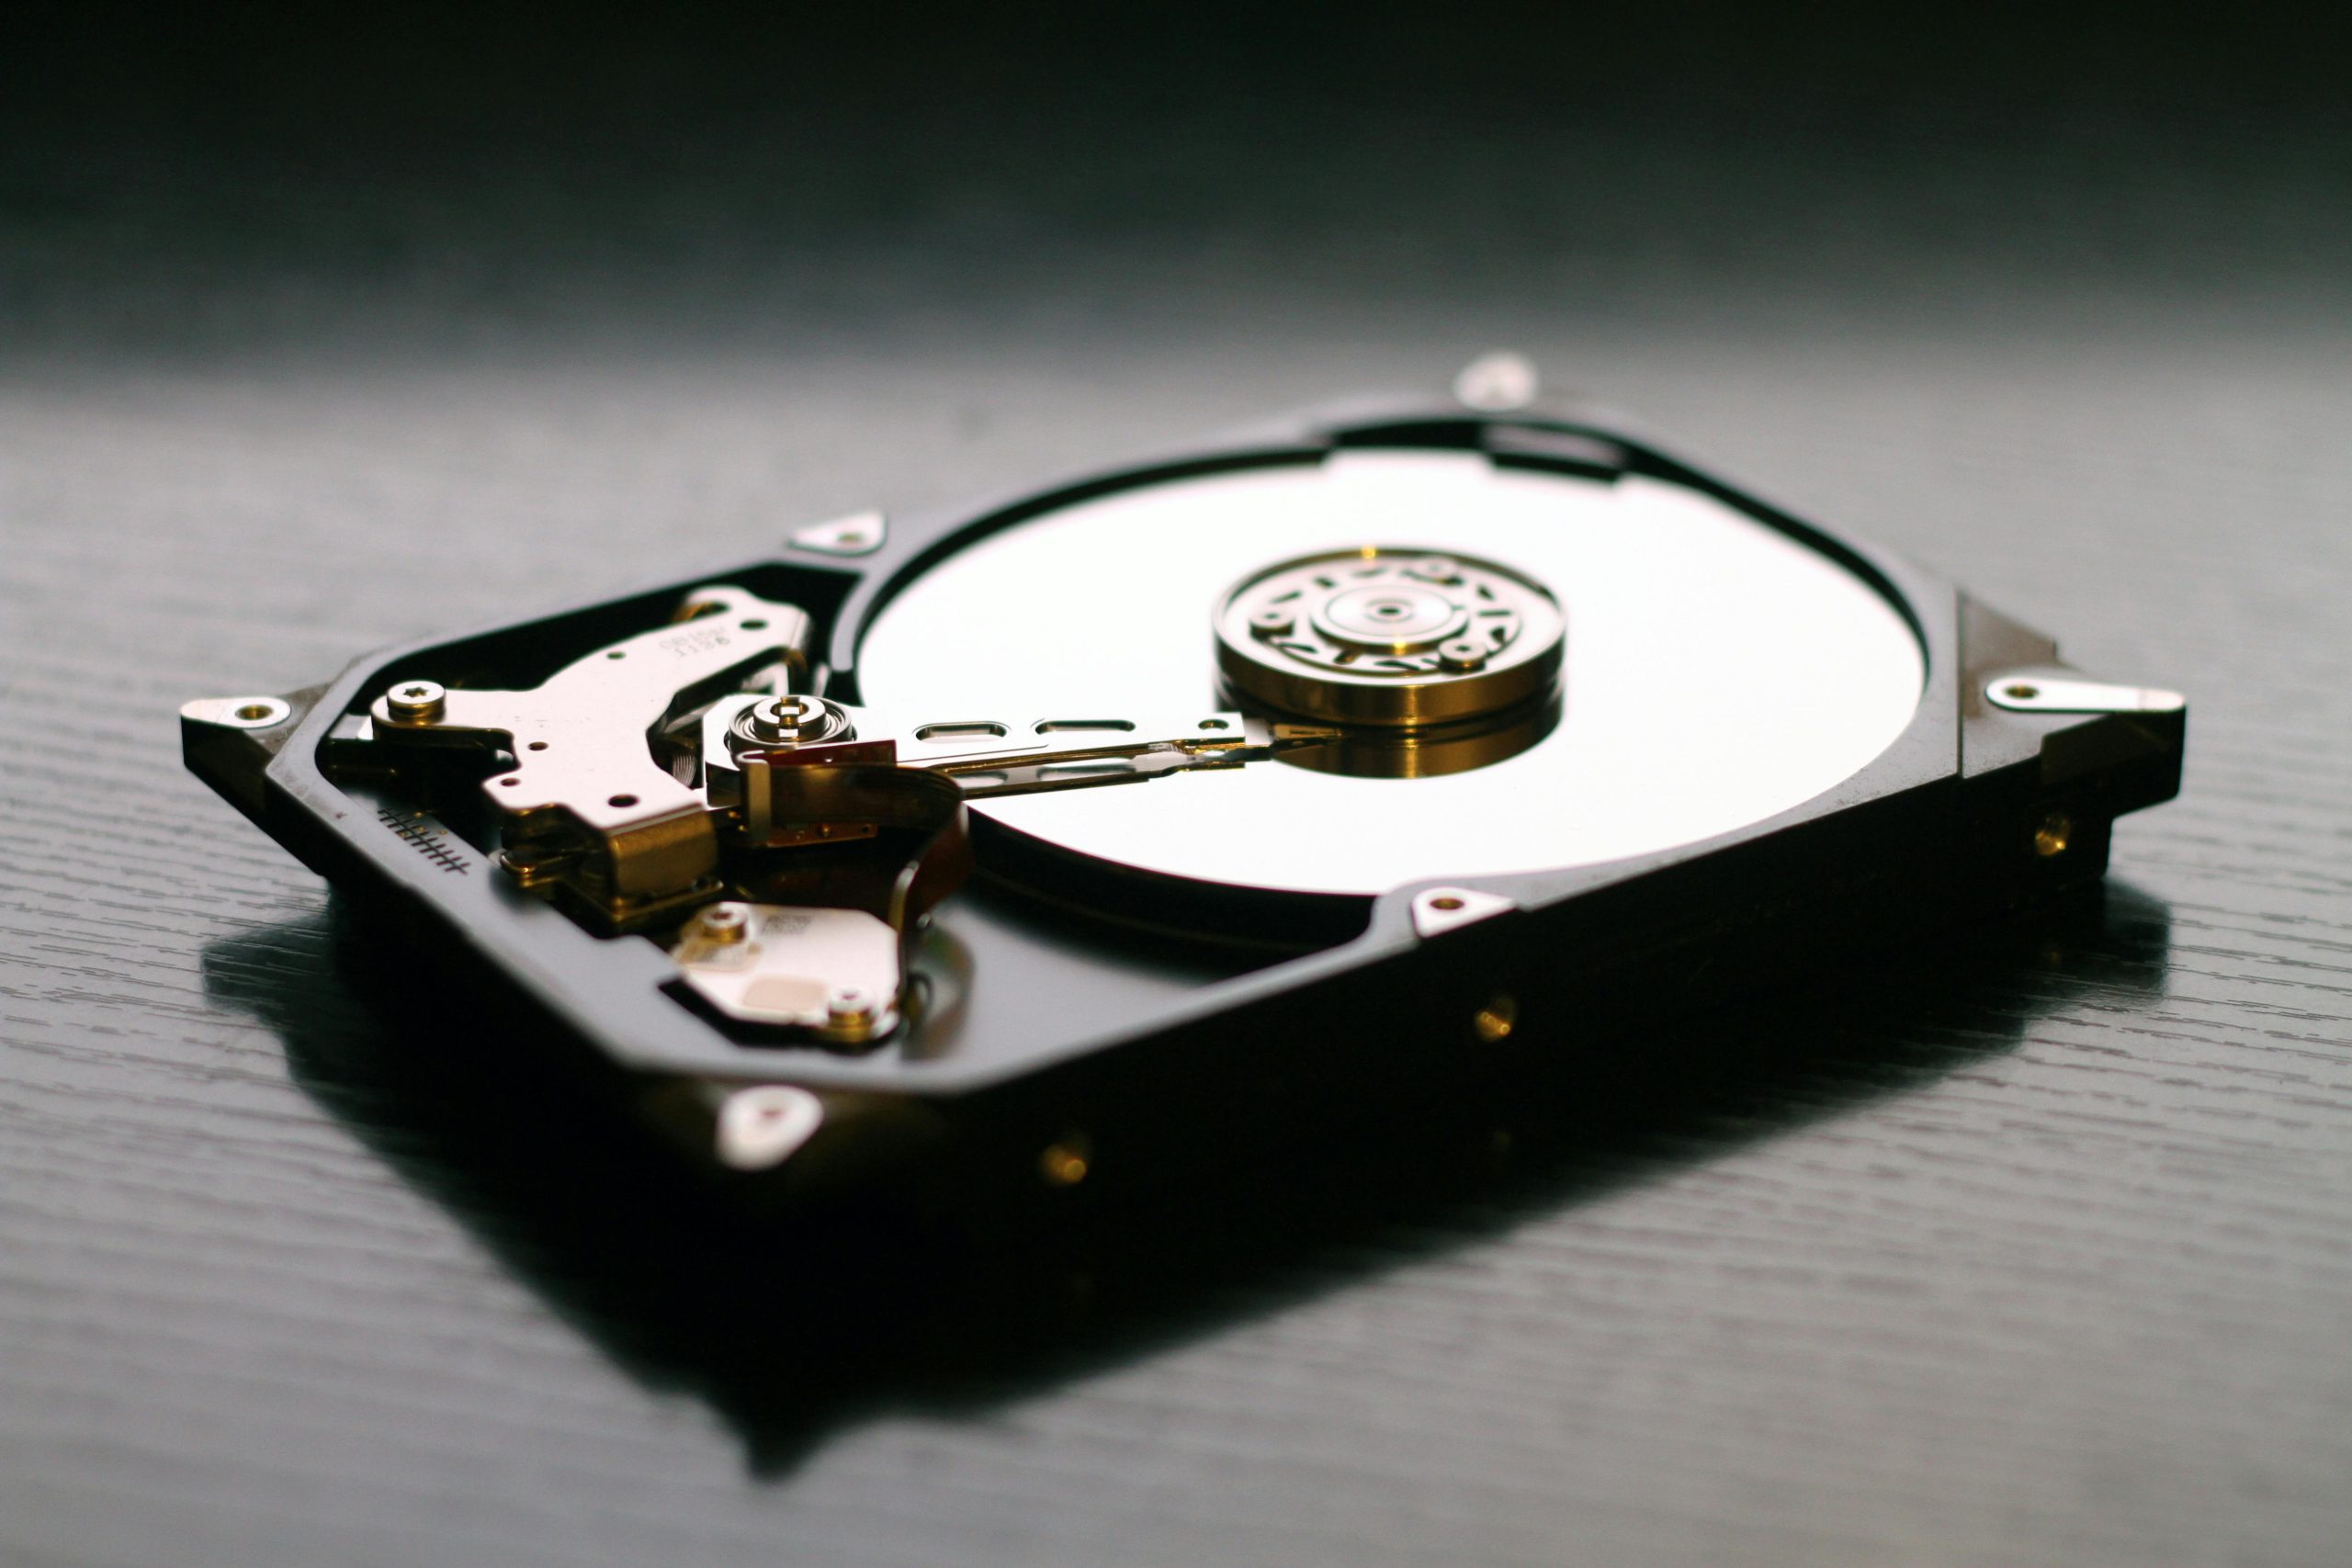
- Disk Read Error Occurred: Indicates that Windows is unable to read data from the primary storage device. This could be due to a failing hard drive, corrupted file systems, or connection issues.
- Preparing Automatic Repair: Windows attempts to fix startup problems automatically but can sometimes get stuck if the root of the problem isn’t addressed.
- IO1 Initializing Failed: Usually points to a hardware initialization problem, often related to storage devices or their associated drivers.
Possible Causes
- Failing or failed hard drive/SSD
- Corrupted system files or boot records
- Loose or faulty SATA/Power connections
- Driver issues or hardware incompatibility
- Bad sectors on the disk
Troubleshooting Steps
- Check Physical Connections
- Power off your PC.
- Open the case and ensure all storage device cables (SATA/IDE and power cables) are securely connected.
-
If possible, try reconnecting or replacing cables to rule out connection issues.
-
Use Recovery Media
- Create a Windows recovery USB or DVD using a working computer.
- Boot your system from the recovery media.
-
Select Troubleshoot > Advanced Options > Command Prompt.
-
Check Disk Health
- In the Command Prompt, run disk diagnostics:
chkdsk /r /f C:
–
Share this content:


