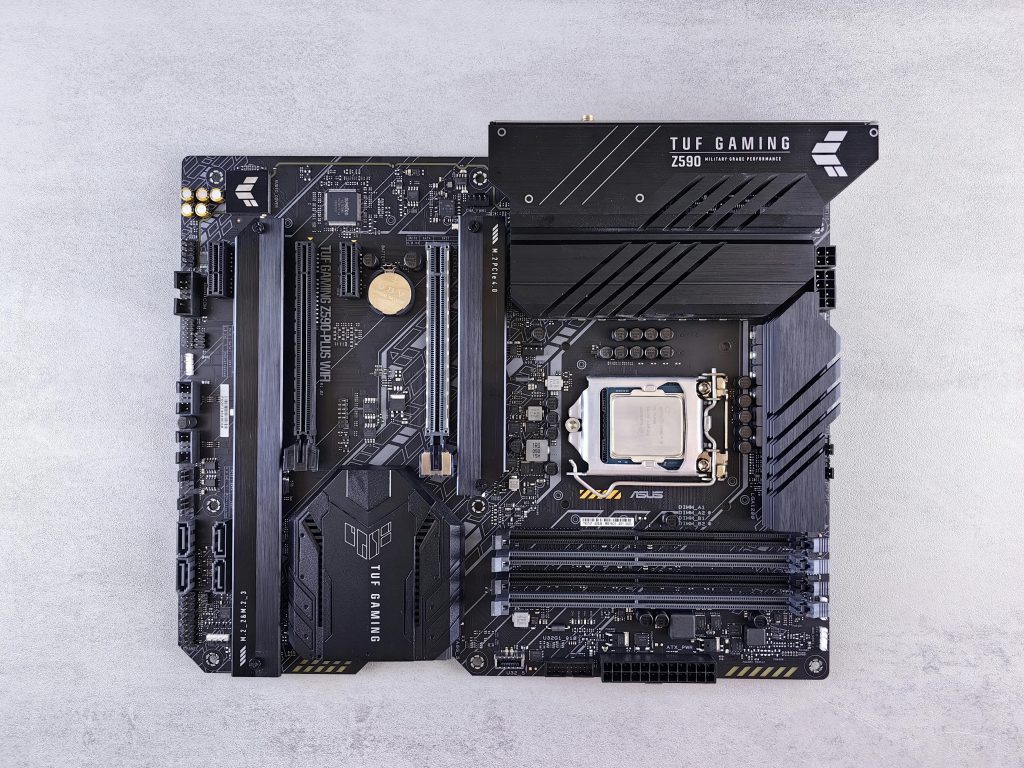
Troubleshooting a Scratched Motherboard: My Journey to Recovery
If you’re a PC enthusiast like me, you know that maintaining your rig is essential for optimal performance. However, sometimes things don’t go as planned. Recently, I encountered a frustrating issue after attempting to clean my computer, and I’m here to share my experience and the solution I found.
The Cleaning Mishap
While cleaning my PC with a can of compressed air, I inadvertently sprayed some fluid onto the motherboard (mobo). Thankfully, it evaporated quickly, but that was just the start of my troubles. I faced a challenge detaching my GPU due to a bulky CPU cooler, and in trying to resolve this, I accidentally scratched the motherboard with a screwdriver while opening the PCIe latch.
With my heart racing, I contemplated the worst-case scenarios: had I scratched over critical traces on the motherboard? My fears were confirmed when the PC failed to boot, cycling through endless reboots with nothing but a black screen staring back at me. In the past, I had been able to resolve a similar issue by reseating my RAM, but this time was different.
Assessing the Damage
I reached out to the community for help, and posted pictures of the scratch for feedback (you can check them out here and here). My motherboard is an Aorus Elite Z390 paired with a 9700K CPU, and I noted that the motherboard’s status LED was glowing red, which indicated that something was seriously amiss.
In an attempt to troubleshoot, I tried various fixes, including resetting the CMOS, unseating the GPU, SSD, sound card, and reseating the RAM in different slots. I double-checked all cable connections as well. However, I couldn’t reach the CPU pins due to the size of the NH-D15 cooler without removing it entirely (which I dreaded doing without thermal paste on hand).
I read online that it was possible to cause a short between traces, so that continued to weigh heavily on my mind. I didn’t possess the skills or tools to attempt a DIY repair, so I decided it was best to visit the store for thermal paste and consider purchasing a replacement motherboard altogether.
The Solution
After gathering my bearings, I decided to replace the damaged motherboard with an identical model. Upon doing so, my system powered up without issue. Here are the reasons why
Share this content:


