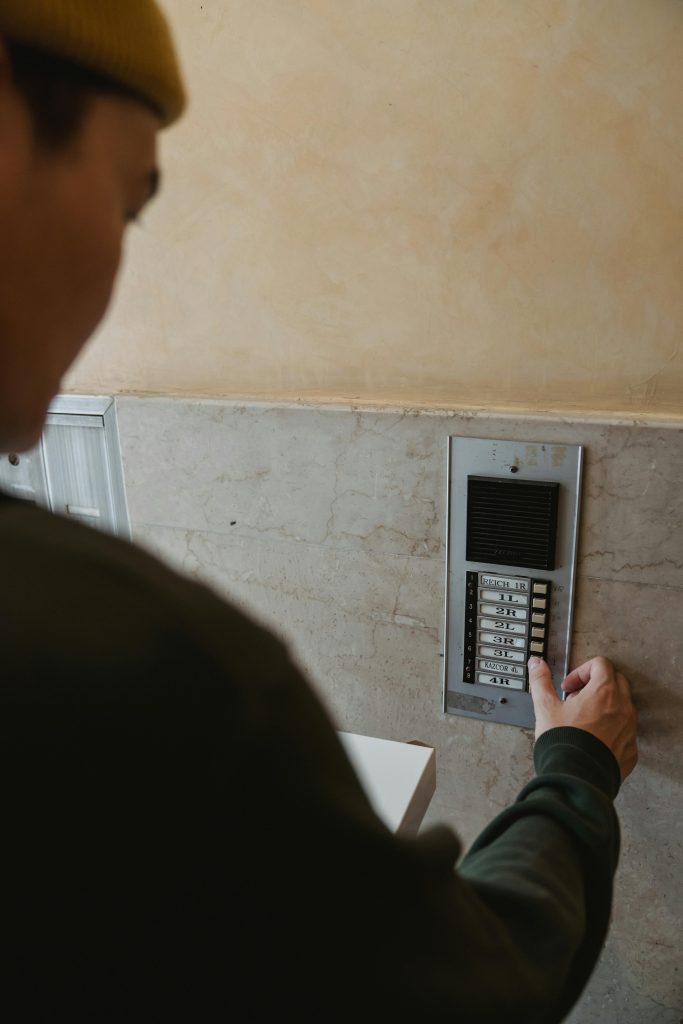
Replacing a Laptop Fan Connected to the Heat Pipe: Is It Possible?
If you’re experiencing loud noises or irregular fan operation on your laptop, it might be time to consider replacing the cooling components. Many users encounter a common challenge: the fan remains physically attached to the heatsink, even after unscrewing all visible fasteners. This situation raises the question—can you replace just the fan without disturbing the entire cooling assembly, and if so, how?
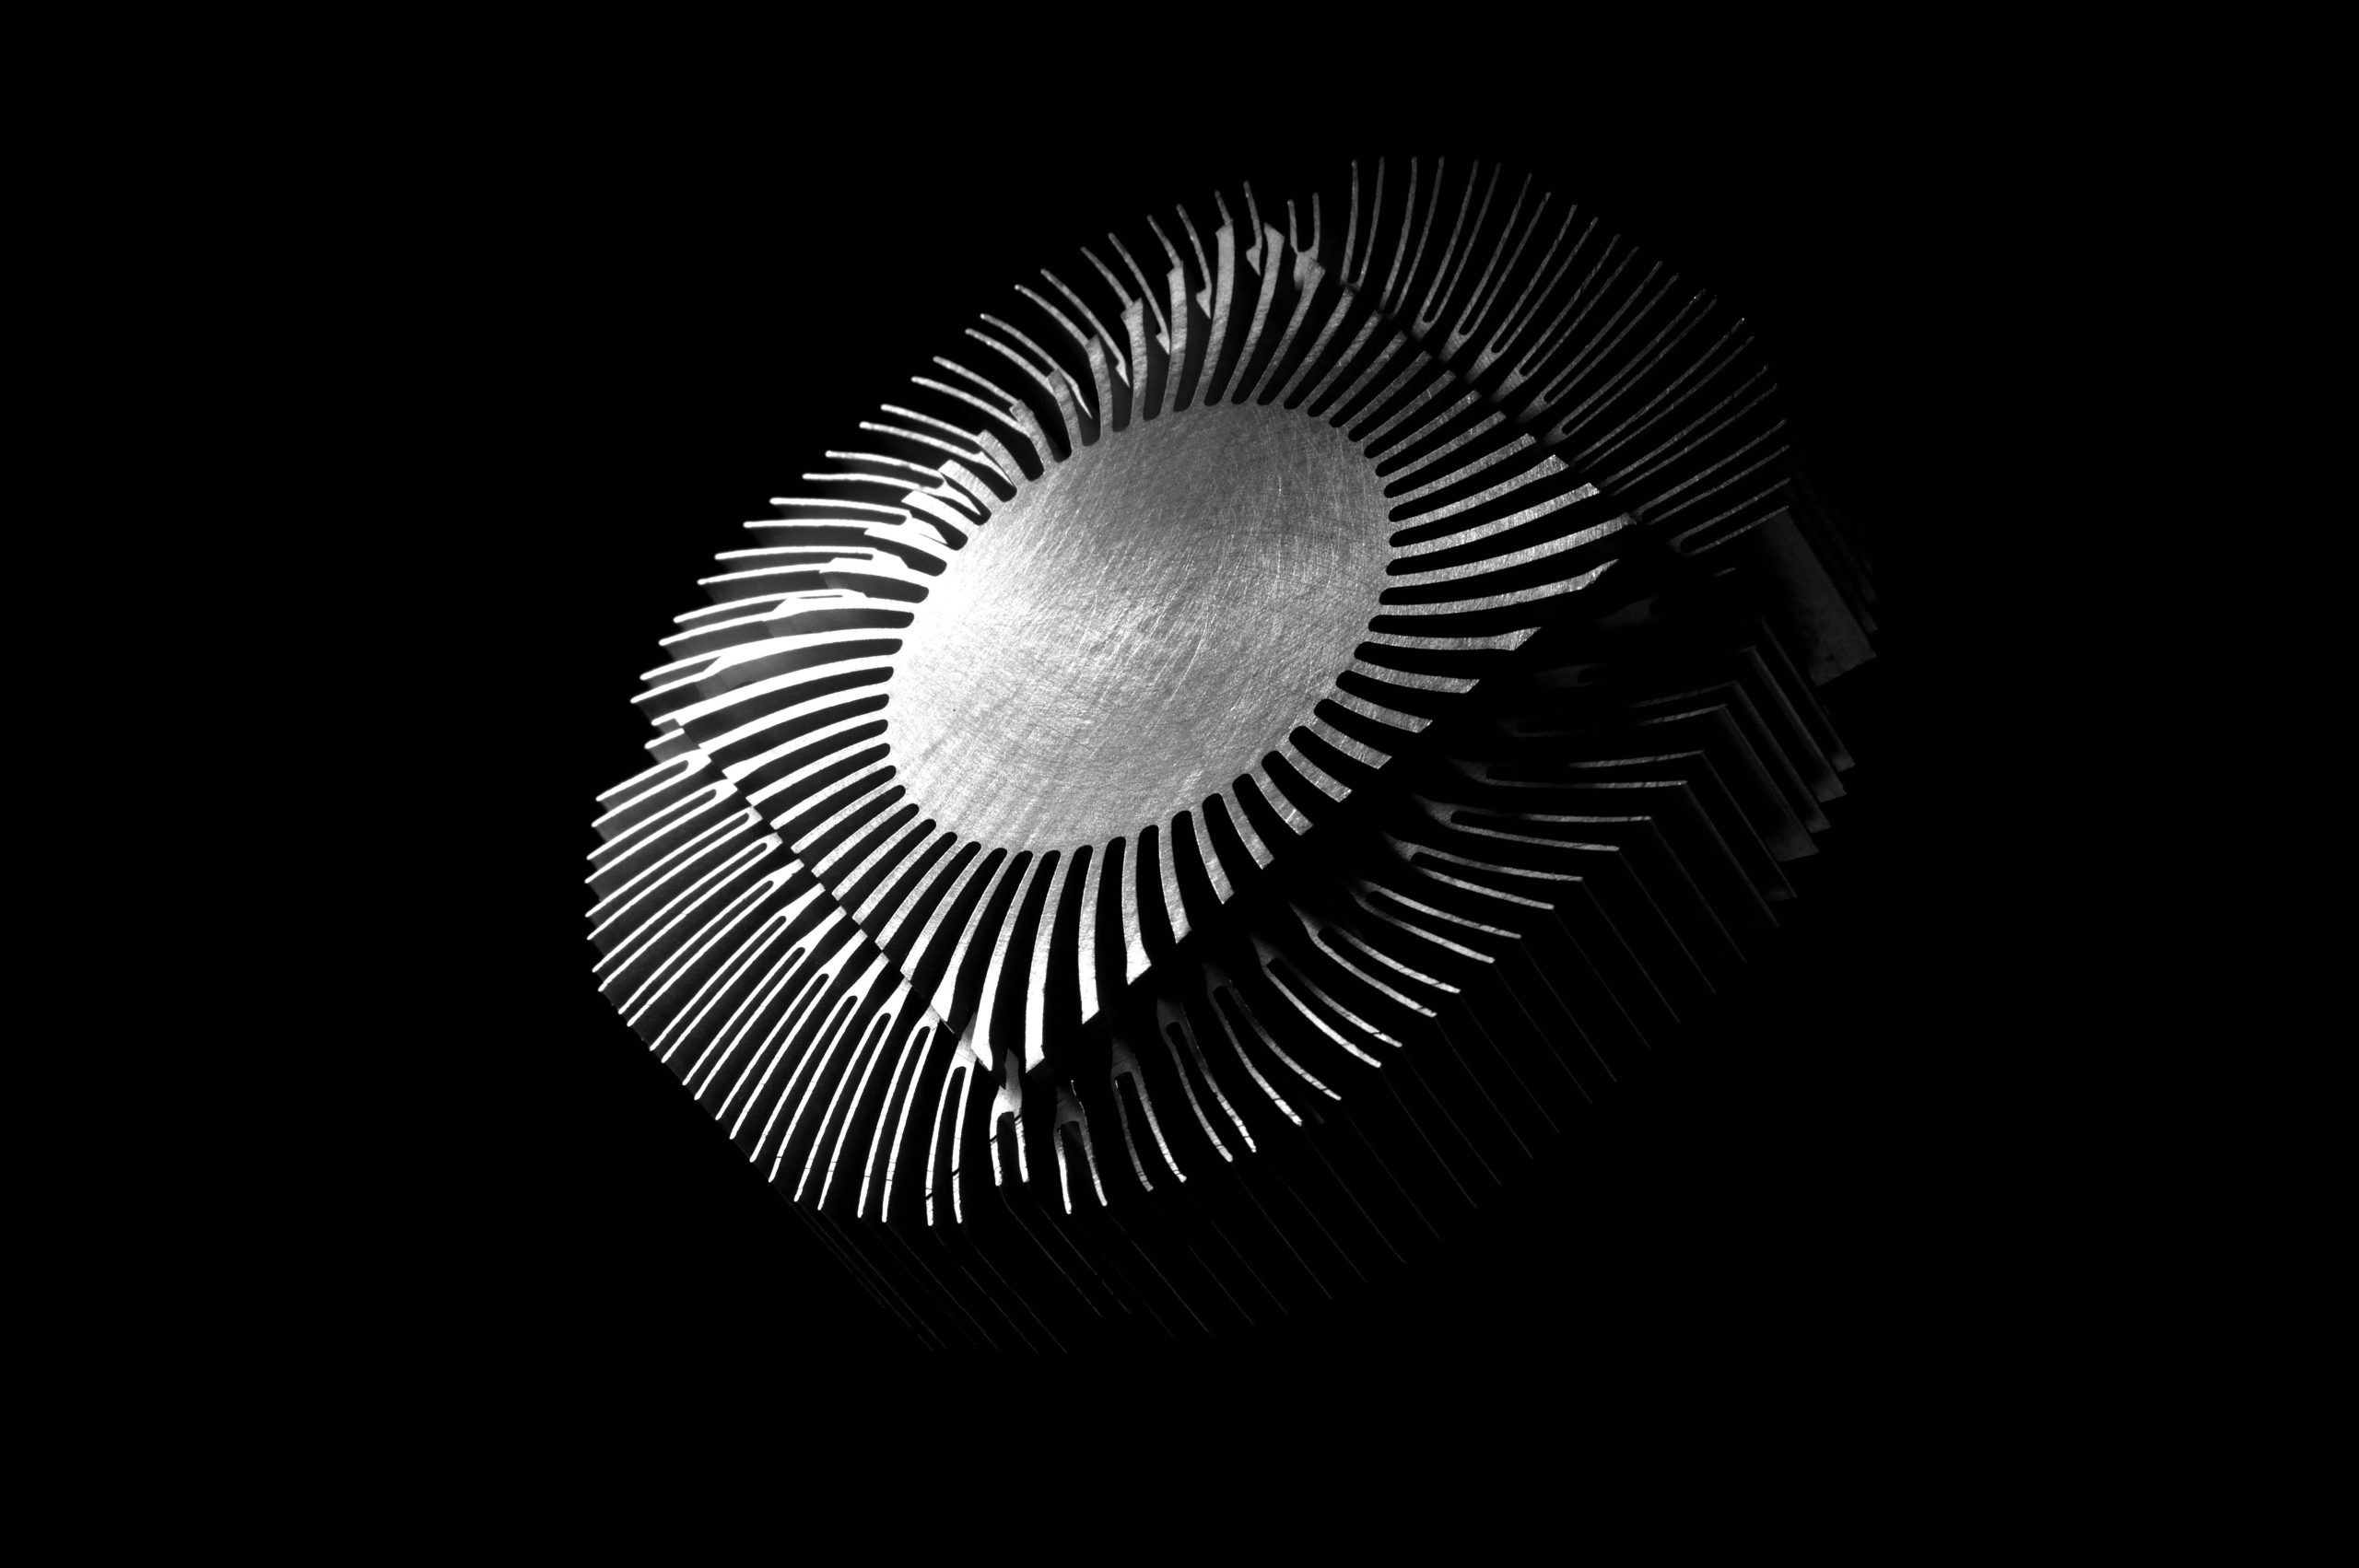
Understanding Your Laptop’s Cooling System
Most laptops utilize a compact cooling solution comprising a heatsink and one or more fans. The fan is often mounted directly onto the heatsink, with some models having it secured via clips or integrated mounting points. While designing these systems, manufacturers aim for efficient heat dissipation and ease of maintenance, but sometimes the physical construction makes individual component replacement tricky.
What’s the Issue?
In scenarios where the fan is still physically connected to the heatsink despite being unscrewed, the problem isn’t necessarily with the screws. Instead, the fan may be attached via clips, adhesive, or integrated into the heatsink’s structure. A common symptom is a loud fan noise, which can be caused by bearing failures, dust buildup, or worn-out blades.
Is It Feasible to Replace Only the Fan?
The short answer is often yes, but it depends on the specific model and how the fan is mounted:
- Clips or Snap-Fit Mounts: Some fans are held in place with clips that can be gently released without damaging the heatsink.
- Adhesive or Thermal Pads: If adhesive is used, you might need to soften it with heat or carefully pry the fan free.
- Integrated Mounting: In some cases, the fan may be permanently attached or glued, making individual replacement difficult.
Best Practices for Replacing the Fan
-
Identify the Specific Fan Model: Using the part number or visual references can help locate a compatible replacement. In your case, you’ve found a suitable fan on AliExpress (see image link).
-
Careful Disassembly: Before attempting to detach the fan, review repair guides or teardown videos for your specific laptop model. These resources often include step-by-step instructions and cautionary advice.
-
Use Appropriate Tools: Precision screwdrivers, plastic prying tools, and anti-static wrist straps can prevent damage during the process.
-
Gentle Detachment:
- If the fan is attached
Share this content: