Replacing a Laptop Fan When It’s Permanently Attached to the Heat Pipe: Is It Possible?
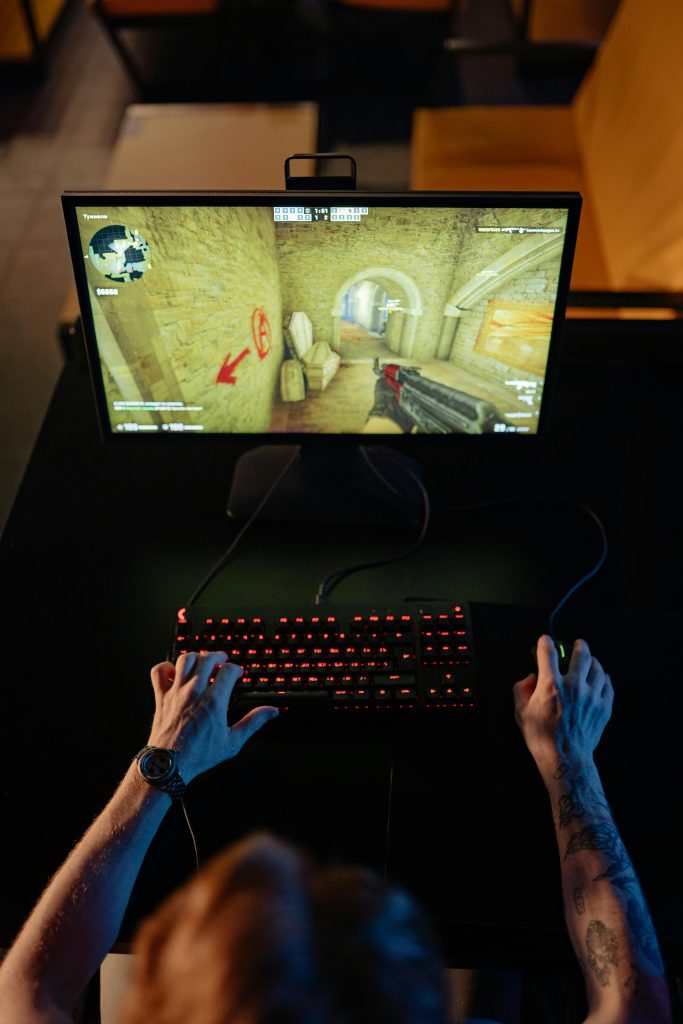
When maintaining or repairing a laptop’s cooling system, technicians and enthusiasts often encounter the challenge of replacing individual components without disassembling the entire cooling assembly. A common scenario involves replacing a fan that remains attached to the heat sink, even after unscrewing. This situation can be particularly tricky, especially when the fan is causing noise issues yet remains physically integrated with the heat pipe assembly.
Understanding the Cooling System Configuration
Many laptops employ a cooling setup where the fan is mounted directly onto the heatsink, often via clips, screws, or integrated mountings. In some designs, the fan is physically affixed or semi-permanently bonded to the heatsink, complicating efforts to replace just the fan.
In the particular case described, the user’s laptop features such a cooling configuration, where despite unscrewing the fan, it remains connected to the heatsink. This setup limits straightforward removal and raises concerns about whether it’s safe or feasible to replace the fan alone.
Assessing the Feasibility of Replacing Just the Fan
Before attempting to detach the fan, it’s critical to:
-
Verify the Connection Type: Determine how the fan is attached — is it secured via clips, rivets, adhesives, or integrated into the heat sink?
-
Identify the Connection Method: Check if the fan is glued or bonded, which would complicate disassembly.
-
Consult Manufacturer Information: Review service manuals or official repair guides for guidance specific to the model.
In many cases, fans are mounted with clips or screws, making replacement straightforward. However, if the fan is bonded or integrated into the heatsink as a single unit, removing or replacing it independently may pose risks, such as damaging the heatsink or affecting thermal performance.
Possible Solutions and Recommendations
-
Gentle Detachment:
If the fan is attached with clips or screws, carefully attempt to disengage it. Use plastic pry tools to prevent damage. Avoid forceful prying, which can crack the heatsink or bend components. -
Heat Pipe and Fan Separation:
When the fan remains connected, it may be possible to temporarily detach it by gently loosening any mounting brackets or disconnecting the fan’s ribbon cable. Confirm that the connection points are not part of the heat pipe or heatsink itself. -
Using Adhesive Solvents or Heat:
If the fan
Share this content: