Determining File Corruption from Block Numbers: A Guide to Data Recovery
Data integrity is paramount in our digital lives, and losing access to important files due to hardware failure can be devastating. Recently, I faced a daunting task: recovering files from a failed HDD that had been rescued and cloned by a professional service. Despite receiving a 1:1 clone of my faulty HDD, I was left with concerns about file corruption. This post details my experience, insights, and methods for identifying and recovering potentially corrupted files.
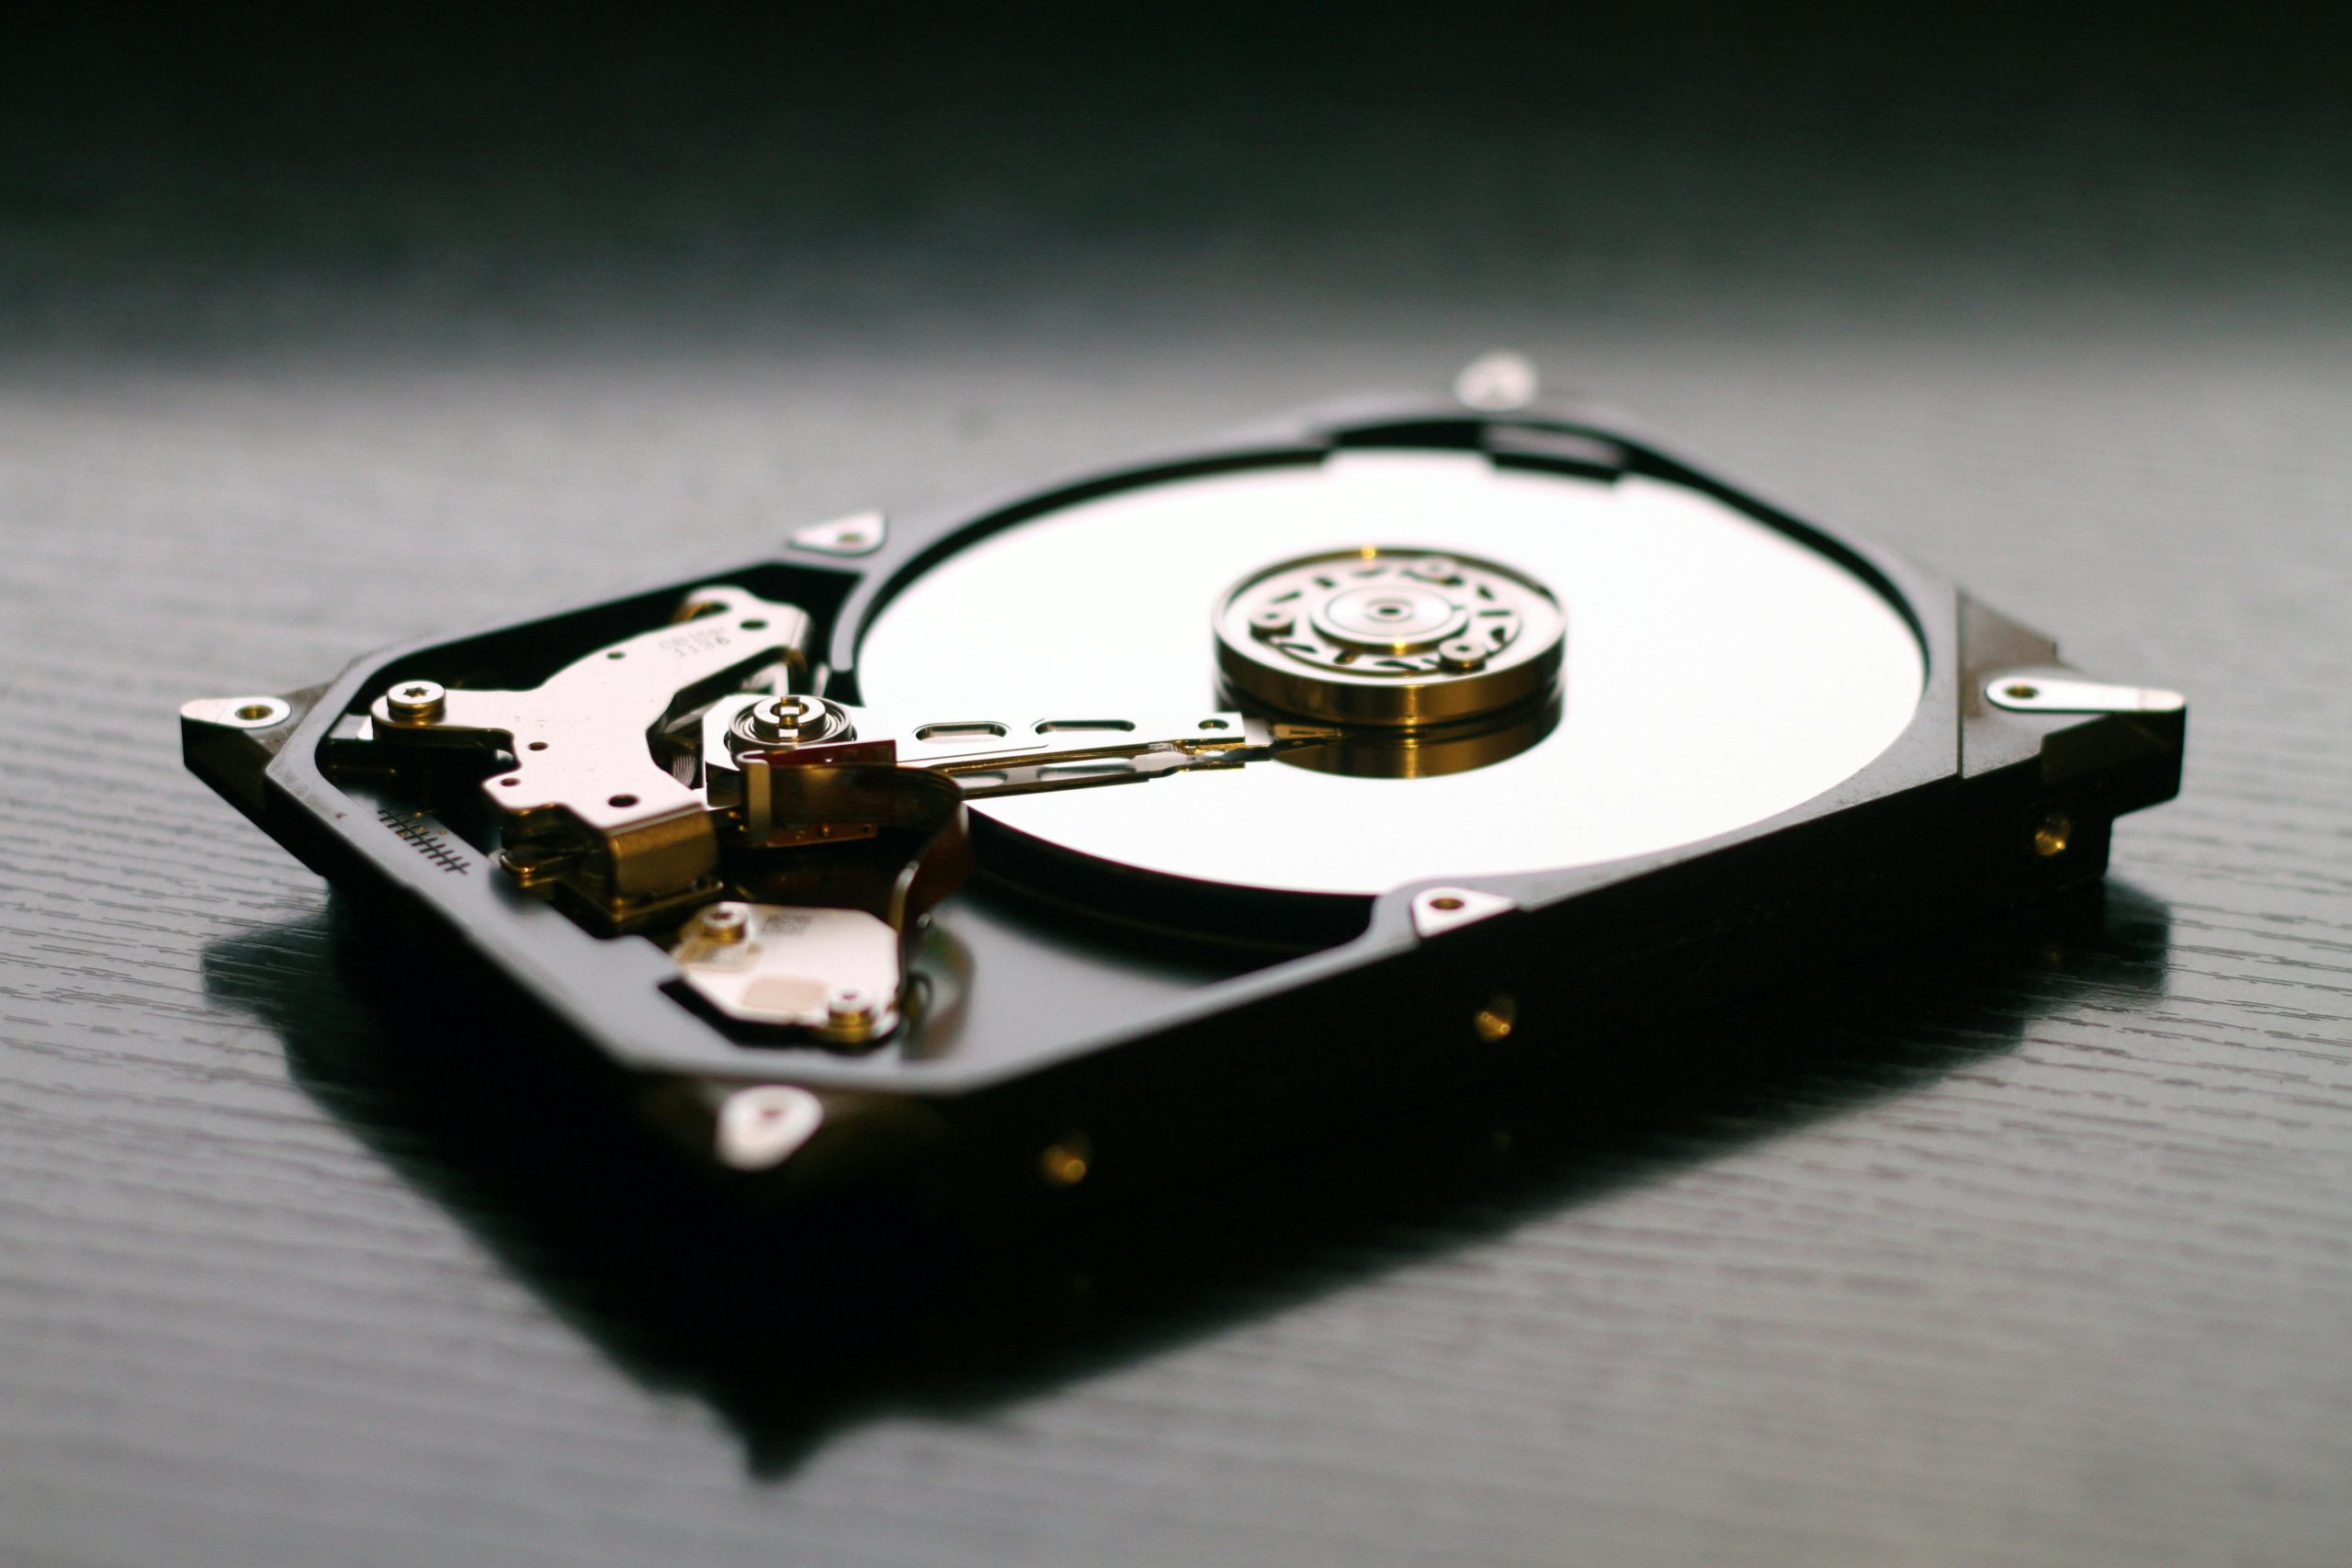
Understanding Hard Drive Corruption
When a hard drive begins to fail, one of the most pressing issues is the corruption of data stored on it. Corruption can manifest in various ways—from unreadable files to complete loss of access. In my case, the drive contained a mixture of intact and corrupted files, necessitating a robust data recovery approach.
The Nature of Block Corruption
Hard drives store data in blocks. When a block becomes corrupted, it generally can’t access its intended information, leading to potential issues in accessing files that utilize that block. Hard drives may signal problems through S.M.A.R.T. (Self-Monitoring, Analysis, and Reporting Technology) diagnostics. For instance, my HDD’s SMART data indicated over 3,000 reallocated sectors and around 300 uncorrectable errors, clear signs of intensive wear and failure.
What Does 1:1 Cloning Mean?
Professional data recovery services often utilize techniques like 1:1 cloning to recover data. This process involves creating an exact copy of the hard drive, including all sectors, whether they are healthy or corrupted. The clone can be analyzed for recoverable files without risking further damage to the original drive.
Potential Risks: Sharing Sensitive Information
After receiving my cloned HDD, I faced the dilemma of sharing the decryption password with the professional service to locate corrupted files. The drive employs HSF+ encryption—a method used commonly by macOS systems to safeguard data. Given the sensitive nature of my data, sharing the password felt like a significant risk, even with a Non-Disclosure Agreement (NDA).
Opting for a DIY Approach
With reluctance, I decided to attempt the recovery myself. Using my limited programming skills, alongside various resources including AI like ChatGPT, I began my own analysis of the cloned HDD.
Detecting Corrupted Blocks
Identifying Low Entropy Blocks
From a theoretical standpoint, blocks with corrupted data often exhibit low entropy—indicating less randomness and diversity in their content, potentially filled with default values like 0x00 or 0xFF. Conversely, healthy blocks should demonstrate high entropy due to the unpredictable nature of actual data.
Thus, I developed a Python script designed to analyze the raw disk image for low entropy blocks. The plan was to flag any blocks exhibiting low entropy, which indicated a potential likelihood of corruption.
Python Scripting to Analyze Blocks
Utilizing Python, I could read through the raw disk image byte by byte. For instance, here’s a brief overview of how I approached this task:
“`python
import os
import numpy as np
import csv
Function to calculate entropy
def calculate_entropy(data):
probabilities = np.bincount(data) / len(data)
return -np.sum(p * np.log2(p + np.finfo(float).eps) for p in probabilities if p > 0)
Analyze a raw disk image for low entropy blocks
def analyze_disk_image(file_path):
low_entropy_blocks = []
with open(file_path, ‘rb’) as disk_image:
while True:
block = disk_image.read(4096)
if not block: # end of file
break
entropy = calculate_entropy(np.frombuffer(block, dtype=np.uint8))
if entropy < threshold: # threshold value
low_entropy_blocks.append(entropy)
return low_entropy_blocks
Write results to a CSV
with open(‘low_entropy_blocks.csv’, ‘w’) as f:
writer = csv.writer(f)
writer.writerows(low_entropy_blocks)
“`
This script reads the raw disk image in 4 KB blocks, calculates the entropy, and logs low-entropy blocks. The initial output from my analysis indicated promising results—with approximately 150 corrupted blocks found in the first 100 GB of data.
Mapping Block Numbers to Files
After identifying which blocks were likely corrupted, the next significant challenge arose: mapping those block numbers back to the specific files they belonged to.
The Challenge of File System Metadata
Filesystems, such as HFS+, manage metadata in a way that doesn’t directly link data blocks to file paths. Instead, they maintain structures that reference where files start in terms of blocks. When a block is corrupted, it is challenging to identify the associated file without advanced tools or methods.
I used the pytsk3 library, part of the Sleuth Kit, to interact with the filesystem and extract file information. However, I quickly realized the complexity of the task:
- File entries exist in the filesystem: Only the links to file entries are stored, but the actual data may be scattered across multiple blocks.
- Corrupted blocks: Data corruption within a file may not always span entire blocks, complicating the ability to reconstruct files.
Strategies for File Recovery
Analyzing File Headers
A potential method to find the corresponding file to a corrupted block would involve analyzing the beginning of files for recognizable headers. However, this may not always be foolproof, particularly when corruption occurs close to the file header.
Full File System Scan
One method to connect blocks to files is to conduct a full scan of the filesystem structure. This approach generally involves creating a logical map of files, which can then be correlated with the list of corrupted blocks.
Using Specialized Tools
In light of my programming limitations, I sought additional tools that could assist with the identification of corrupted files. Suggestions included:
- ddrescue: A data recovery tool that can recover data from hard drives with bad sectors. It may be better suited for creating reliable clones than what I had already received.
- TestDisk: With capabilities to recover lost partitions and repair filesystems, TestDisk could potentially read the filesystem structure and help identify which files were likely impacted by the corrupted blocks.
Leveraging Community Knowledge
I reached out to online communities and forums to gather insights and suggestions from those who had faced similar challenges. Several users recommended using forensic recovery techniques or asking for assistance from professionals who specialize in difficult data recovery cases.
Conclusion
Recovering files from a corrupted HDD is undoubtedly a challenging task. Initial steps included evaluating the corruption’s extent, conducting entropy analysis via scripting, and representing data to identify corruption patterns. However, the most rewarding element has been leveraging the full community, which provides insights and real-world scenarios from professionals and fellow enthusiasts alike.
In the end, while I was hesitant to share my encryption password for professional recovery services, my exploration into coding, recovery tools, and community wisdom provided valuable paths forward. With more progress on recovering my files, I encourage those facing similar challenges to take a proactive approach, utilizing all available resources in their digital resilience efforts.
Call to Action
If you find yourself in a similar situation, remember to proceed with caution—considering both security and the sensitivity of your data. The journey through the recovery landscape can be complex, but remember that knowledge-sharing and perseverance often shine the way to successful data recovery.
Share this content:


Thank you for sharing such a detailed overview of your data recovery process and the challenges faced when dealing with corrupted HDDs and block-level analysis. Your approach to identifying low entropy blocks using Python scripting is a clever method to pinpoint potentially corrupted sectors, especially when working with raw disk images.
Regarding your concern about mapping block numbers back to specific files, this is indeed a complex task due to how filesystems like HFS+ manage metadata and data locations. Using libraries such as pytsk3 from The Sleuth Kit is a good step, as it allows you to interact with filesystem structures and extract file information. However, for more precise file reconstruction from damaged data, you might consider combining multiple approaches:
If you’re comfortable with CLI tools, integrating <