Assessing Whether Heat Sink Hard-Sticking to the CPU Indicates the Need to Replace Thermal Paste
When performing maintenance or upgrades on your computer, proper thermal management is crucial for optimal performance and longevity. One common concern is whether a heat sink that appears firmly adhered to the CPU signifies that the thermal paste has sufficiently cured or if it warrants replacement. Let’s explore what to consider when encountering a heat sink that seems to resist removal after some time.
Is Hard-Standing Heat Sink a Sign of Deteriorated Thermal Paste?
Many users wonder if a heat sink that becomes difficult to detach is indicative of aging or degraded thermal paste. Typically, thermal paste is designed to fill microscopic gaps between the CPU and the heat sink, facilitating efficient heat transfer. Over time, thermal paste can dry out or change in consistency, potentially reducing its efficacy.
However, a heat sink that becomes “hard-stuck” or difficult to loosen isn’t necessarily a sign that the paste has failed. In fact, when thermal paste is applied correctly and allowed to cure, it can form a strong bond with both surfaces. Such bonding becomes more apparent after several months or years, especially if the heatsink has been removed and reinstalled multiple times, leading to a more robust adhesion.
The Role of Thermal Paste Application Timeline
In your case, you mentioned applying new thermal paste approximately 1.5 years ago following a misalignment correction. Under normal circumstances, thermal paste benefits from a curing period but seldom results in a permanently stuck heatsink that refuses to budge. Typically, after a year or two, thermal paste should still allow for reasonable removal, unless it has been disturbed or improperly applied initially.
When to Consider Thermal Paste Replacement
Reconsider replacing thermal paste if you notice:
– Elevated CPU temperatures not improving after proper airflow and cleaning.
– Significant difficulty in removing or adjusting the heatsink.
– Visible signs of dried, cracked, or deteriorated paste during inspection.
– Unusual thermal performance issues that might stem from suboptimal heat transfer.
Practical Tips for Removal and Inspection
If you decide to remove the heatsink:
1. Gentle Techniques: Use gentle, even pressure when attempting to detach the heatsink. Sometimes, a slight twisting or rocking motion can help free it if it’s adhered due to dried or cured paste.
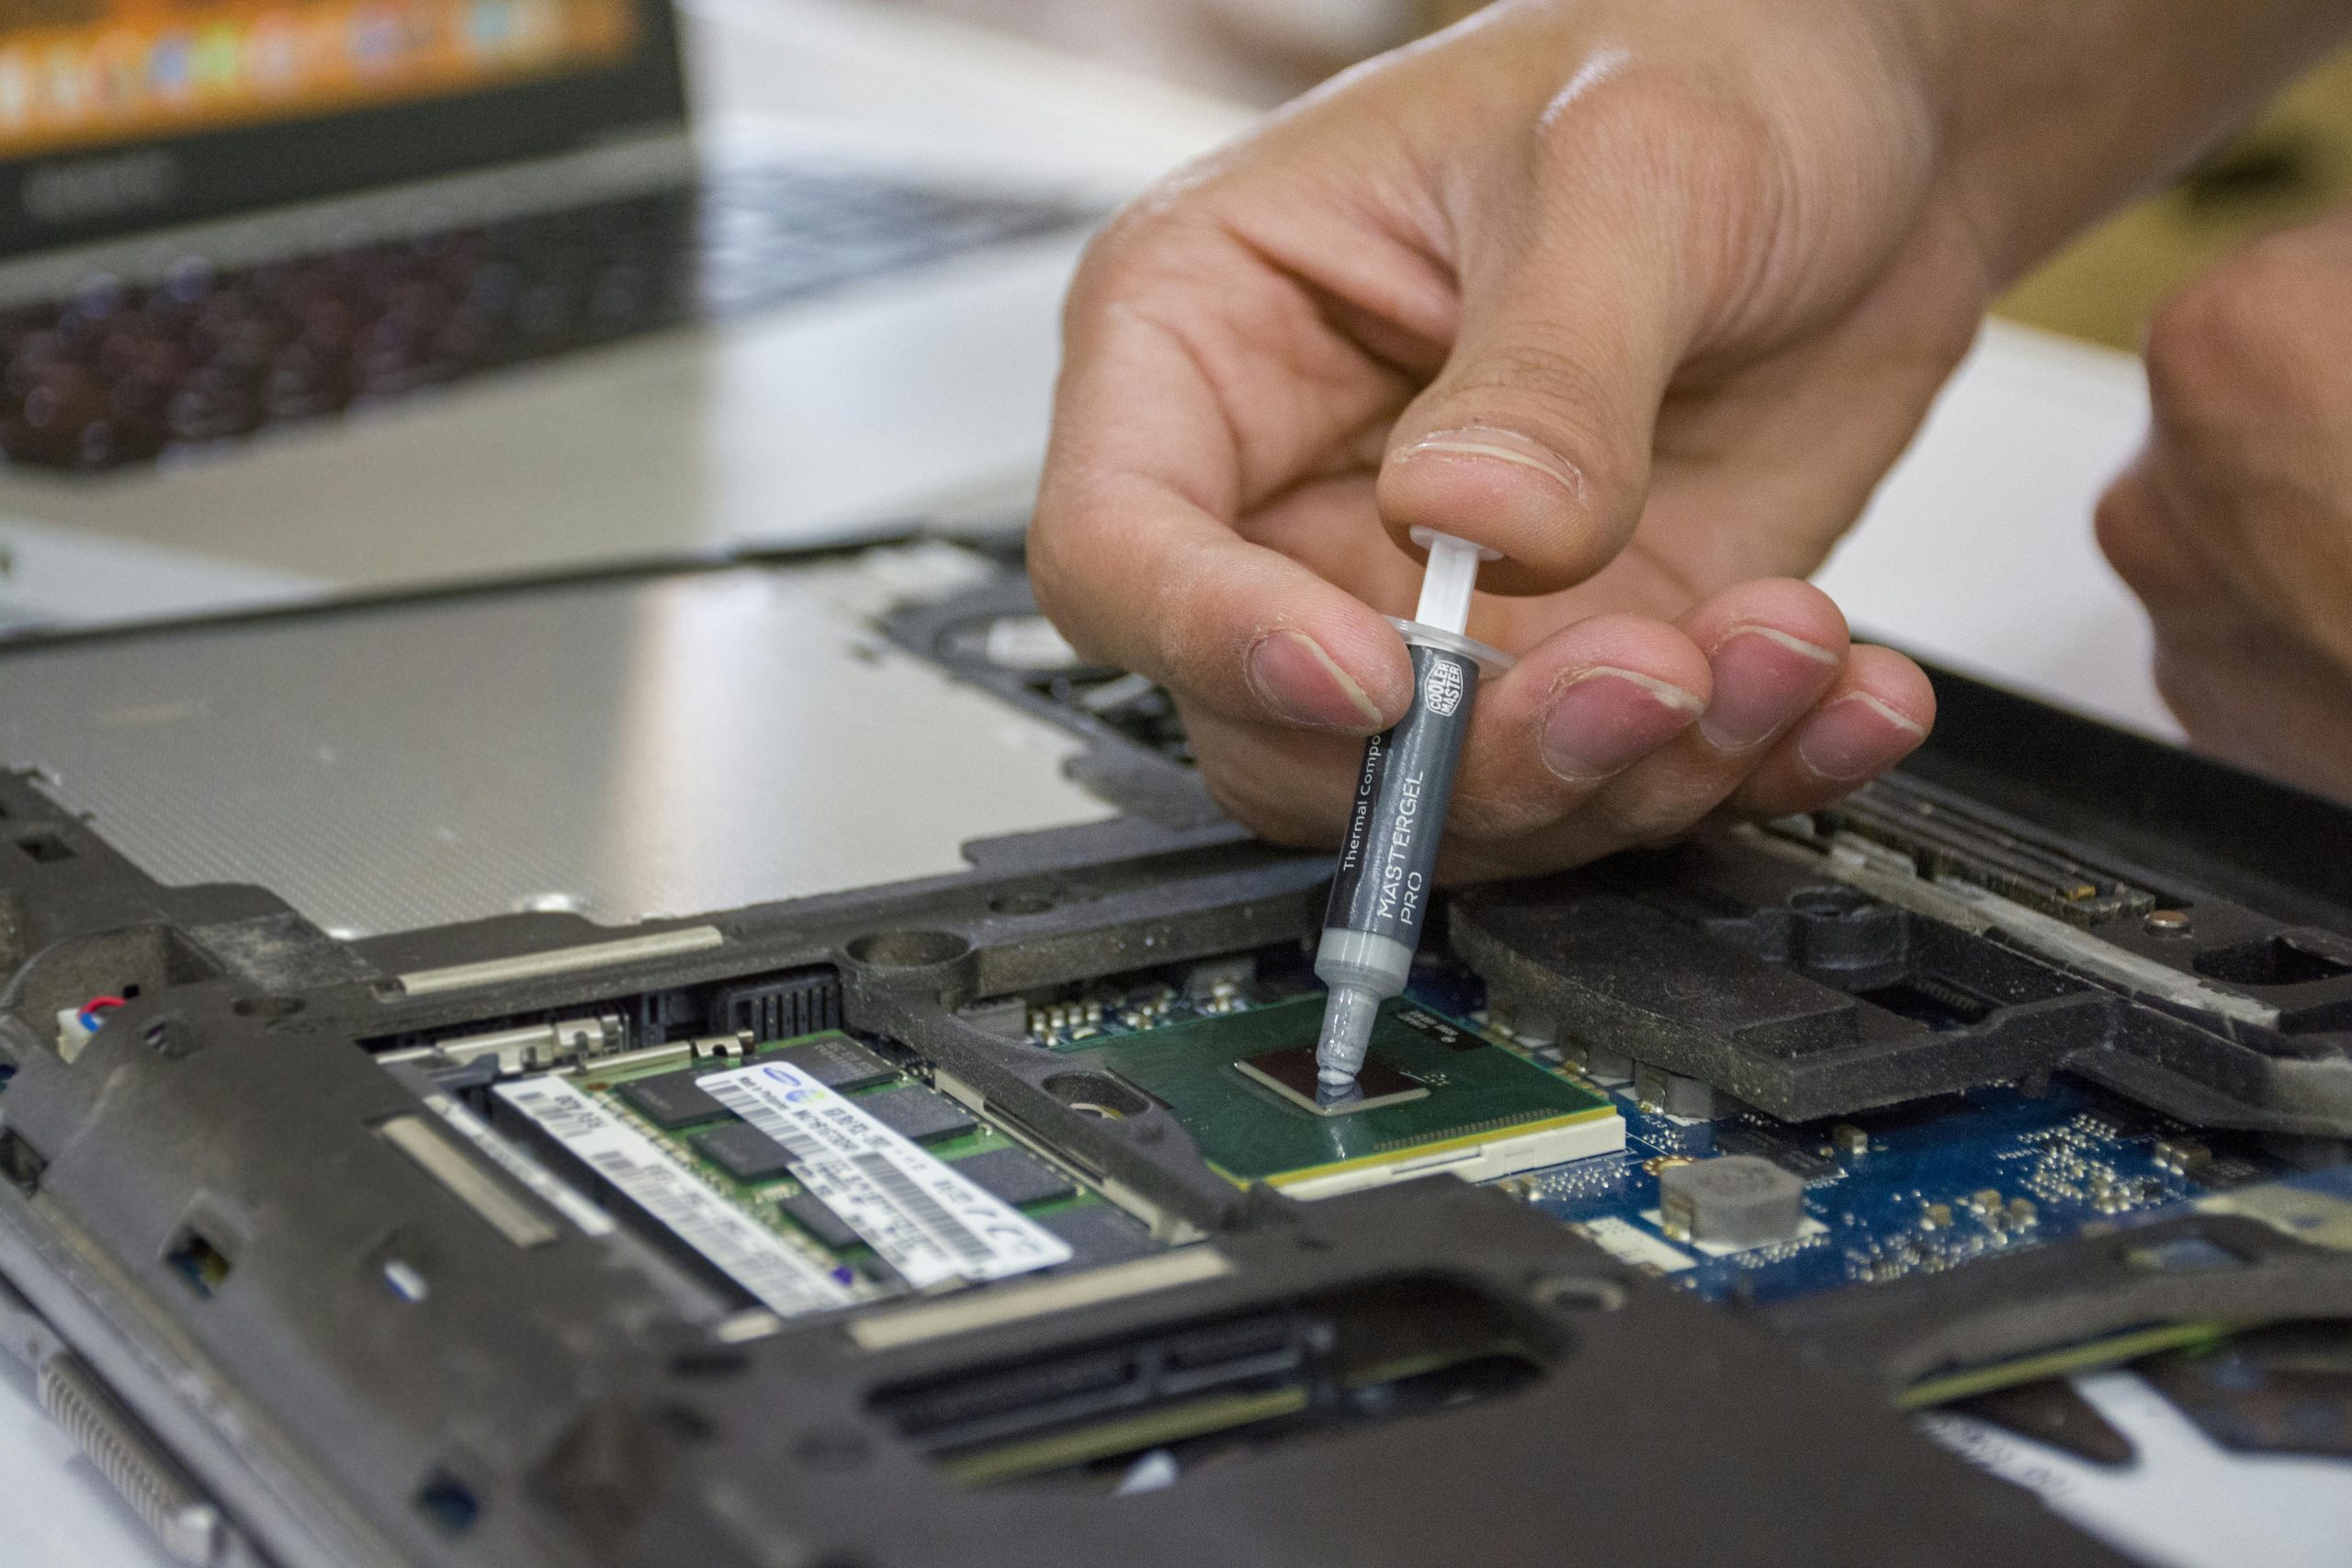
2. Thermal Paste Condition: Inspect the thermal interface. If the paste appears hardened or crusty, it’s advisable to clean and reapply fresh thermal compound
Share this content: