Troubleshooting a Short Circuit on Your Motherboard: A Step-by-Step Guide
Maintaining the functionality of a computer is crucial, and sometimes even the best intentions can lead to unexpected issues. Recently, I encountered a situation that raised some eyebrows but also provided a valuable learning experience. After cleaning my computer with an electronic cleaner, I allowed it to dry for a full day. However, upon plugging it back in, I noticed that the power adapter emitted strange noises and flashed intermittently.
In an effort to isolate the problem, I disconnected all peripherals, leaving only the power cable connected to the motherboard. To my dismay, the same alarming behavior persisted. At this point, it seemed clear that the motherboard might be experiencing a short circuit.
Understanding the Problem
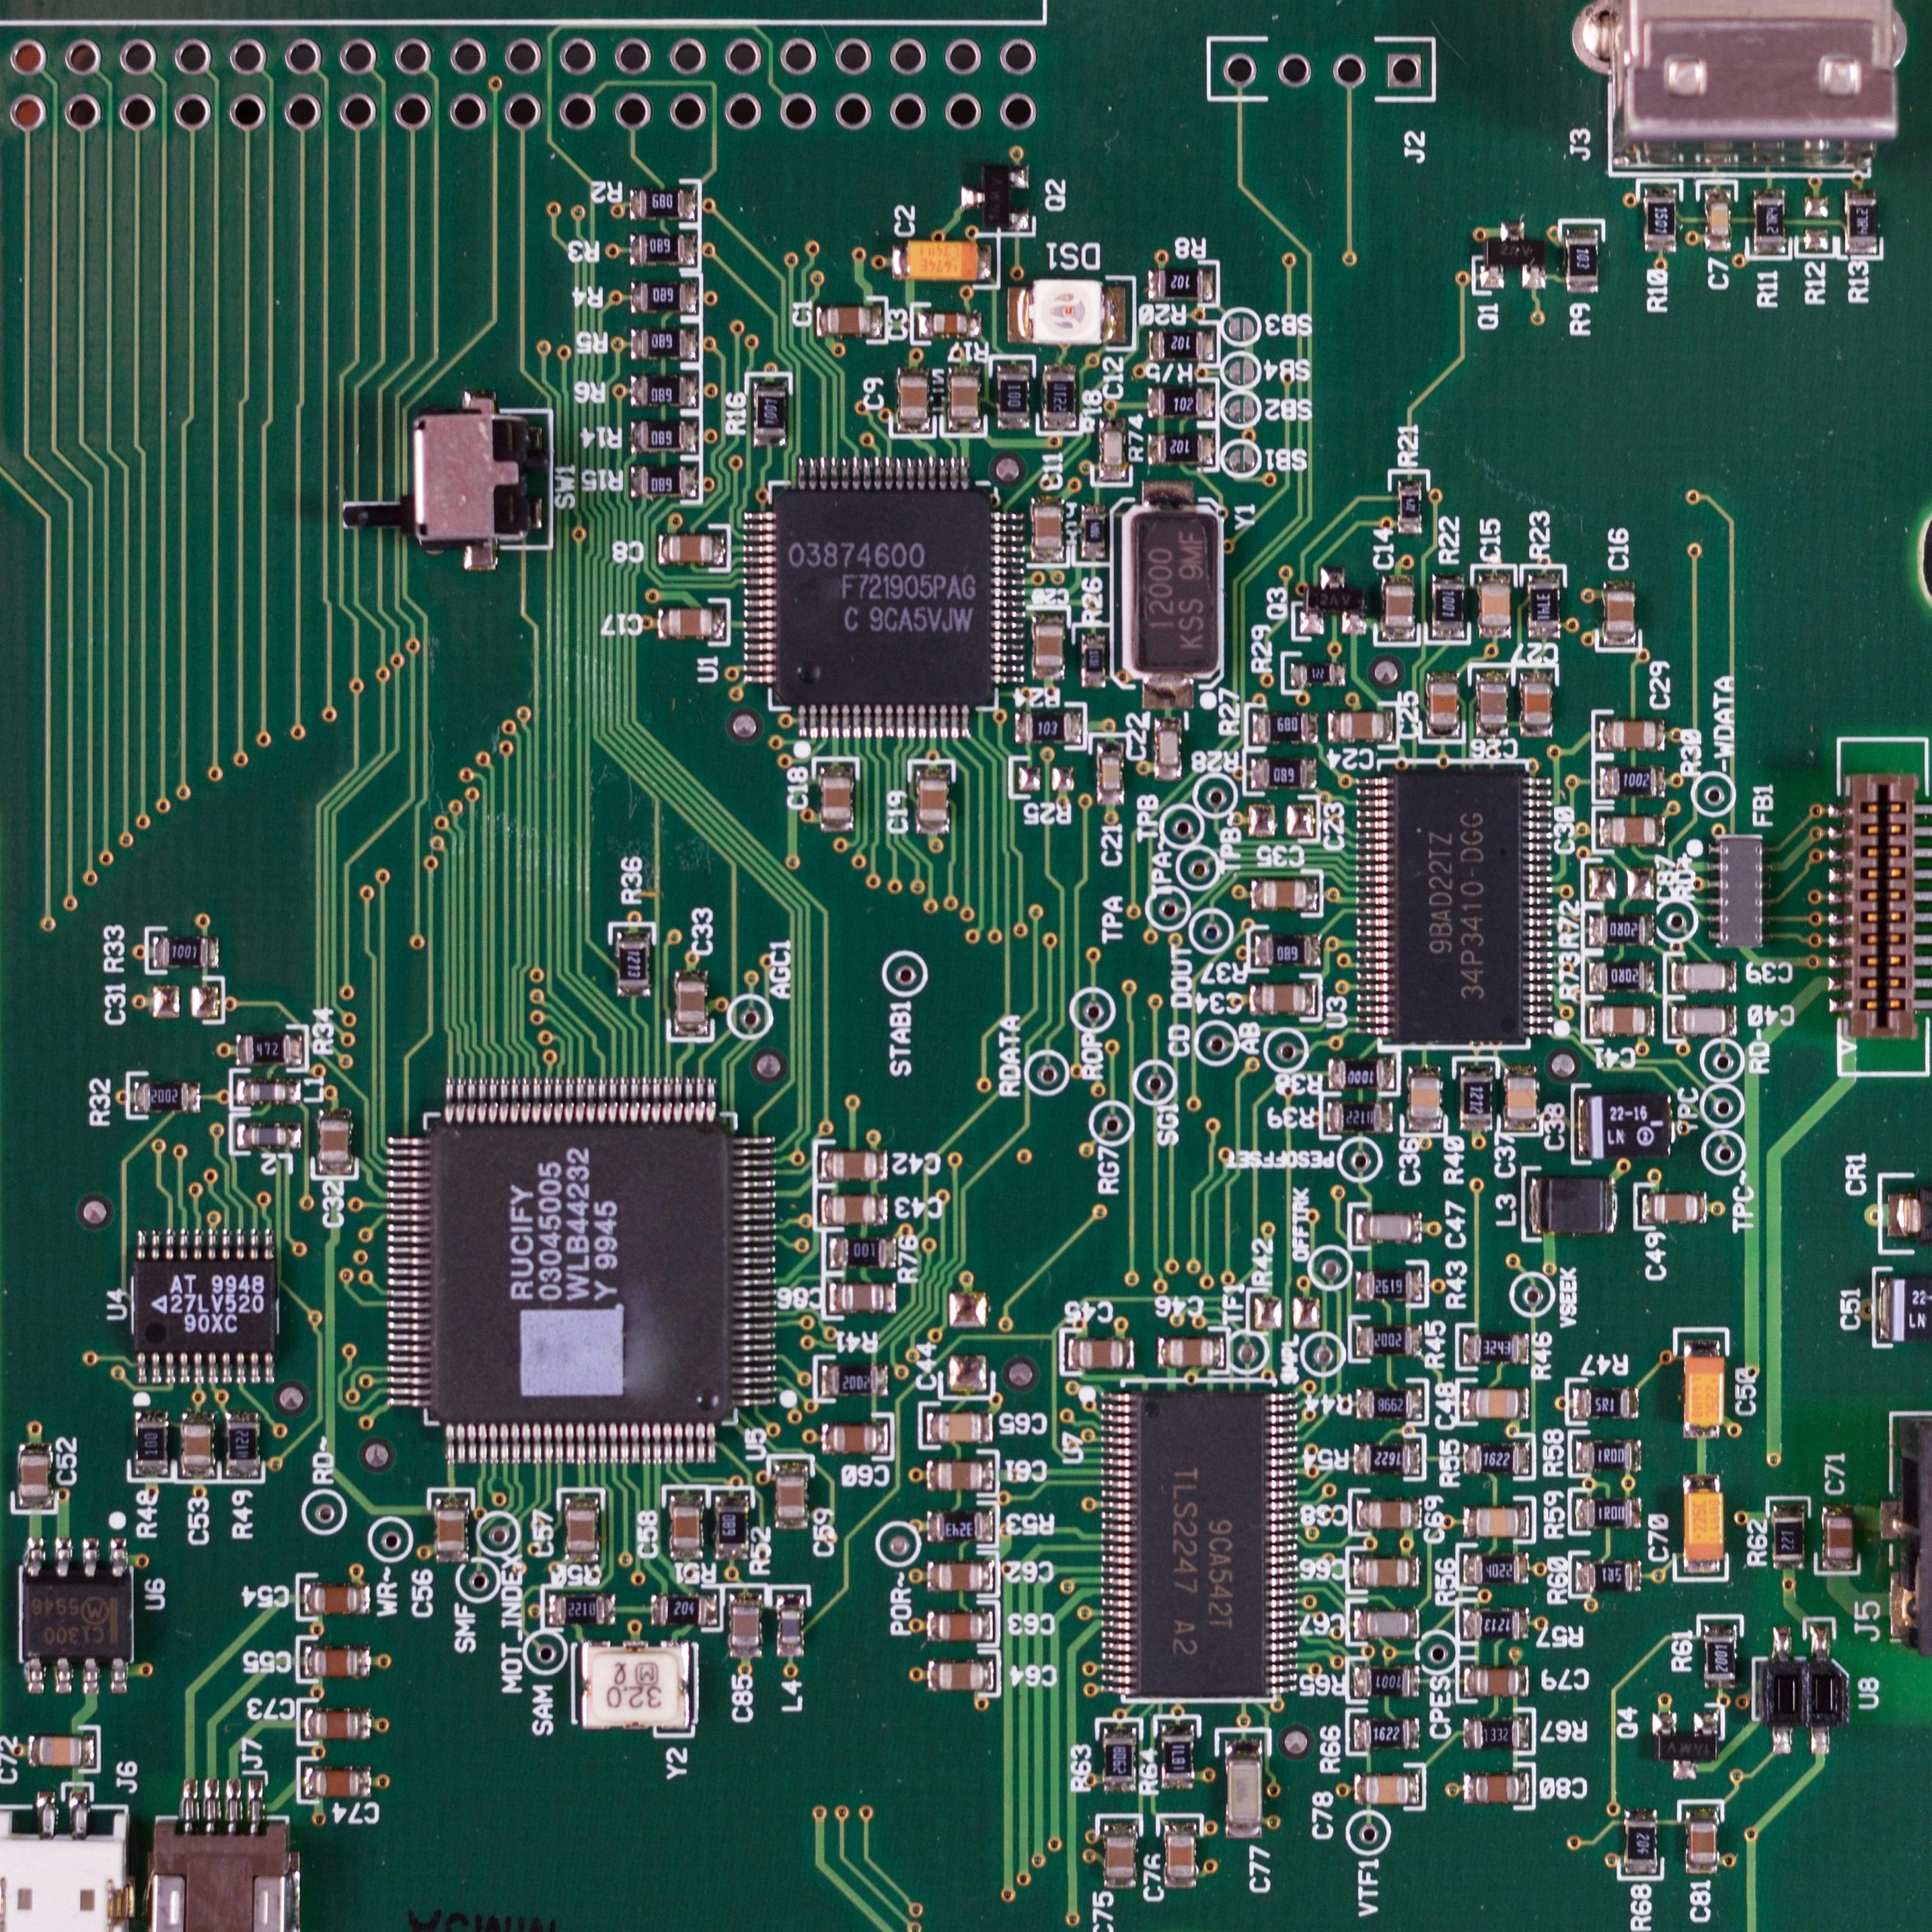
When a motherboard experiences a short circuit, it can manifest in various ways, including unusual sounds or blinking lights from the power supply. These symptoms often indicate that there is a fault somewhere on the motherboard that prevents the computer from functioning normally.
Steps to Diagnose and Resolve the Issue
-
Power Down and Disconnect: First, ensure that the computer is completely powered down and disconnected from any power source. Safety should always be your priority.
-
Inspect the Motherboard: Take a thorough look at the motherboard. Check for any visible signs of damage, such as burnt components, bulging capacitors, or debris left from the cleaning process.
-
Clean Again, if Necessary: If you see any residue or foreign matter on the board, consider using an isopropyl alcohol solution and a soft brush to carefully clean it. Ensure everything is completely dry before reconnecting power.
-
Examine Power Supply Connections: Verify that all connections to the motherboard are secure and free from damage. Loose or damaged connectors can lead to short circuits.
-
Test with Minimal Components: If possible, try booting the motherboard with only essential components connected (CPU, one stick of RAM, and onboard graphics, if available). This can help identify if another component is causing the issue.
-
Seek Professional Help: If the problem persists after these steps, it might be time to consult a professional. A technician can perform more in-depth testing and repairs that may not be feasible at home.
Conclusion
Experiencing a short circuit on your motherboard can be a concerning situation, but it doesn’t have to be the end of your computer’s life. By following methodical troubleshooting steps
Share this content:


Dear User,
Discovering a short circuit on your motherboard can indeed be concerning, but it’s good that you are approaching the issue systematically. Based on your description, here are a few additional tips:
If these steps do not resolve the issue, consulting with a professional technician or considering a motherboard replacement may be necessary. Remember, safety first—always disconnect power before handling internal components.
Hope this helps you in troubleshooting further. Feel free to reach out with additional details if you need more assistance.