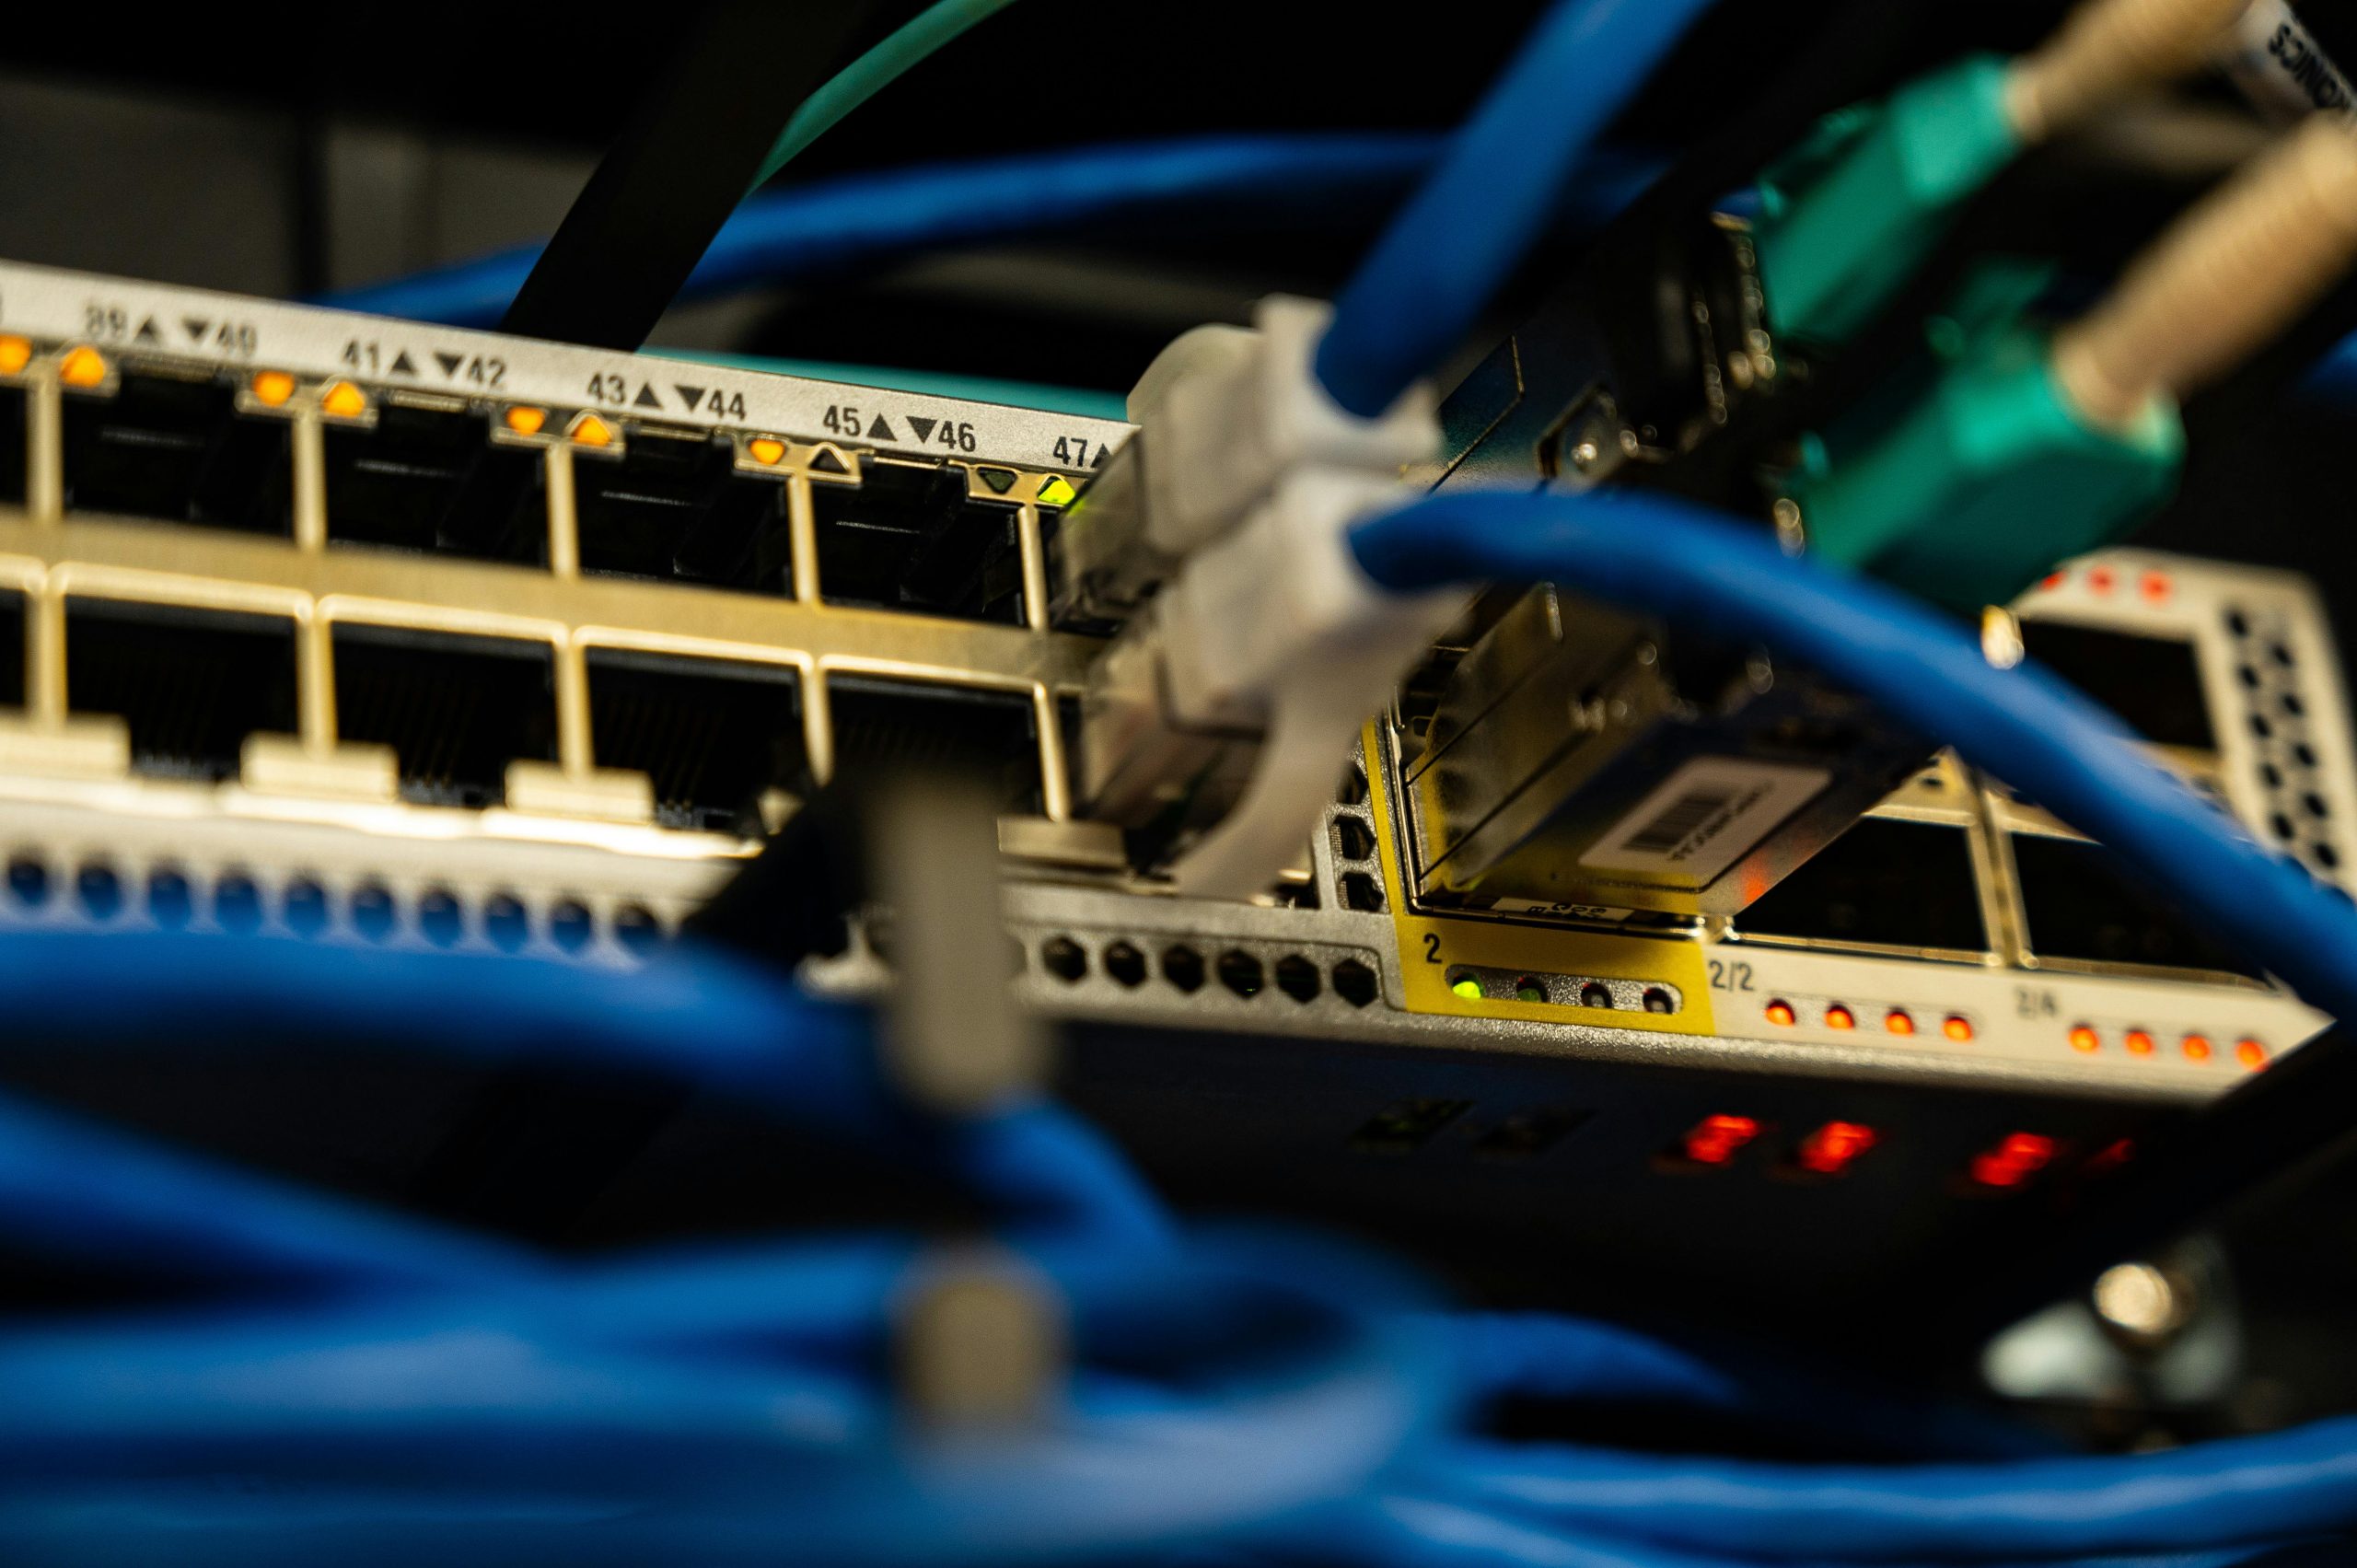
How to Repair a Loose Ethernet Port: A Step-by-Step Guide
A stable internet connection is crucial for both work and leisure, and a loose Ethernet port can undermine this reliability. If you’re experiencing connectivity issues due to a slack connection, this guide will walk you through the steps to fix a loose Ethernet port efficiently.
Understanding the Problem
Before diving into the repair process, it’s essential to identify why your Ethernet port may be loose. This issue can stem from various factors, including frequent cable disconnections, physical damage, or normal wear and tear. Ignoring a loose port can lead to more significant problems over time, including impaired connectivity.
Tools You Will Need
Before you begin the repair, gather the following tools:
- A screwdriver (depending on your device)
- A pair of pliers
- A replacement Ethernet port (if necessary)
- Soldering iron (for advanced repairs)
Step-by-Step Repair Process
1. Power Down Your Device
Before you begin any repairs, ensure that your device is completely powered off and unplugged. This precaution will help you avoid any electrical hazards.
2. Access the Ethernet Port
Carefully open the device’s casing, using a screwdriver if necessary. Make sure to follow guidelines specific to your device model to prevent damage.
3. Inspect the Port
Once you have access to the Ethernet port, examine it closely. Look for any visible signs of damage or looseness. If the port appears dislodged, you may need to re-solder it or replace it entirely.
4. Tighten Loose Screws
If screws or brackets are responsible for the loose connection, use your screwdriver to tighten them. This step often resolves minor issues without requiring extensive repairs.
5. Replace the Ethernet Port (if necessary)
If the port is damaged beyond simple repairs, consider replacing it with a new one. Carefully detach the old port and solder in the new one, ensuring that all connections are secure.
6. Reassemble Your Device
Once you have completed the repair, reassemble your device with care. Make sure that everything fits snugly and does not leave any components exposed.
7. Test the Connection
After reassembling, plug in your device and test the Ethernet connection with a compatible cable. Ensure that the connection is stable and secure.
Conclusion
Repairing a loose Ethernet port may seem daunting, but with the right tools and a bit of patience, you can restore your device’s
Share this content:


Thank you for sharing this comprehensive guide on repairing a loose Ethernet port. If you’re unfamiliar with hardware repairs or uncomfortable opening your device, consider consulting a professional technician to avoid accidental damage. For those comfortable with electronics work, ensure you follow proper safety precautions, such as unplugging the device and grounding yourself to prevent static discharge. Additionally, if the Ethernet port is integrated onto the motherboard and soldering isn’t effective, replacing the entire motherboard may be the most reliable solution. If you encounter specific issues during the repair process or need further assistance, feel free to reach out with detailed information about your device model and the problem symptoms. We’re here to help!