Troubleshooting RAM Issues: A Step-by-Step Guide
If you’re experiencing problems with your computer’s performance, particularly in a Lenovo device indicated by a series of beep codes—specifically the 1-1-2-3-1-2-3-1 sequence—you’re not alone. This pattern indicates potential issues with your RAM, which can stem from a couple of common factors. Understanding these potential causes is the first step in resolving your issue effectively.
Identifying the Problem
According to insights from the Lenovo support website, the beep code may signify one of two primary concerns:
- Loose or Damaged RAM Slot
- Malfunctioning or Dead RAM Module
To determine whether the issue lies with the RAM module itself or the slot it occupies, you can follow these systematic troubleshooting steps.
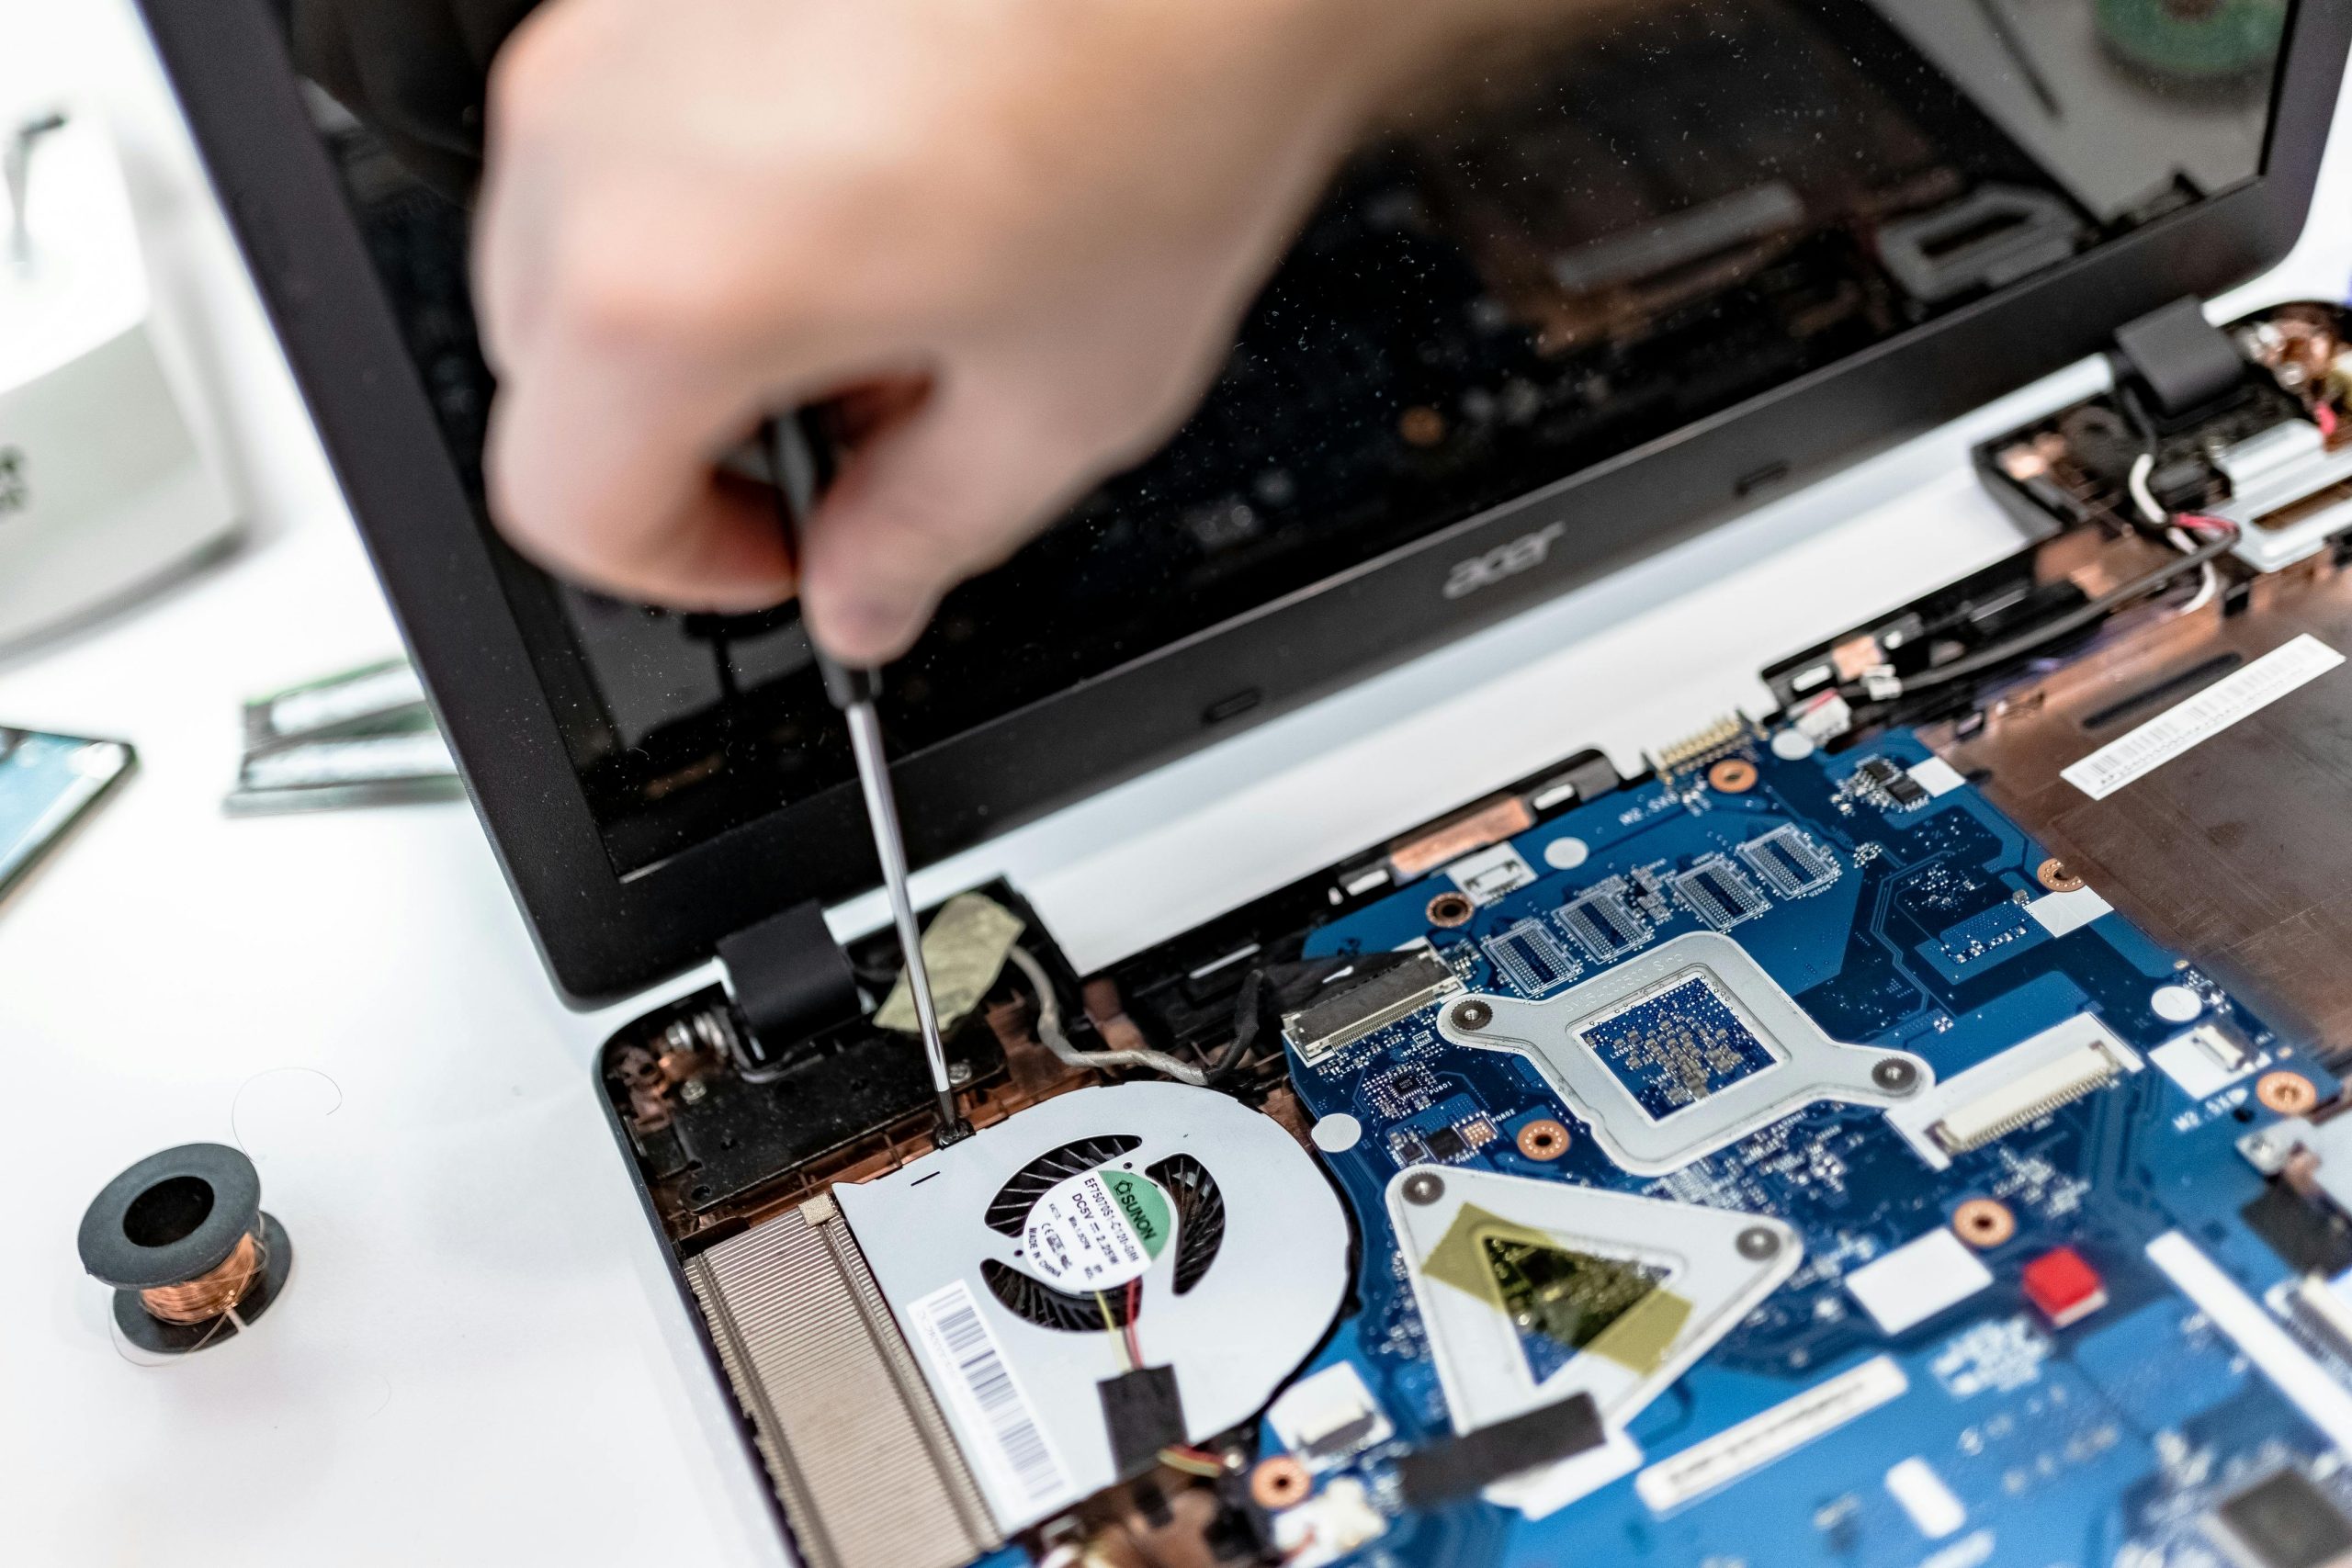
Step 1: Power Down and Prepare
Begin by shutting down your computer and unplugging it from the power source. This ensures your safety while handling internal components.
Step 2: Open the Case
For desktop users, opening the computer case will give you access to the RAM slots. For laptops, consult the manufacturer’s manual to locate the RAM compartment.
Step 3: Inspect the RAM Modules
Carefully remove the RAM modules from their slots. Examine both the modules and the slots for any visible signs of damage, such as physical wear, corrosion, or dirt. Make sure that the connectors on the RAM modules are clean and undamaged.
Step 4: Test the RAM Modules
To isolate the problem:
– Re-insert one RAM module at a time into the slot.
– Power on the computer after each insertion to see if the beep pattern changes or if the device boots successfully.
Step 5: Swap Slots
If the issue persists with one module but not the other, try the working module in a different slot to see if the problem is with the RAM slot itself.
Step 6: Check Documentation
Refer to your motherboard’s manual or the Lenovo support site for additional troubleshooting steps. Some motherboards have specific slots that need to be populated first or guidelines for dual-channel configurations.
Conclusion: Next Steps
By following these steps, you can effectively narrow down whether your RAM is malfunctioning or if the problem lies with the slot. If you discover a defective RAM module or slot, consider reaching out to Lenovo support for further assistance or replacement options.
Taking a methodical approach to diagnosing your RAM issues can save
Share this content:


Understanding and Troubleshooting Your RAM Issue
Thank you for sharing the detailed steps you’ve taken to diagnose the RAM problem on your Lenovo device. Based on the beep code pattern (1-1-2-3-1-2-3-1), it indeed indicates potential RAM issues, such as a faulty module or a loose/damaged slot.
Here are some additional tips to assist you further:
If these steps indicate a defective module or slot, replace the faulty component accordingly. For further assistance, please consult Lenovo’s official support or consider professional hardware diagnostics for