Title: Troubleshooting Laptop Crashes: Is Your Thermal Paste to Blame?
If you’re facing sudden crashes on an older laptop, you’re not alone. Many users encounter similar issues, especially when their devices are tasked with heavy applications. Recently, my laptop, which has served me well for quite some time, started freezing unexpectedly. This occurs even when I’m not running demanding software. The screen simply locks up, and the only way out is a forced shutdown, after which the laptop is temporarily operational again.
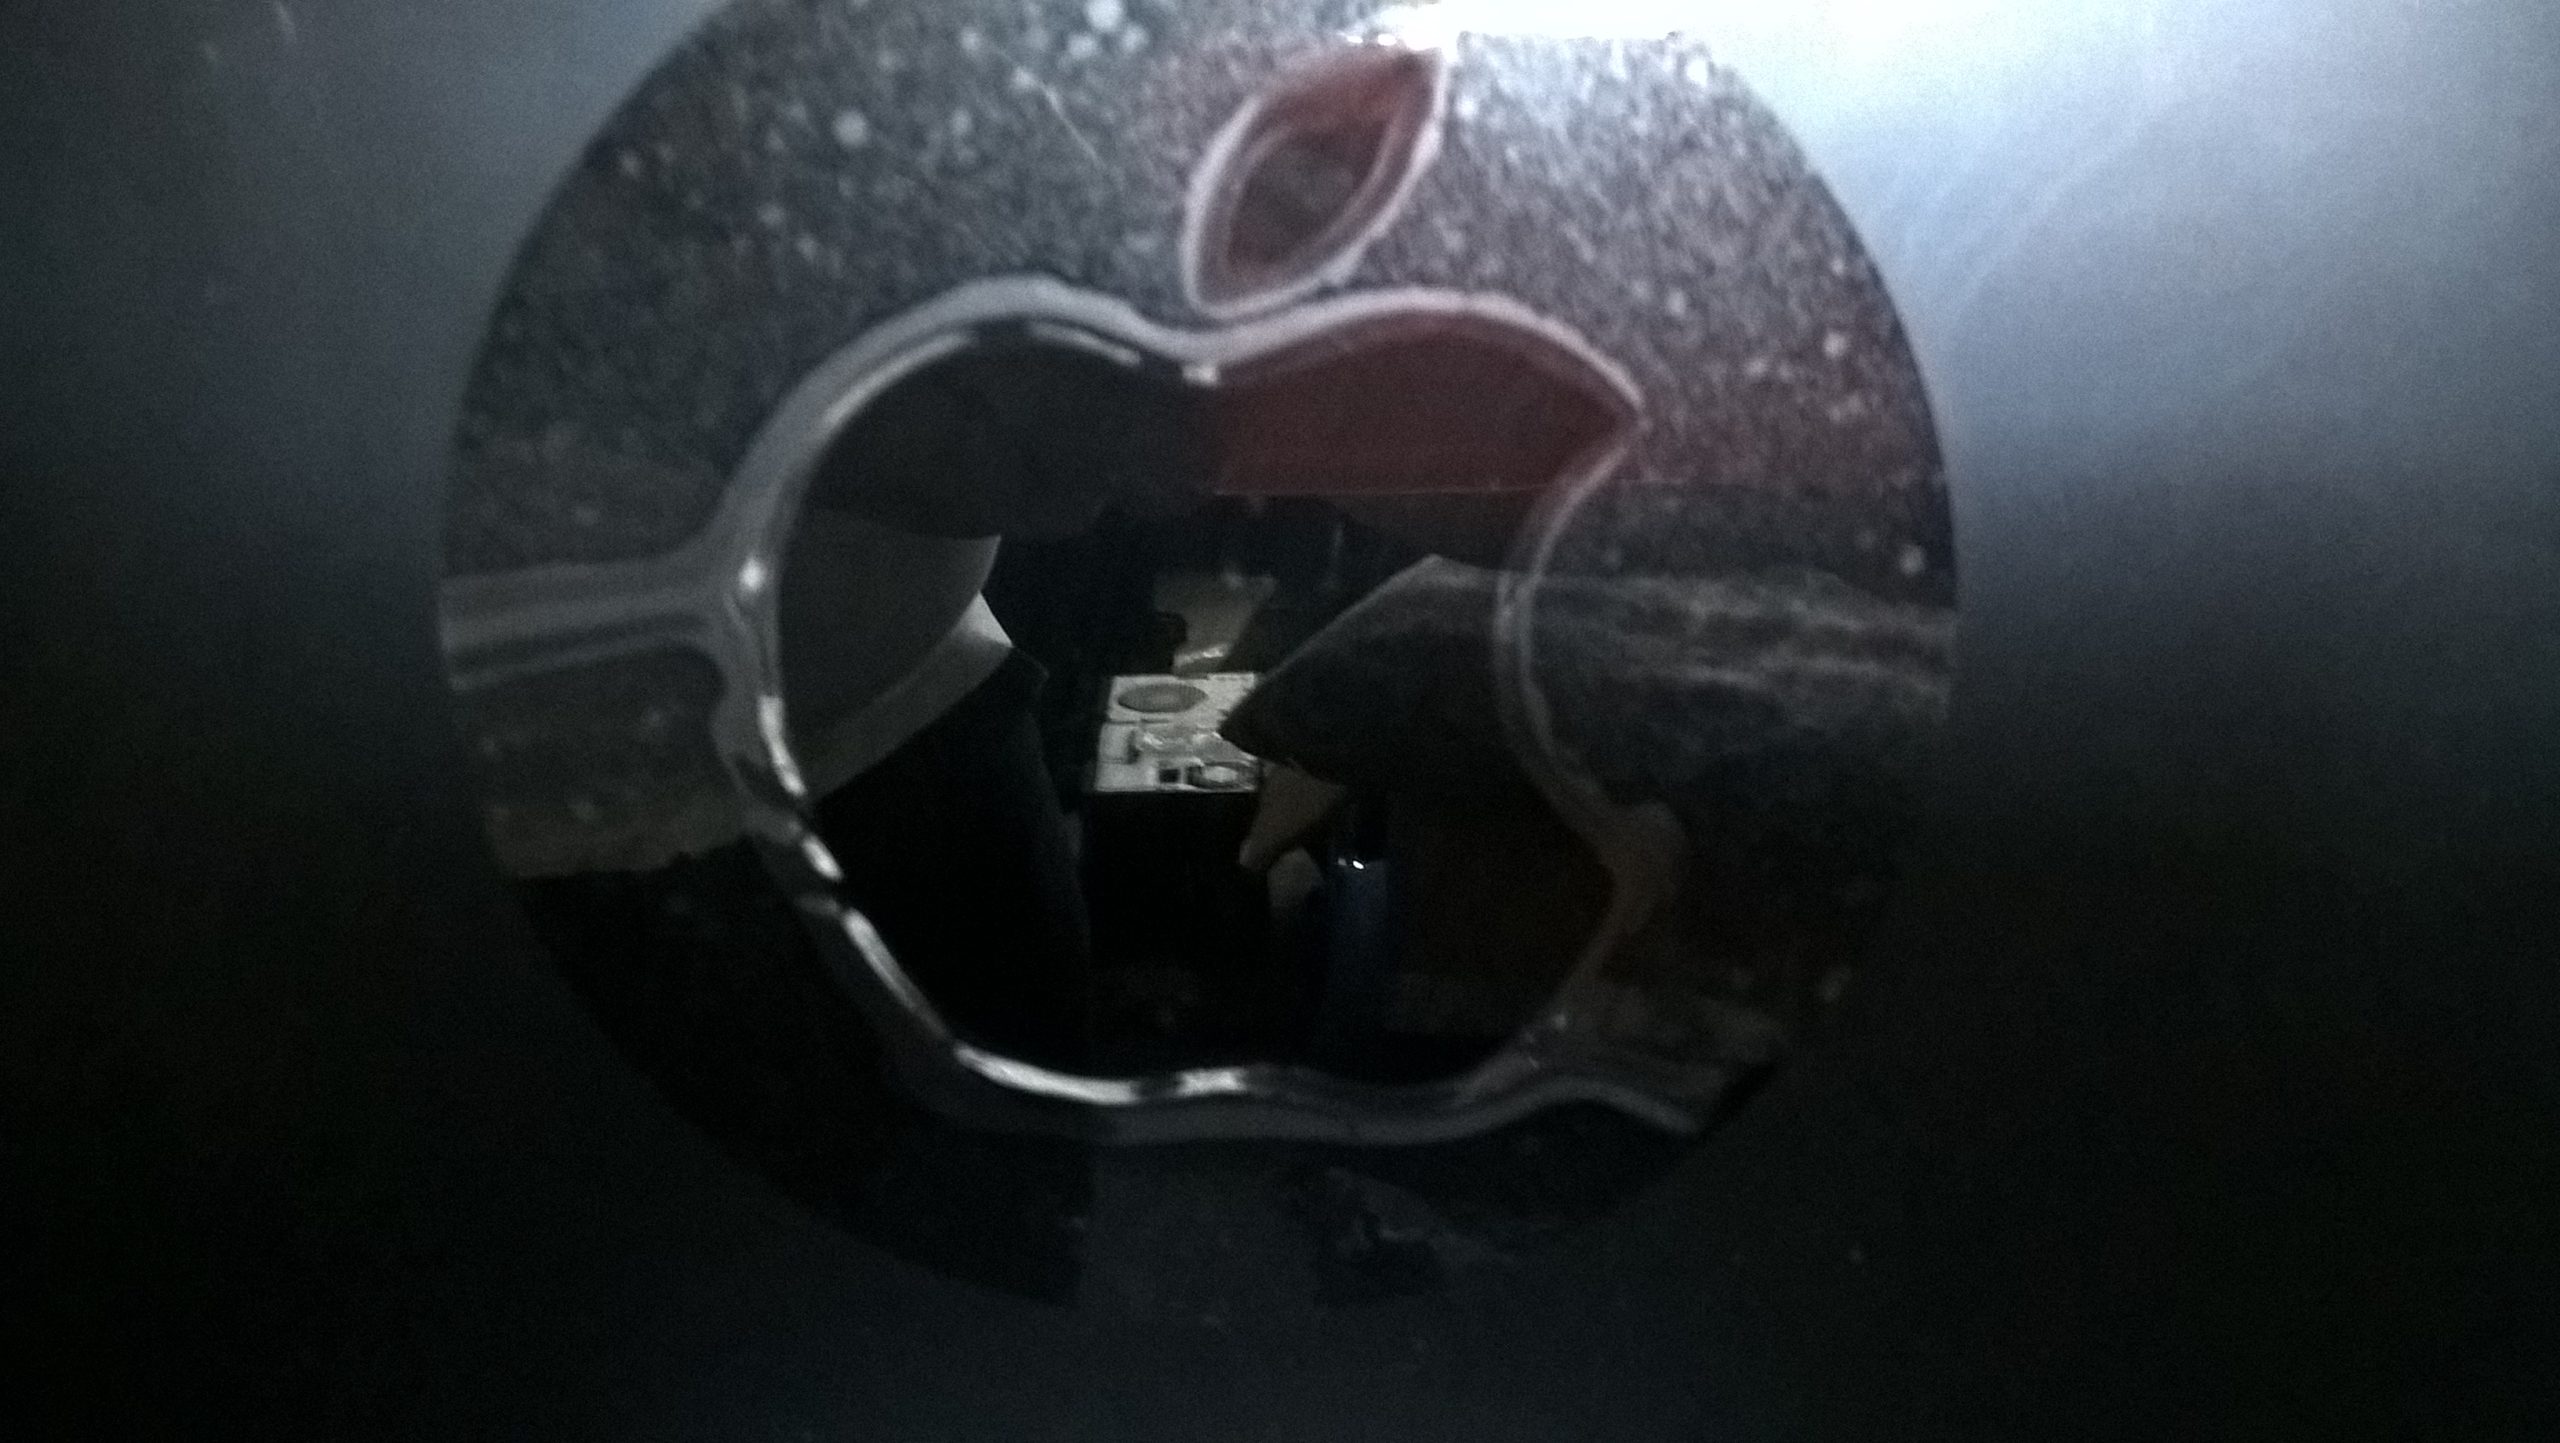
Curious about the cause, I decided to give my laptop some routine maintenance a few weeks back. While I was cleaning out the dust, I encountered a snag: one of the screws that secures the heat conduction plate to the fan wouldn’t budge. After a recent attempt to regain access, I finally succeeded in removing the screw. However, I noticed something concerning—the thermal paste appeared to have melted.
This brings me to a critical question: is that normal? Intuitively, I suspect that it’s not how it should look. If anyone has advice on troubleshooting this issue, specifically how to improve the performance of my laptop so it can function for more than just an hour at a time, I would greatly appreciate your insights!
Thanks in advance for your help!
Share this content:


Hi there,
It sounds like you’re experiencing thermal issues that could definitely impact your laptop’s stability and performance. When thermal paste appears melted or degraded, it’s a sign that it might need to be replaced to ensure proper heat transfer between the CPU/GPU and the heatsink.
Here are some steps you can follow:
Replacing degraded thermal paste can significantly improve your laptop’s cooling performance, prevent overheating, and potentially resolve freezing issues caused by thermal throttling. Also, consider checking your system’s internal fans and airflow to ensure optimal cooling conditions.
If the problems persist after replacing the thermal paste, it might