Removing the Corsair CPU Cooling Assembly: A Step-by-Step Guide
If you’re experiencing annoying high-pitched noises from your Corsair CPU cooler, it might be time for a cleaning or even a replacement. Many users find themselves asking how to safely detach this cooling assembly without dismantling their entire computer. Below, we’ll outline the steps to help you efficiently remove the CPU cooling assembly.
Step 1: Preparations
Before diving into the removal process, it’s essential to prepare your workspace. Here’s what you’ll need:
- A clean, static-free environment
- A screwdriver set (usually Phillips)
- A soft cloth or compressed air for cleaning
- Anti-static wrist strap (optional but recommended)
Step 2: Power Down and Unplug
The first and foremost step is to ensure your computer is completely powered down and unplugged from the electrical outlet. This will prevent any electrical mishaps while you’re working on your system.
Step 3: Accessing the Cooler
In many cases, you won’t need to take apart your entire computer. However, it might be necessary to remove components like RAM or cables connected to the motherboard for better access. If your case allows it, consider that the CPU cooler is attached directly to the motherboard, so ensure you have a clear path to it.
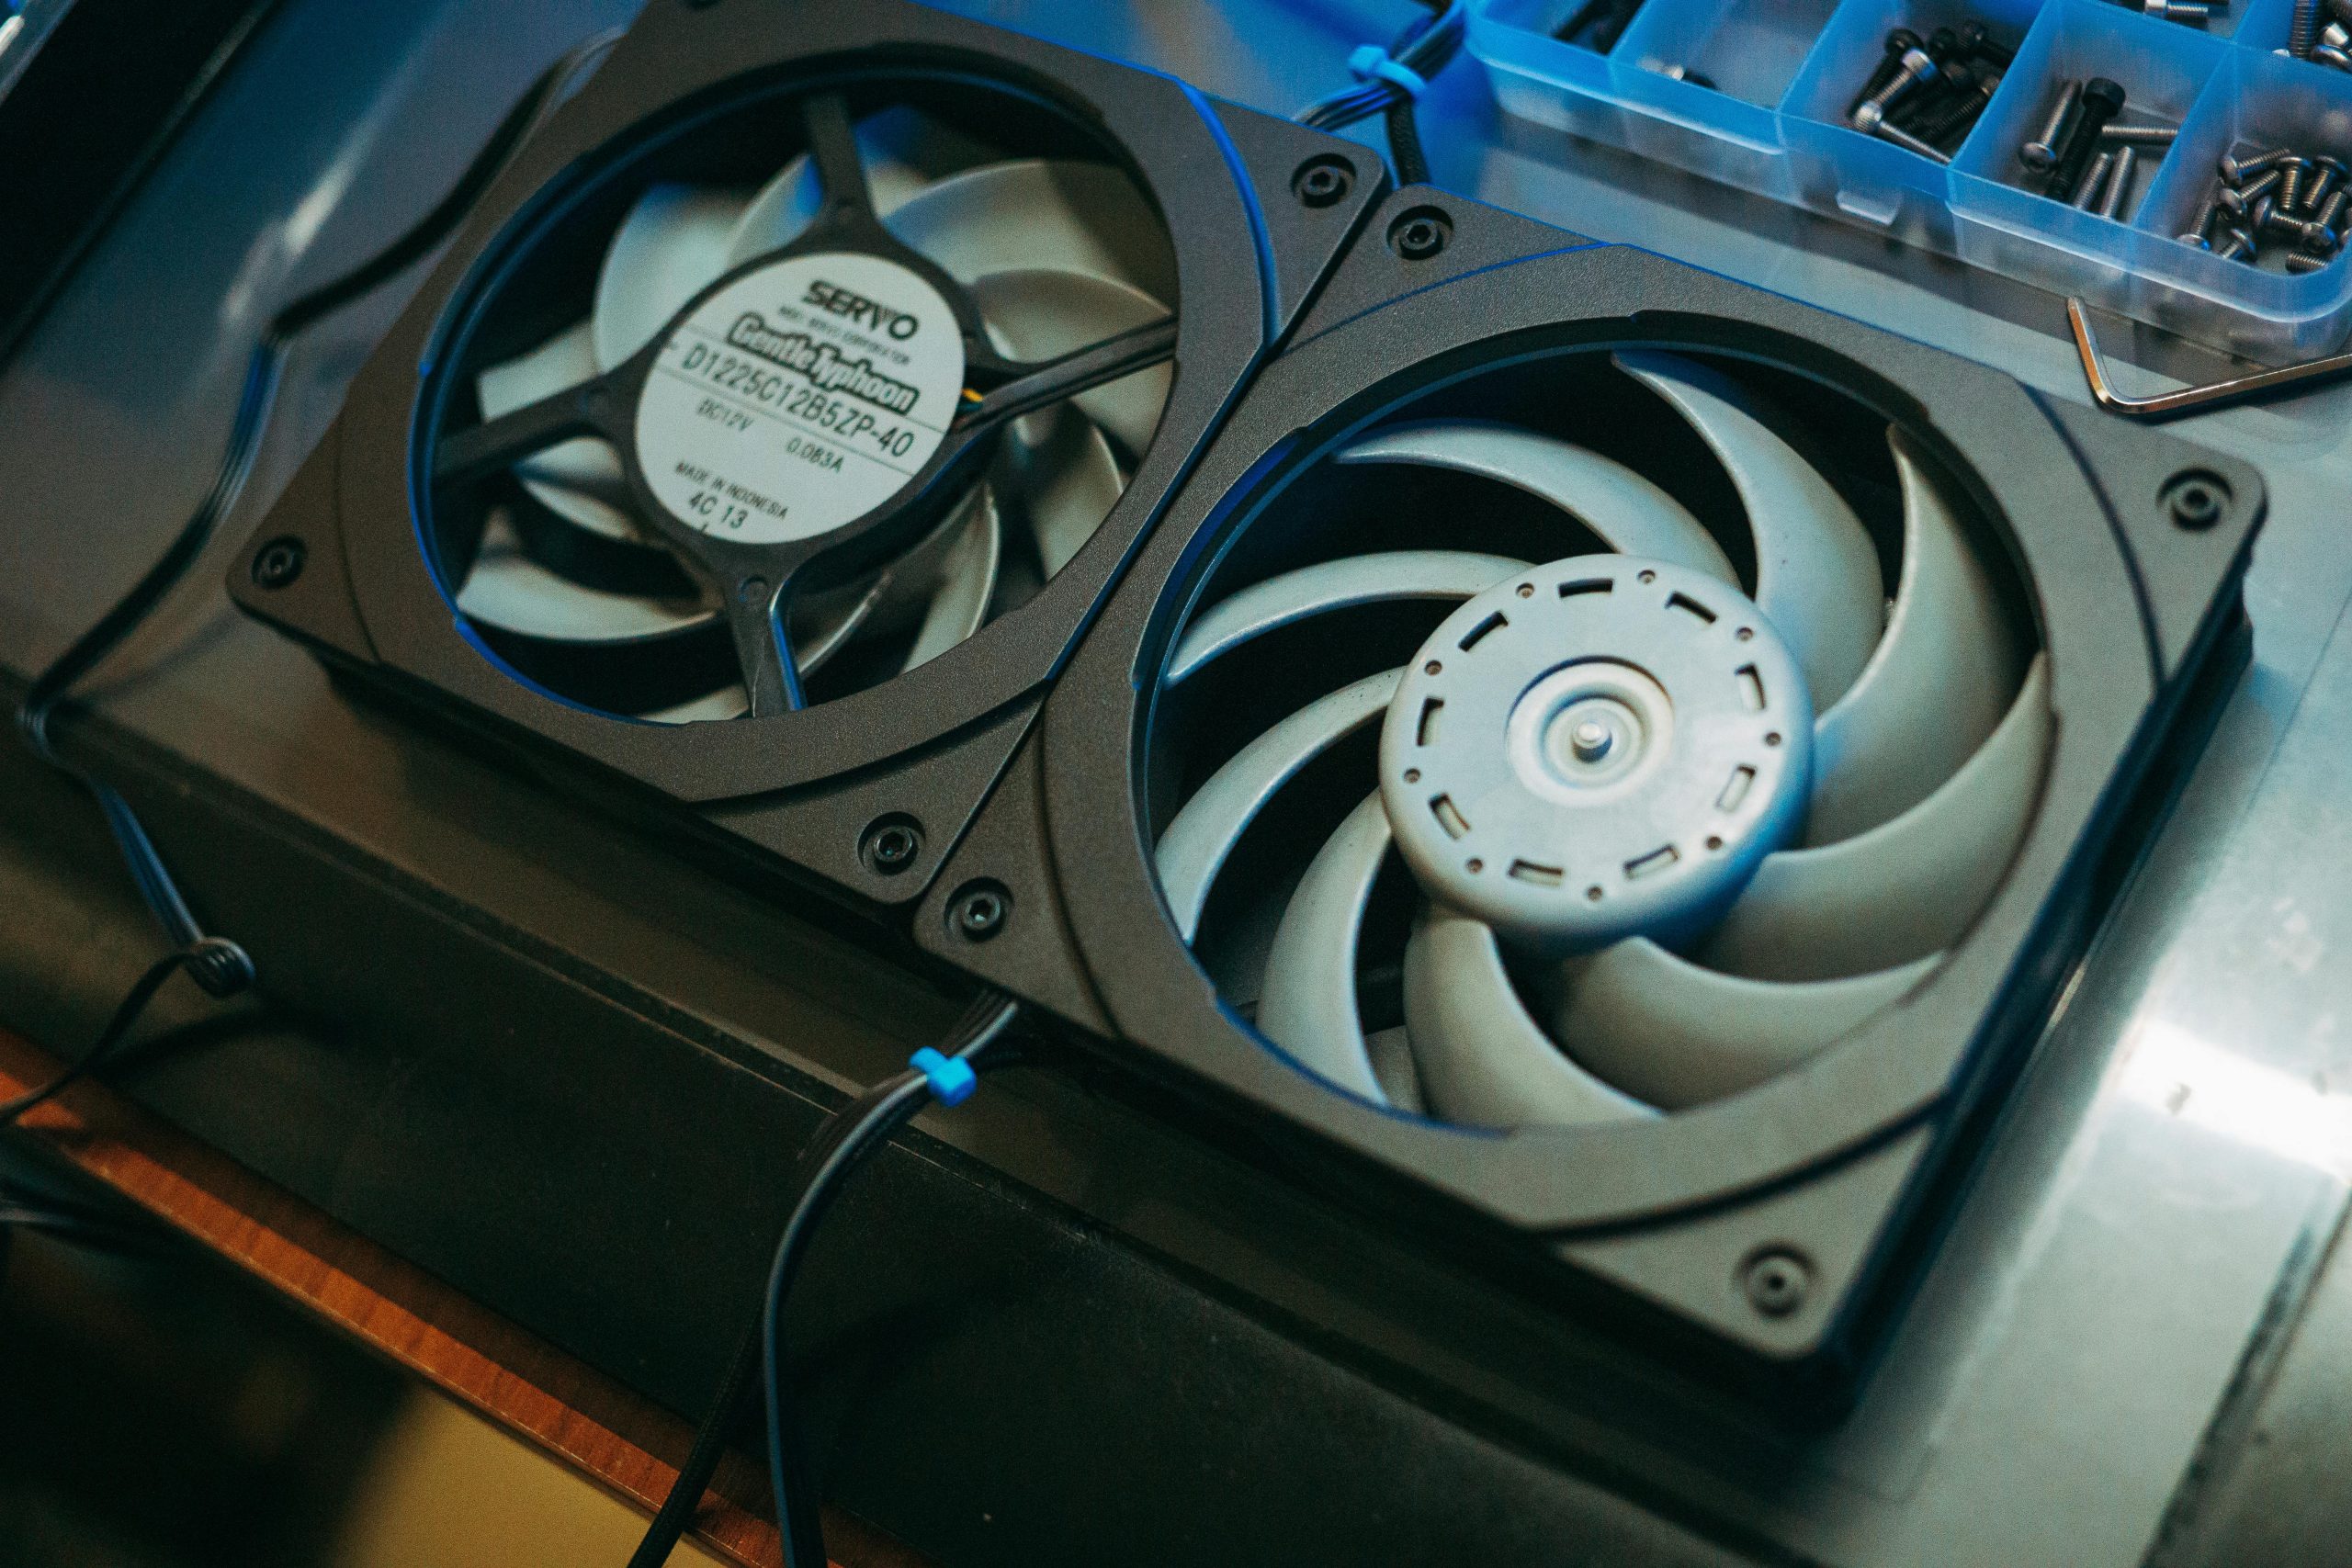
Step 4: Disconnecting the Fan
Look for the fan connector, which is typically a small wire attached to the motherboard. Gently pull this connector to detach it. It’s crucial to handle it carefully to avoid damage.
Step 5: Unlocking the Cooler
The cooler may be secured with a bracket or clips. Locate how these clips or screws function. Usually, you will need to push down or pull away the clips before lifting the assembly from the CPU socket.
Step 6: Cleaning or Replacing the Fan
Once you’ve detached the cooler, use a soft cloth or compressed air to clean any dust buildup. If the fan shows signs of wear or doesn’t resolve your noise issue after cleaning, it might be best to consider a replacement.
Step 7: Reassembly
After you’ve cleaned or replaced the fan, place the cooling assembly back onto the CPU socket. Ensure it is firmly secured and reattach the fan connector to the motherboard. Double-check that all other components are back in their original positions before closing up your case.
Conclusion
Removing a Corsair CPU cooling assembly may seem daunting at first, but with the
Share this content:


If you’re looking to remove an older Corsair CPU cooling assembly or just the fan, the process typically involves carefully disconnecting the fan, removing any securing clips or screws, and then carefully lifting the cooler from the CPU socket. Make sure to follow static safety precautions by using an anti-static wrist strap and working in a static-free environment. It’s also a good idea to consult your specific cooler’s manual, as mounting mechanisms can vary between models. If you encounter any resistance or are unsure about disconnecting certain clips, take your time and refer to detailed guides or videos relevant to your specific Corsair cooler model. If you need further assistance or a step-by-step tailored to your particular setup, feel free to provide the exact model number for more precise guidance.