How to Clone a Malfunctioning SSD to a New NVMe Drive
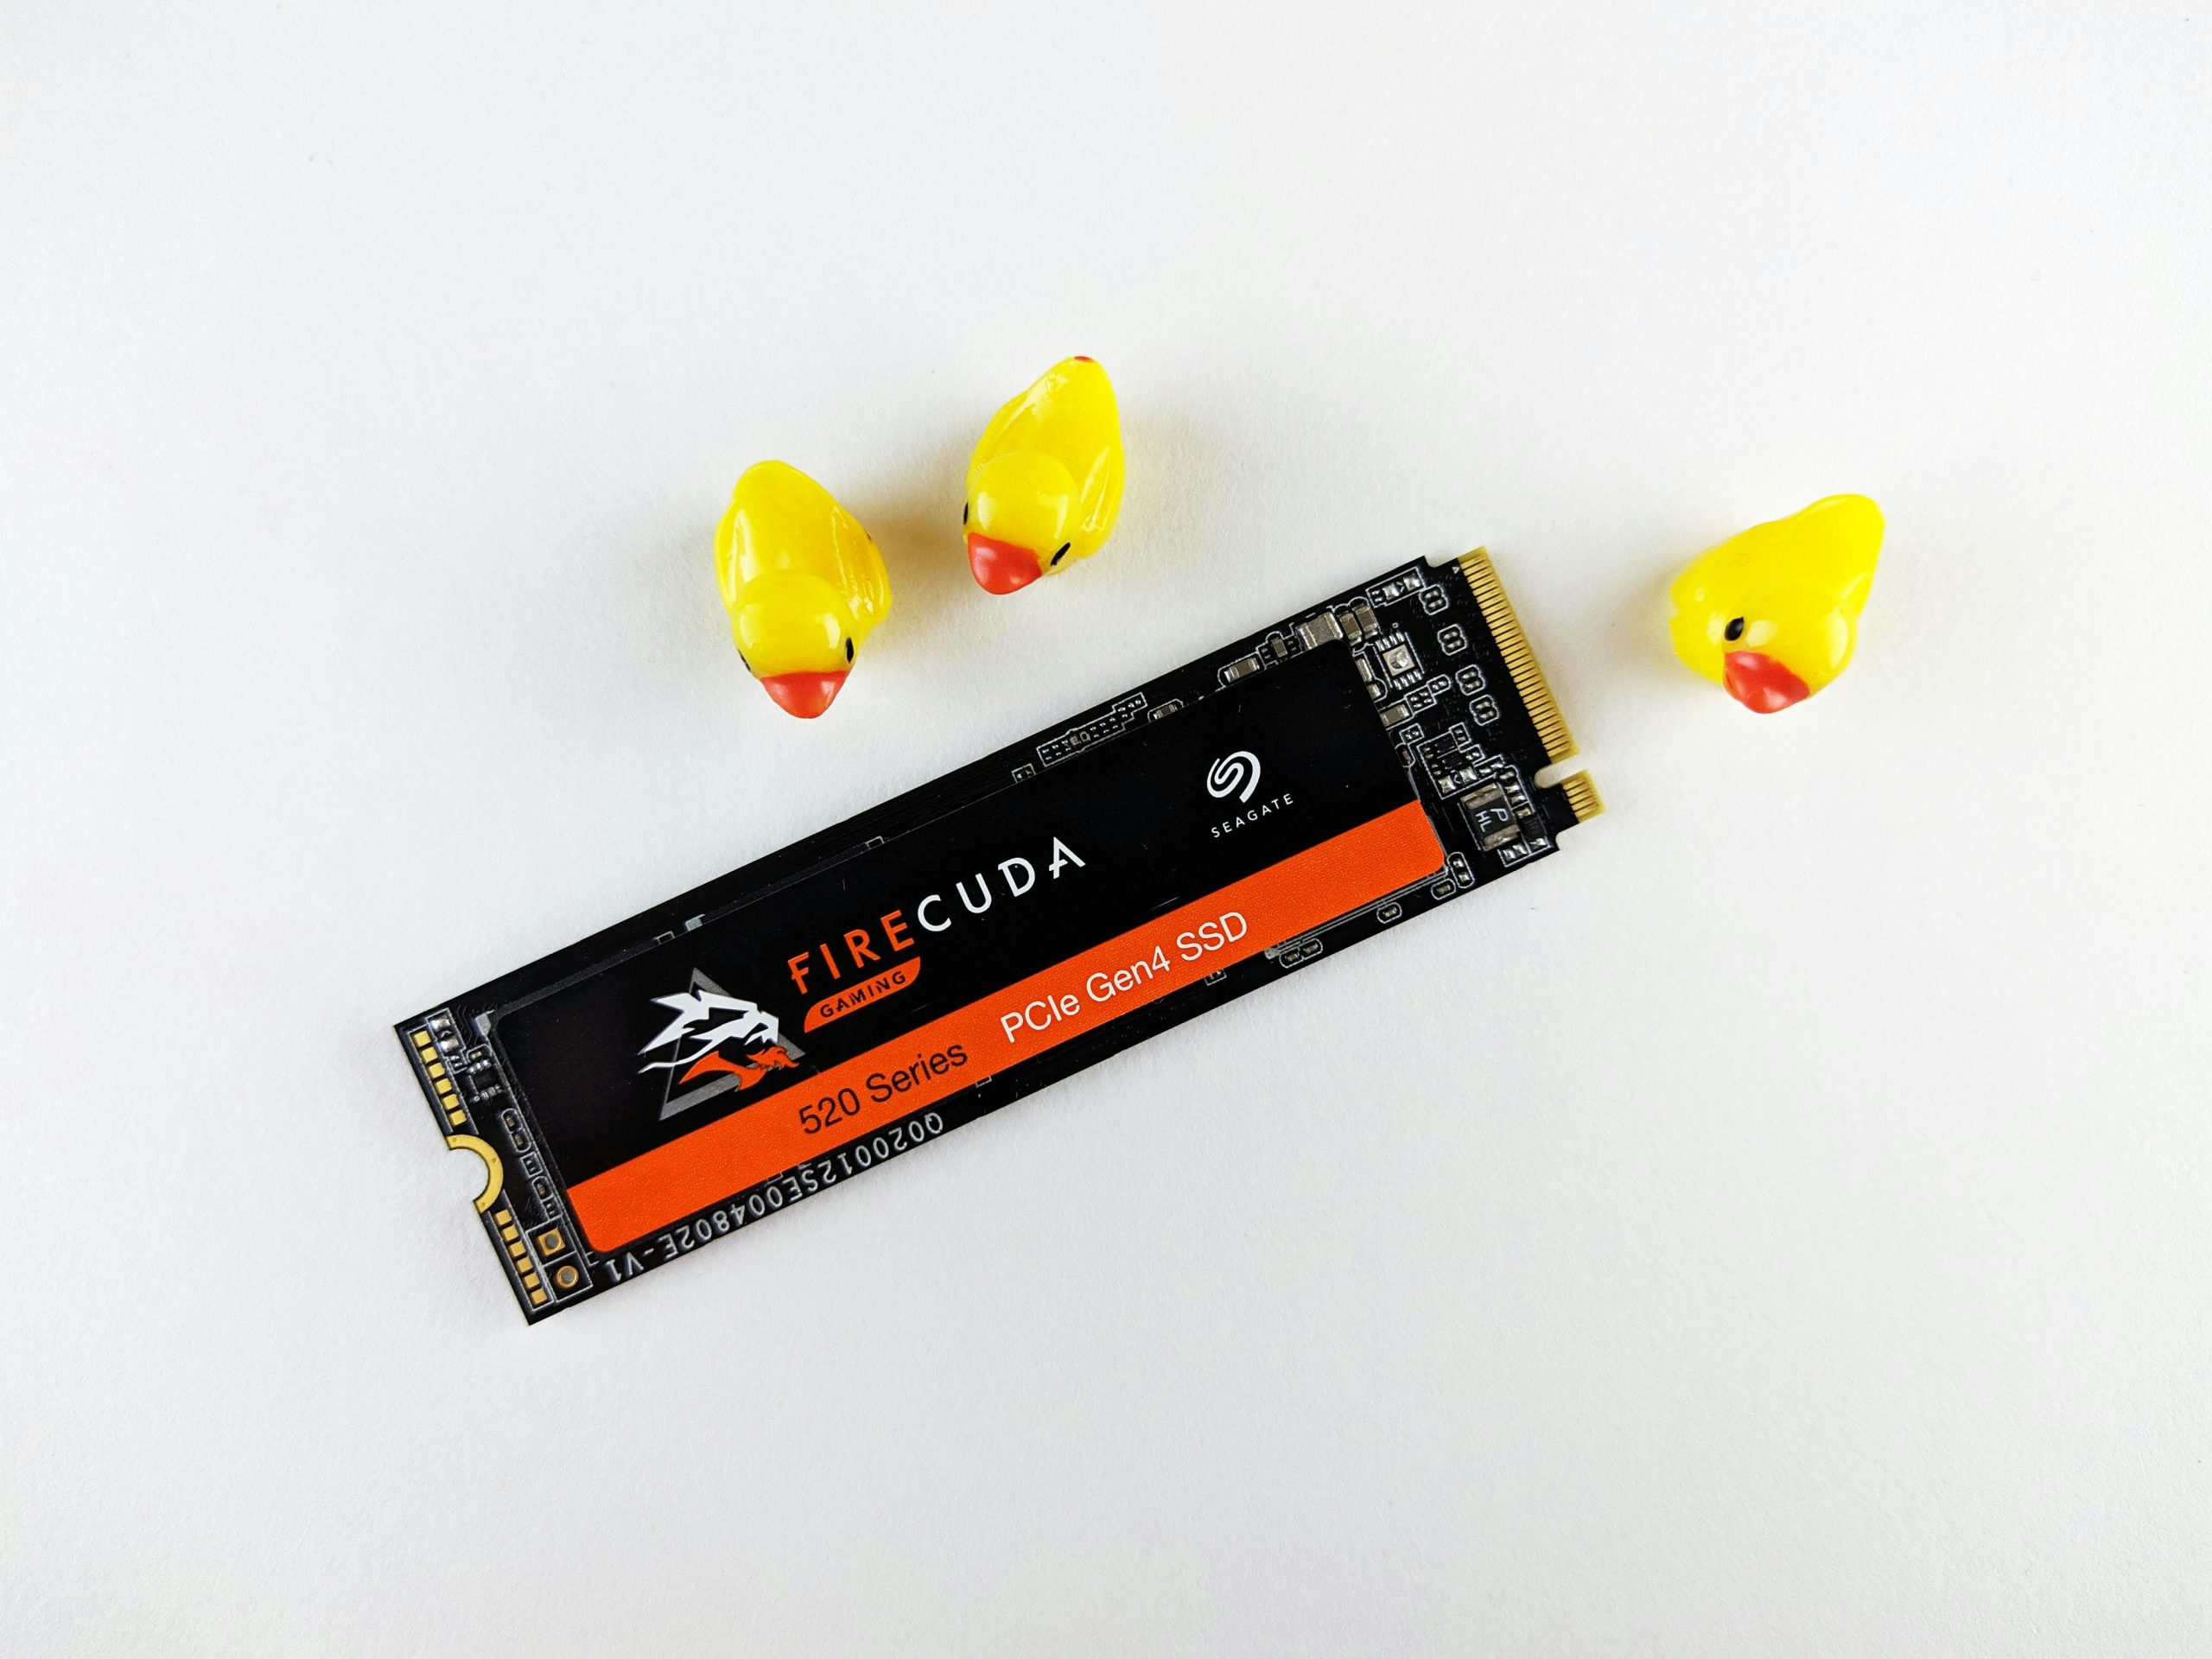
If you’ve found yourself in a situation where your laptop’s primary SSD has failed or entered a read-only state, you’re not alone. Recently, my own Acer Predator Helios 300 G3-571 encountered this exact issue with its 256GB M.2 NVMe SSD. Luckily, I was prepared with a new 1TB M.2 NVMe SSD, but transferring my old data posed a challenge, especially considering my laptop only has a single NVMe slot.
The main problem? With the operating system residing on the old SSD, I couldn’t boot into Windows to utilize standard cloning Software. However, thanks to a few creative solutions, I was able to successfully clone my old drive onto the new one. Here’s how I did it, and how you can, too.
Step-by-Step Guide to Cloning an SSD Without Booting into Windows
1. Accessing Your BIOS
The first step is to boot into your laptop’s BIOS. You can usually do this by pressing a specific key (often F2 or Delete) during startup. Once in the BIOS, check whether the system recognizes your new SSD.
2. Using a Live USB Environment
Since booting directly into Windows isn’t an option, your best bet is to create a Live USB drive with a Linux environment. Here’s how to do it:
– Find another computer with internet access.
– Download a lightweight Linux distribution (such as Ubuntu) and create a bootable USB drive using tools like Rufus or UNetbootin.
3. Booting from Your Live USB
Once you’ve created your Live USB, insert it into your laptop and boot from it by selecting the USB drive in the BIOS boot options.
4. Cloning the SSD
Once in the Linux environment, you can use a disk cloning tool. dd and Clonezilla are popular choices:
– Using dd: This command-line utility can be quite powerful. The basic syntax for cloning would be:
sudo dd if=/dev/sdX of=/dev/sdY bs=64K conv=noerror,sync
Replace /dev/sdX with your old SSD and /dev/sdY with your new SSD. Be extremely careful with this step, as inputting the wrong drive could
Share this content:


