Troubleshooting Secure Boot Enablement: Losing BIOS Access and Dual Boot Functionality
Enabling Secure Boot is a valuable security feature designed to prevent unauthorized operating systems or software from loading during the boot process. However, configuring Secure Boot can sometimes lead to unforeseen issues, especially on systems with complex setups such as dual boot configurations. If you’ve recently attempted to enable Secure Boot and are now facing difficulties accessing your BIOS settings, along with boot errors and inaccessible partitions, this article aims to guide you through understanding and resolving these challenges.
Understanding the Context: Dual Boot with Arch Linux and Windows 10
Many users configure their systems with dual boot setups involving Linux distributions like Arch Linux alongside Windows 10. Typically, these setups utilize a bootloader such as GRUB to manage boot options. Enabling Secure Boot often requires signing bootloaders or using compatible keys, which can be intricate on custom Linux environments.
The Issue at Hand
After enabling Secure Boot, you encounter the following issues:
- Boot Error: “Secure Boot Violation – Invalid signature detected. Check Secure Boot Policy in Setup.”
- Repeated Error Messages: The error appears twice on startup.
- Default Boot: The system automatically boots into Windows.
- Loss of BIOS Access: Unable to enter BIOS setup or change Secure Boot settings.
- Inaccessible Bootloaders and Partitions: Cannot access GRUB menu or your Linux partition.
Possible Causes and Underlying Factors
- Secure Boot Configuration Conflicts: Enabling Secure Boot without proper signing or key management can cause the system to refuse unsigned bootloaders, resulting in violation errors.
- Firmware Lockdown: Some systems implement firmware lockouts or restrict BIOS/UEFI access when certain Secure Boot policies are enabled.
- Corrupted Boot Settings: Changes to Secure Boot settings may have inadvertently affected boot priorities or made the BIOS settings inaccessible.
- Altered Boot Signatures: Custom Linux kernels or bootloaders may not be signed correctly, leading to validation failures.
Step-by-Step Troubleshooting and Resolution
1. Try Hard Reset of BIOS/UEFI
- Perform a power cycle: Turn off your computer completely.
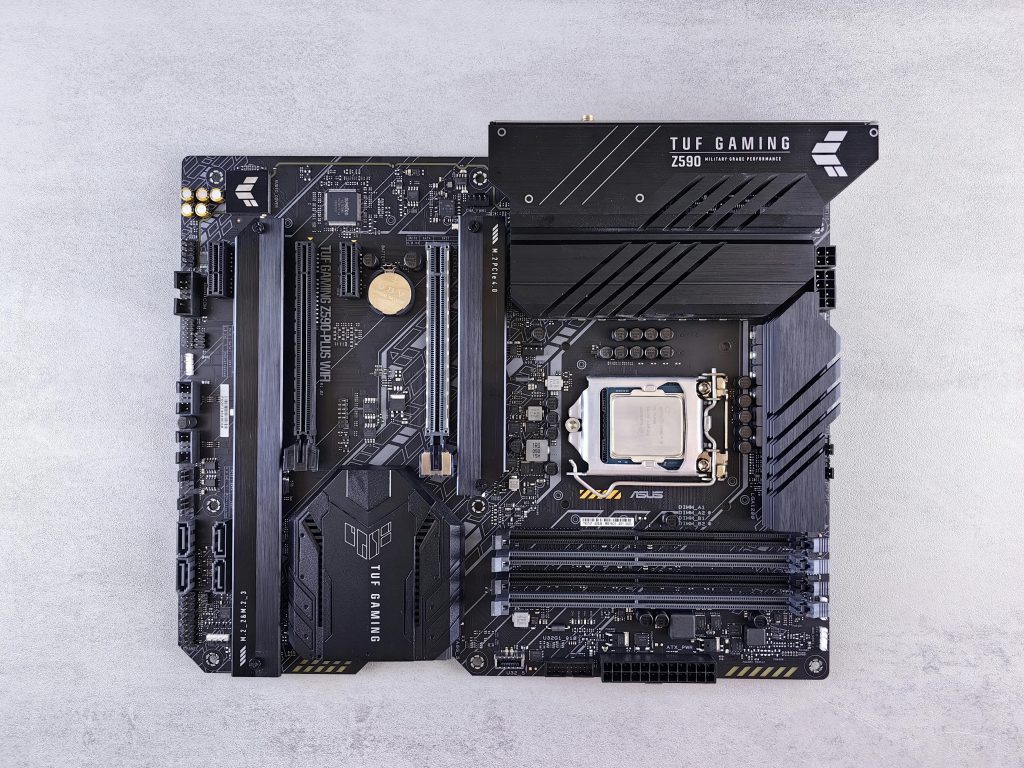
- Reset BIOS via hardware jumper or CMOS battery: Consult your motherboard manual on how to reset BIOS settings physically.
- Remove and reinsert CMOS battery: Wait for a few minutes to clear stored configurations.
*(Note: This may revert BIOS settings to defaults, potentially re-en
Share this content:


