Troubleshooting a Lenovo T470: Navigating PCB Challenges After a DIY Fix
Hello Tech Enthusiasts,
Today, I want to share a rather frustrating—and somewhat humbling—experience I had while attempting to troubleshoot my Lenovo T470. The laptop started freezing during GPU-intensive activities, prompting me to replace the thermal paste on the CPU, which features the Intel HD 520 integrated graphics. Unfortunately, my eagerness led to some unforeseen complications that may resonate with fellow DIY repair aficionados.
Initially, I was right on track until I attempted to remove a particularly stubborn screw. In a lapse of judgment—fueled by a bit of laziness—I used the wrong screwdriver. This choice quickly escalated into a more significant issue when I resorted to using pliers to extract the broken screw. As I engaged in this clumsy repair, I inadvertently knocked the motherboard multiple times. Though I didn’t feel I was applying excessive force, I underestimated the potential fallout from my actions—a mistake that’s often a lesson learned the hard way.
After successfully replacing the thermal paste and fixing the stubborn screw, I tried to power up the laptop, but the response was disheartening: nothing. Initially, I suspected it was a simple oversight, perhaps forgetting to reconnect the fan or even issues related to the CMOS battery—considering the T470 has two batteries and is known to be a bit particular about its power management settings. However, after several troubleshooting attempts, the gravity of my blunder became clear. With two decades of experience under my belt in computer repairs, I felt I had approached this task with all the finesse of, let’s say, a particularly determined but clumsy ape.
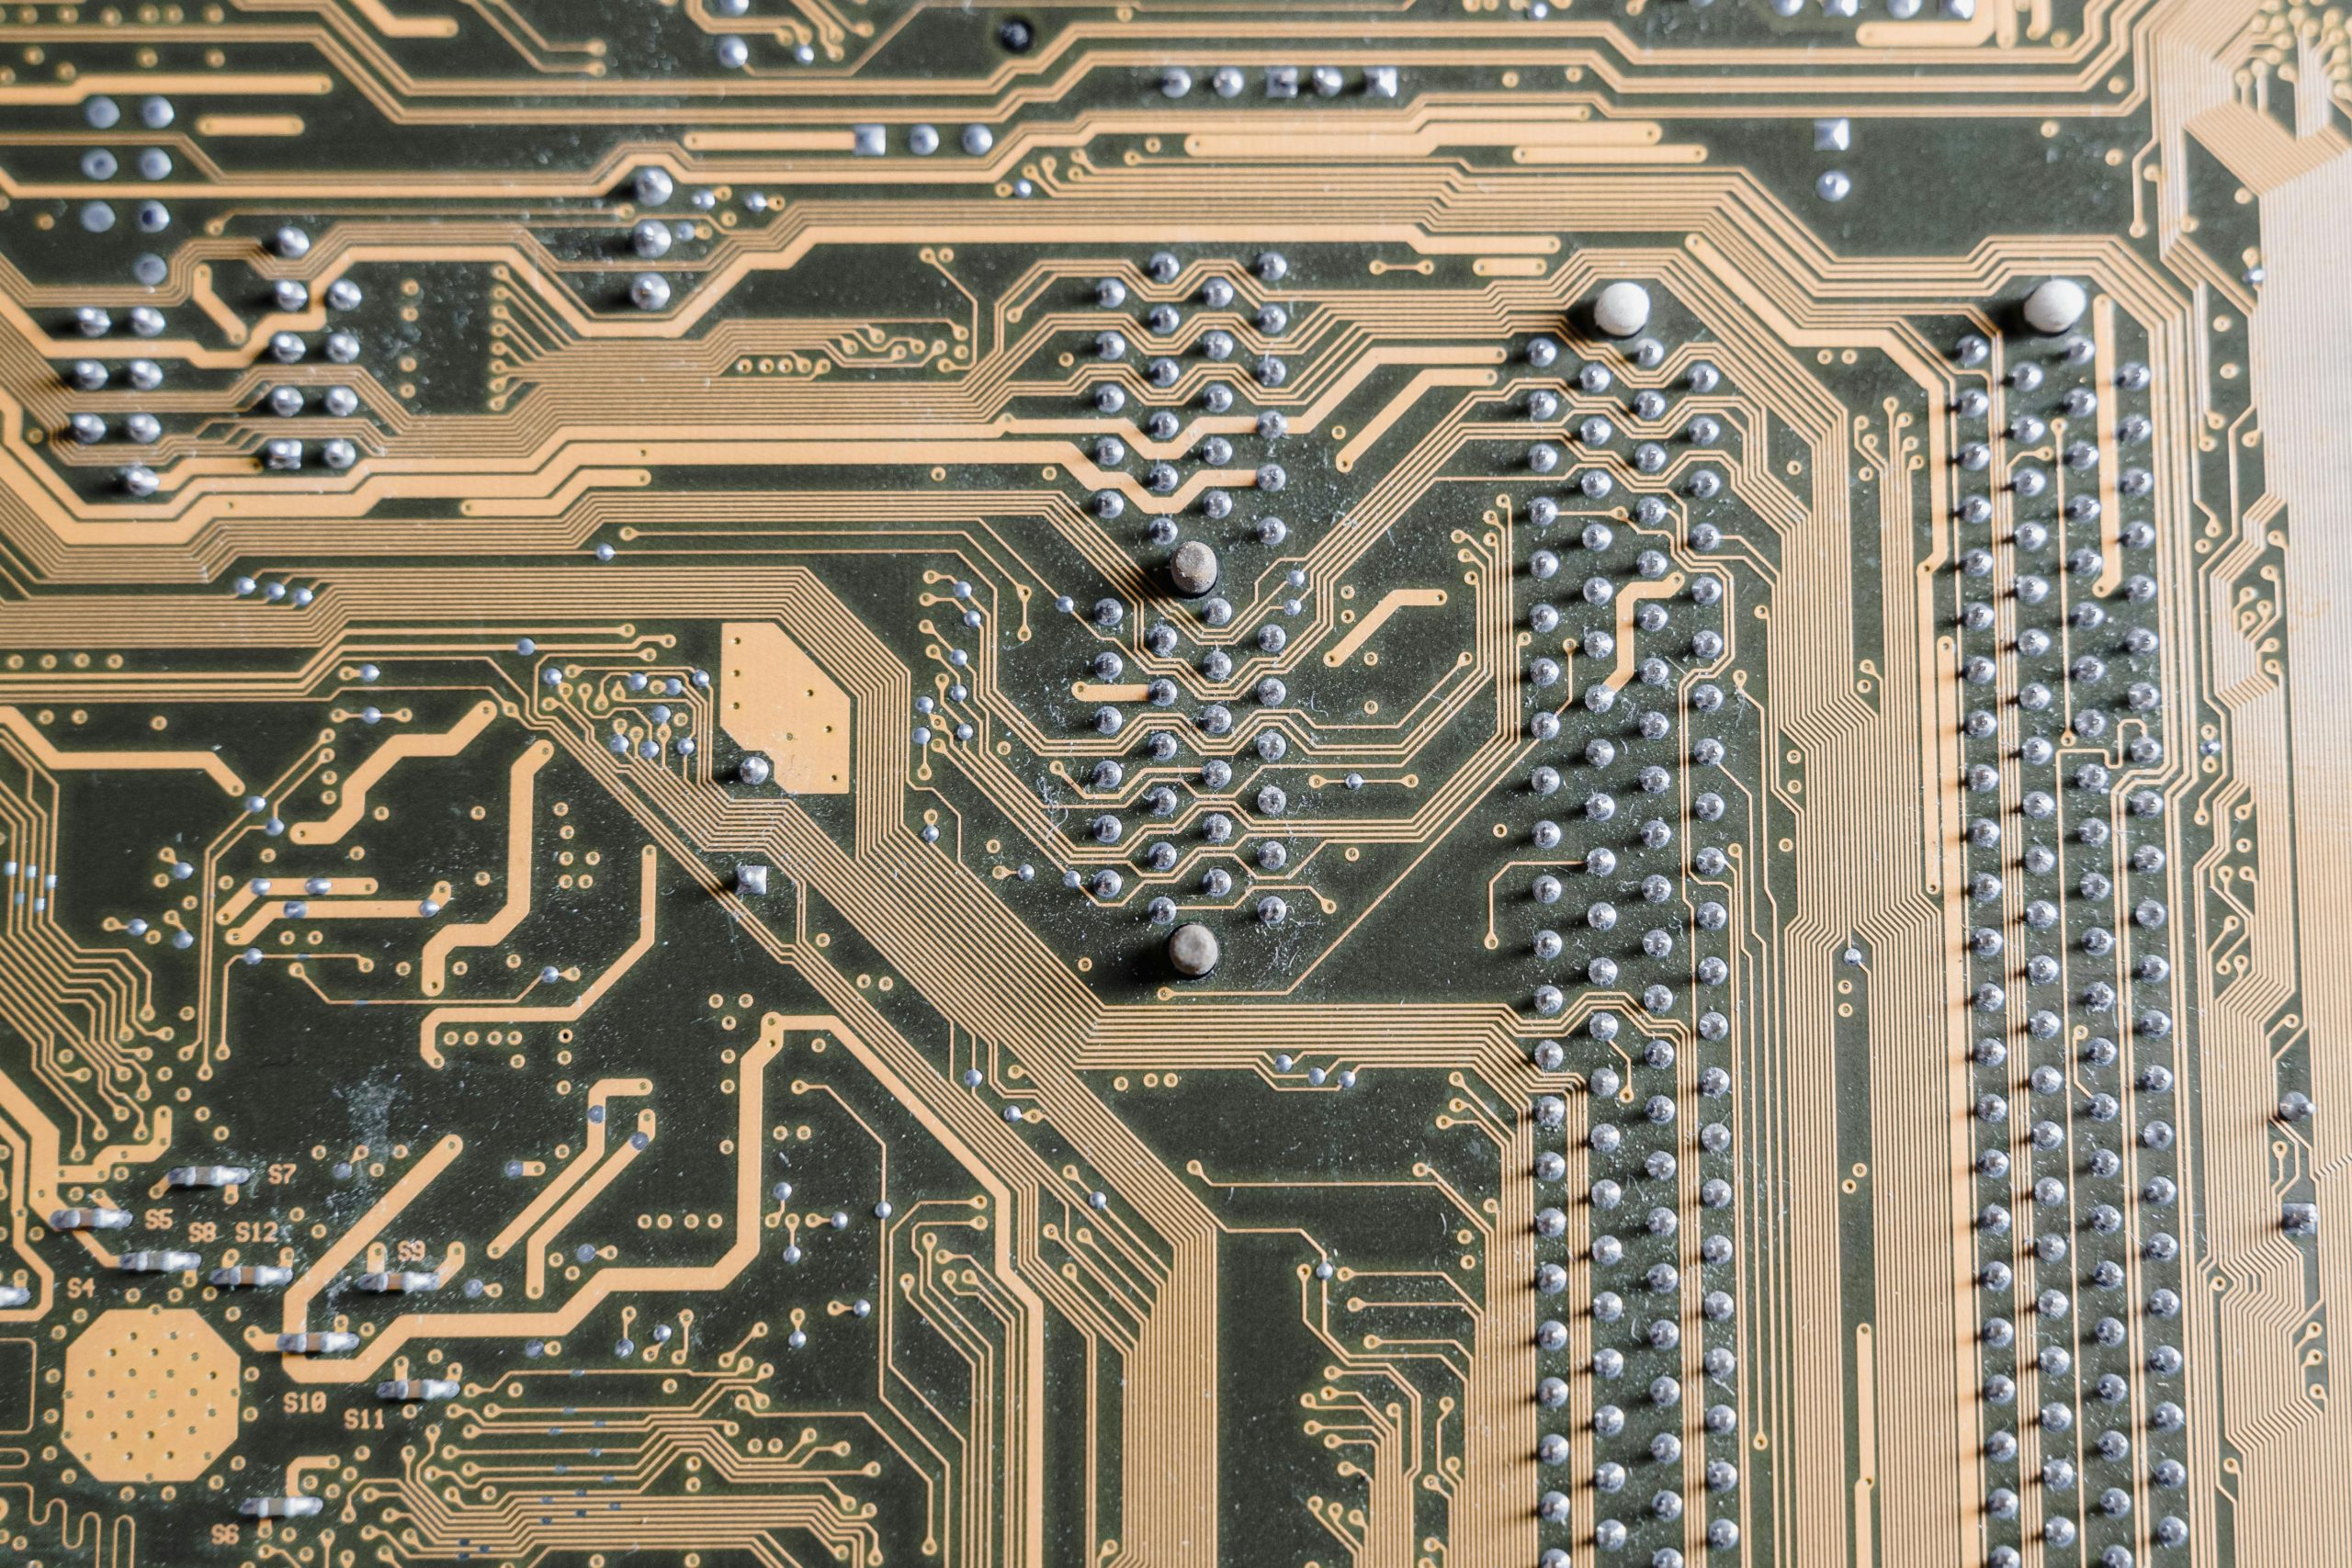
Upon plugging in the regular or USB-C power adapter, the LED would illuminate, but the device remained unresponsive when I pressed the power button. I scrutinized the area where I suspected damage, marked with a conspicuous red circle, and I found evidence that I had indeed caused some impact to the PCB. I carefully checked the continuity between connectors—indicated by small circles—and confirmed that the paths appeared intact. Nonetheless, after spending an hour inspecting the board through a magnifying glass, I was left puzzled.
At this point, I’m reaching out to all of you for your insights. Have I overlooked any trivial details not related to my somewhat misguided home repair adventure? Your expert advice would be invaluable as I navigate this unexpected predicament.
I appreciate any thoughts or suggestions you might have!


Hi there,
It sounds like you’ve done a thorough job inspecting the motherboard for obvious traces of damage, but given the symptoms and the impact to the PCB, there are a few additional steps you might consider. Since the device powers on with the LED lighting but remains unresponsive, it could be related to damage in the power delivery path or damaged traces that aren’t immediately visible.
Here are some suggestions: