How to Safely Remove and Recover Data from a Broken Gateway GWTC116-1GR Laptop Hard Drive
Losing access to important files due to hardware failure can be a stressful experience, especially when backup options like cloud storage are no longer available. If you are dealing with a broken Gateway GWTC116-1GR laptop and wish to recover your data without incurring significant expenses, this guide provides practical steps to safely remove and extract files from your hard drive.
Understanding Your Situation
Your laptop’s display broke some time ago, and although you estimated it was functioning with an external monitor, it no longer powers on. Additionally, your cloud storage (OneDrive) account was deleted due to inactivity, making local data recovery your primary option. The challenge is that typical methods—such as removing the hard drive and connecting it to another device—are not straightforward with your model.
Is it Possible to Remove the Hard Drive?
Many laptops, including older Gateway models like the GWTC116-1GR, often have removable hard drives. However, some configurations integrate the hard drive into the chassis in a way that may require disassembly, which can seem daunting.
Before proceeding, ensure that you have the necessary tools, such as screwdrivers suited for electronics, and consider static safety measures, like wearing an anti-static wrist strap.
Steps for Hard Drive Removal and Data Retrieval
-
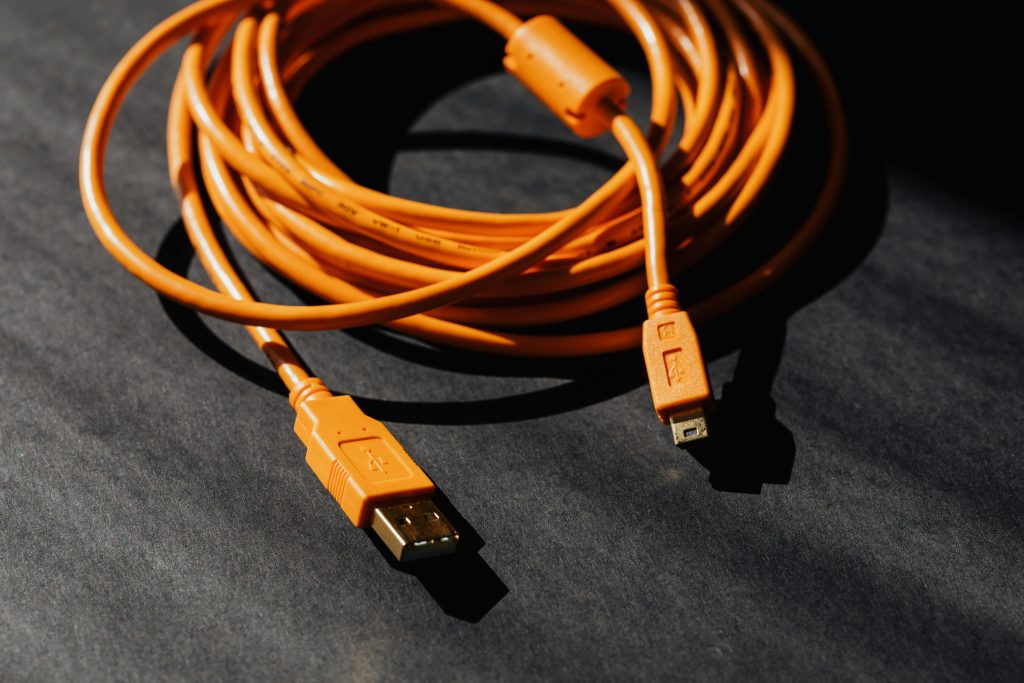
Gather Necessary Equipment:
- A compatible hard drive enclosure or SATA-to-USB adapter
- Screwdrivers appropriate for your laptop’s screws
- An external computer (desktop or laptop) to connect the drive
-
Disassemble the Laptop Carefully:
- Power off the device completely and disconnect any power sources.
- Remove the back cover following manufacturer guidelines or reliable online disassembly guides.
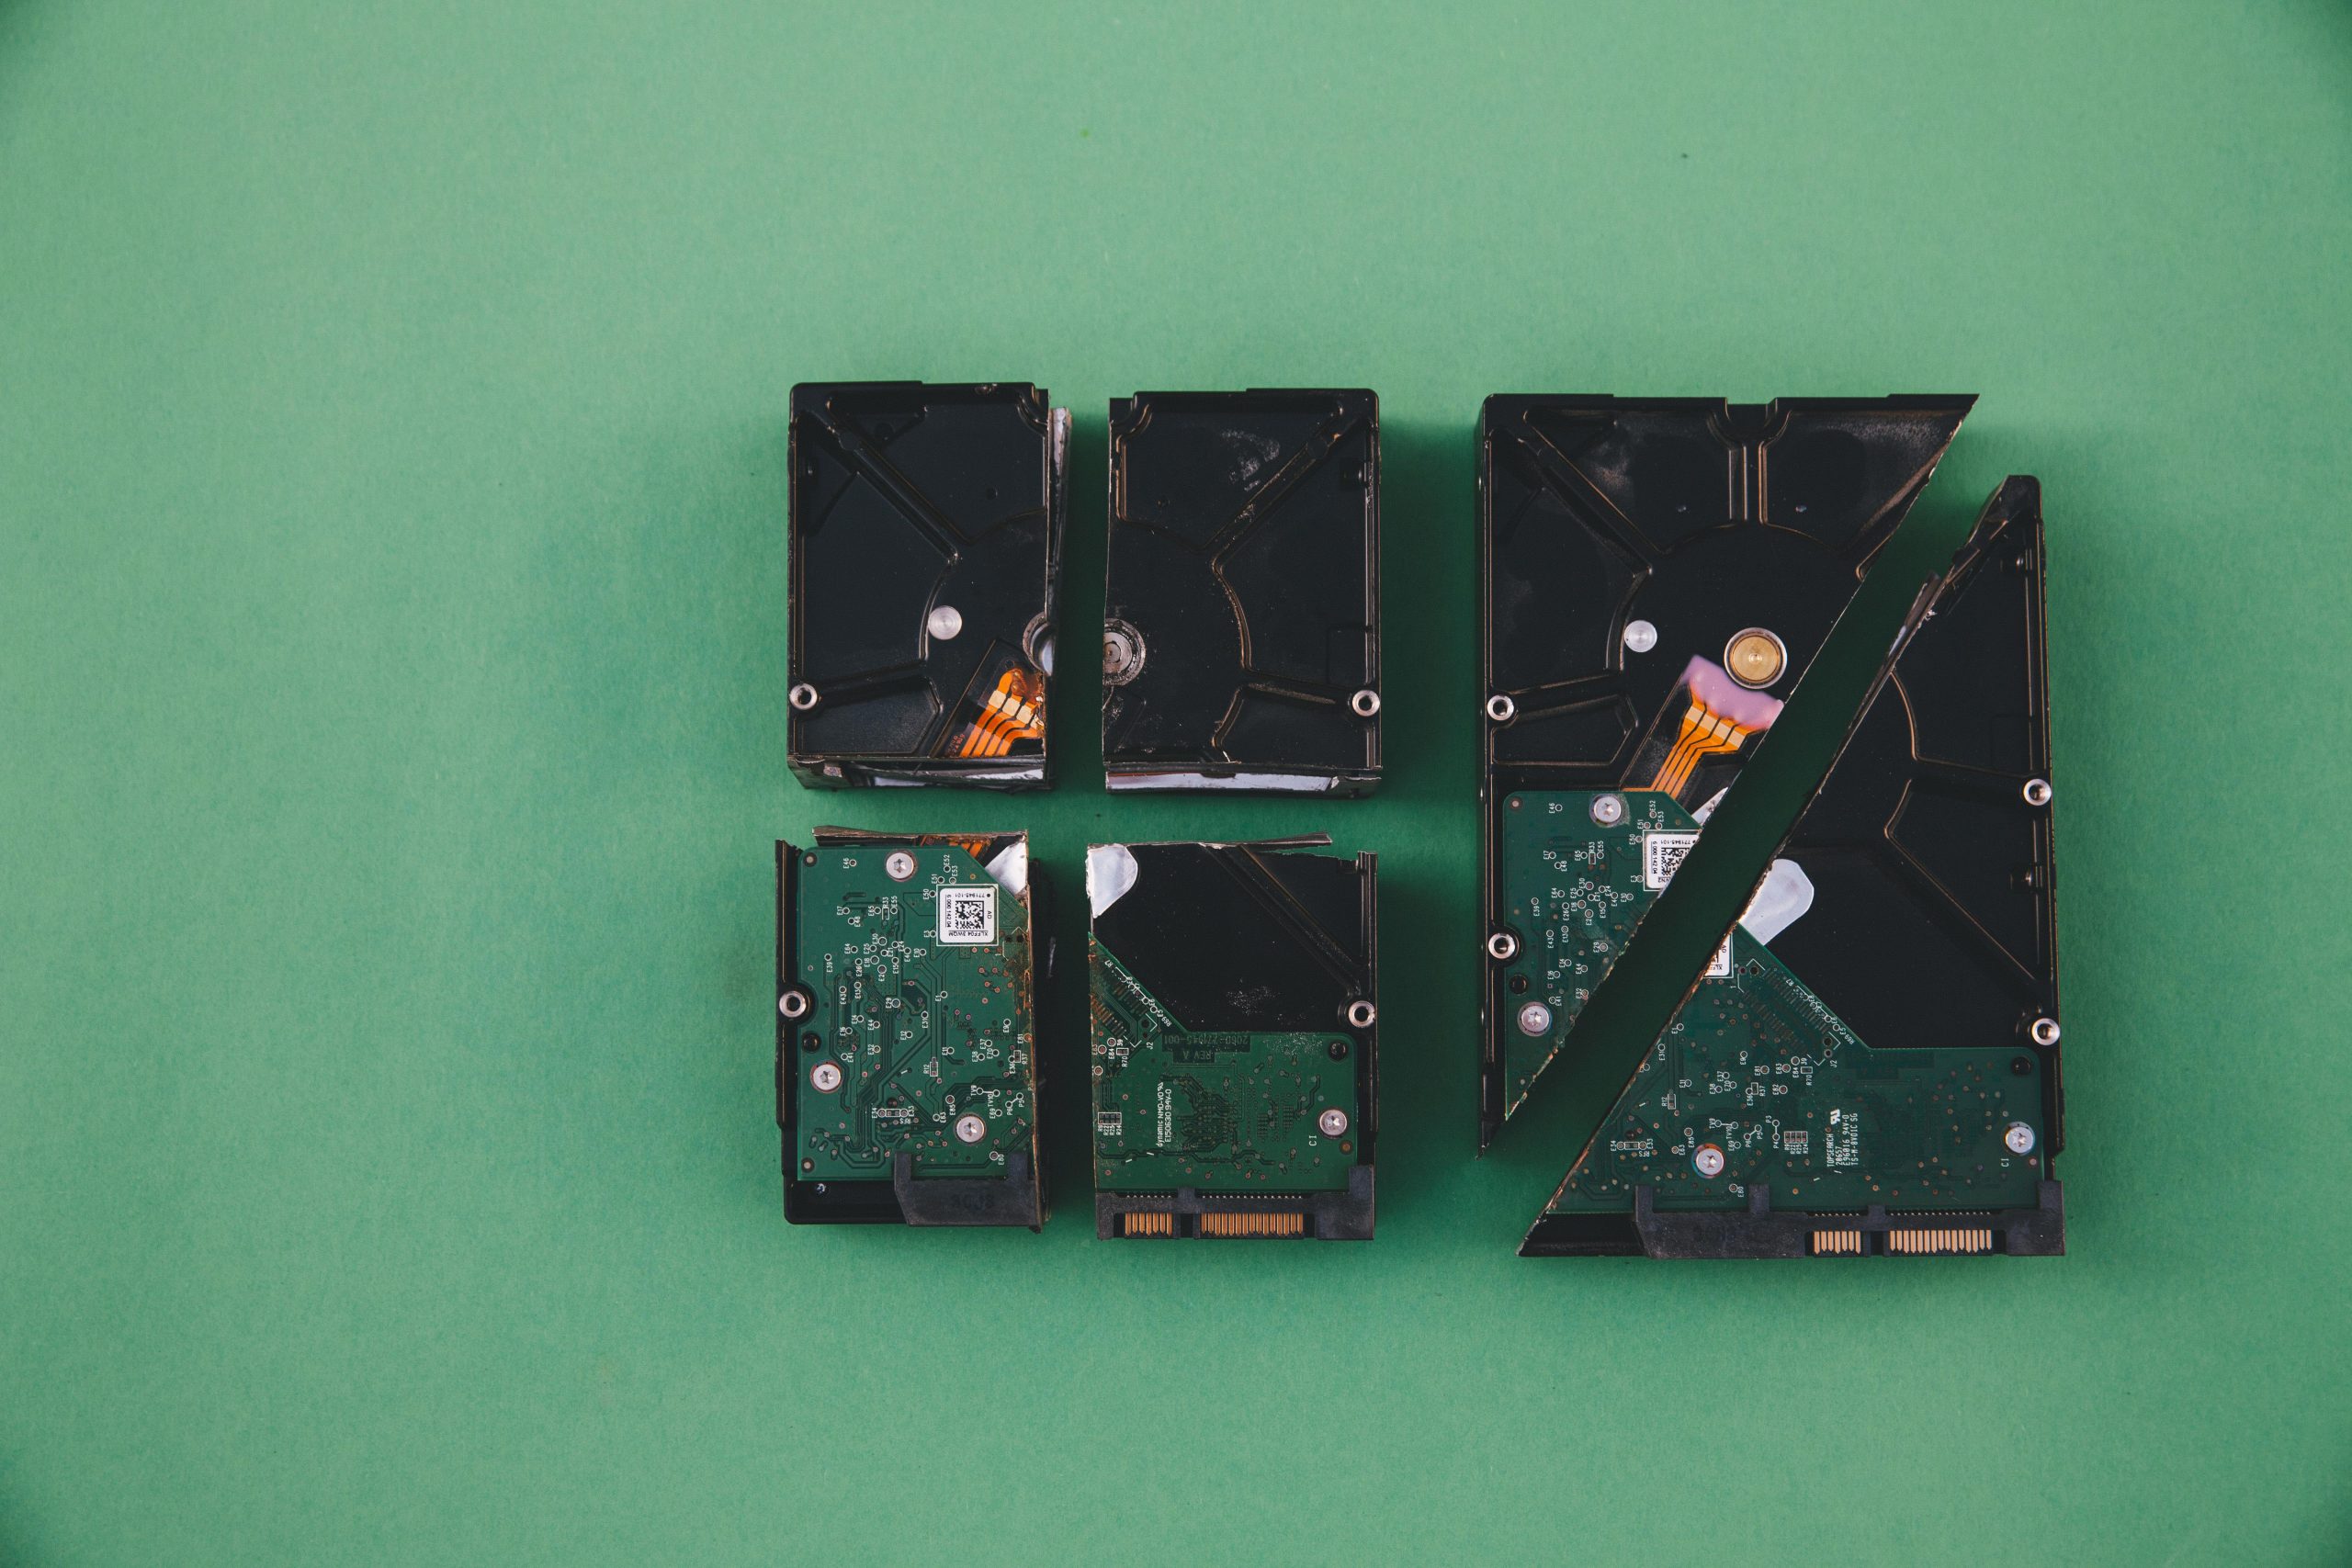
- Locate the hard drive—usually a 2.5-inch SATA drive in laptops of this era.
- Carefully disconnect and remove the hard drive.
-
Connect the Hard Drive to Another Computer:
- Insert the hard drive into a compatible enclosure or connect it directly to a desktop PC using a SATA-to-USB adapter.
- Power on the host computer.
-
Access and Transfer Files:
- Once connected, the hard drive should appear as an external drive.
- Browse the drive, locate your files, and copy them to the host computer’s storage.
-
Additional Tips:
- If the drive doesn’t show up, use
Share this content: