Understanding and Resolving “No Internet, Secured” and Ethernet Connectivity Issues on Windows 10
Experiencing internet connectivity issues can be frustrating, especially when standard troubleshooting steps do not resolve the problem. Many Windows 10 users encounter the “No internet, secured” message despite being connected to their network, often accompanied by no internet access for Ethernet connections. This article provides a comprehensive overview of common causes and effective solutions to this problem, helping you restore stable internet connectivity.
Symptoms Overview
– Ethernet connection established but showing “No internet, secured.”
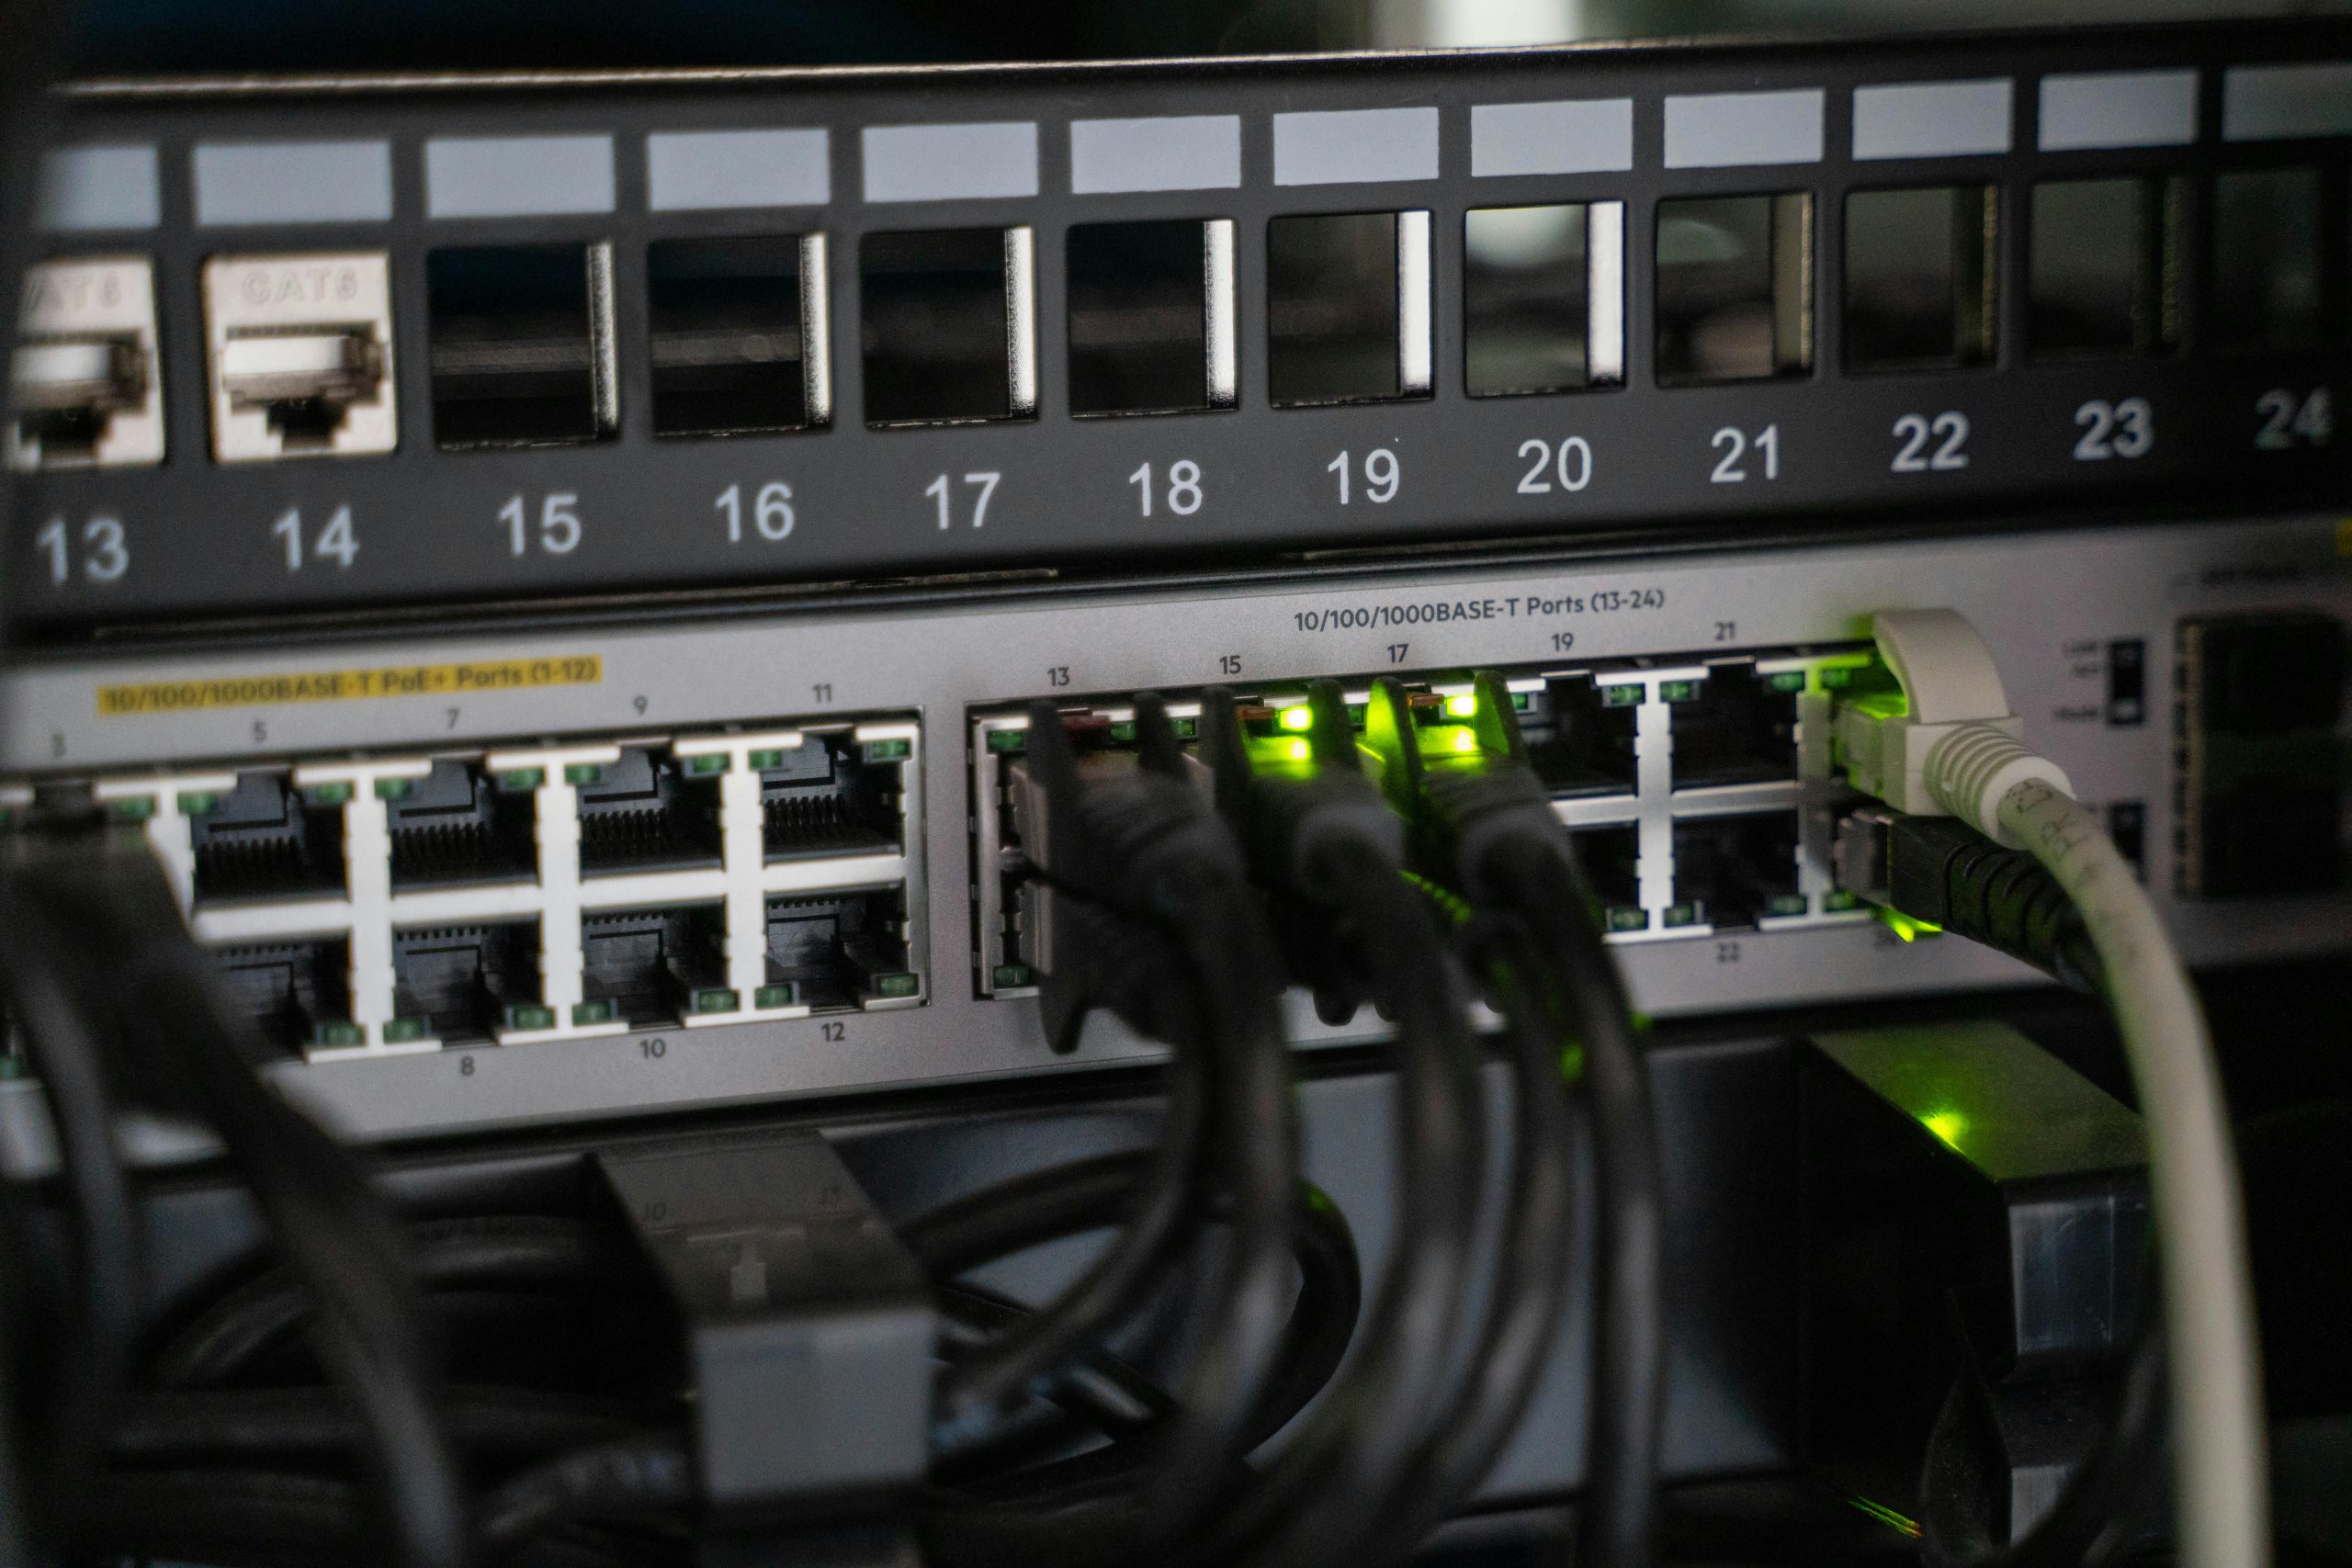
– The connection appears active at the hardware level (cable lights indicate connection) but no network access.
– Intermittent internet disconnections prior to the full outage.
– Additional issues like Blue Screen of Death (BSOD), specifically “Driver Power State Failure,” which complicate troubleshooting.
Initial Diagnostic Steps
When faced with connectivity issues, it’s essential to methodically diagnose the problem. Begin with these steps:
- Confirm Physical Connections
- Ensure Ethernet cables are securely connected to both the router/modem and your PC.
- Try connecting to different ports on your switch or router.
-
Replace Ethernet cables if suspect damage or try connecting via a different cable.
-
Check Network Hardware Indicators
- Observe the Ethernet port lights; a steady orange or yellow light may indicate a connection, but the specific meaning can vary by hardware.
-
If the light is blinking or absent, it could signify a hardware or cable issue.
-
Verify Network Adapter Status
- Navigate to Network and Sharing Center:
- Settings > Network & Internet > Status > Change adapter options.
- Ensure your Ethernet adapter is enabled.
- Disable and re-enable the Ethernet adapter to reset its connection.
In-Depth Troubleshooting Techniques
If physical connections are intact, proceed with software-based troubleshooting:
- Reset TCP/IP and DNS Settings
- Open Command Prompt as Administrator and run:
cmd

ipconfig /release

ipconfig /renew

ipconfig /flushdns

netsh int ip reset

netsh winsock reset -
Restart your PC afterward.
-
Configure Static IP and DNS
- Access Network Properties:
- Control Panel > Network and Internet > Network and Sharing Center > Change adapter settings.
- Right-click your Ethernet connection > Properties.
- Select “Internet Protocol Version 4 (TCP/IPv4)” > Properties.
- Set:
- Use the following DNS server addresses:
- Preferred DNS server: 8.8
Share this content:

