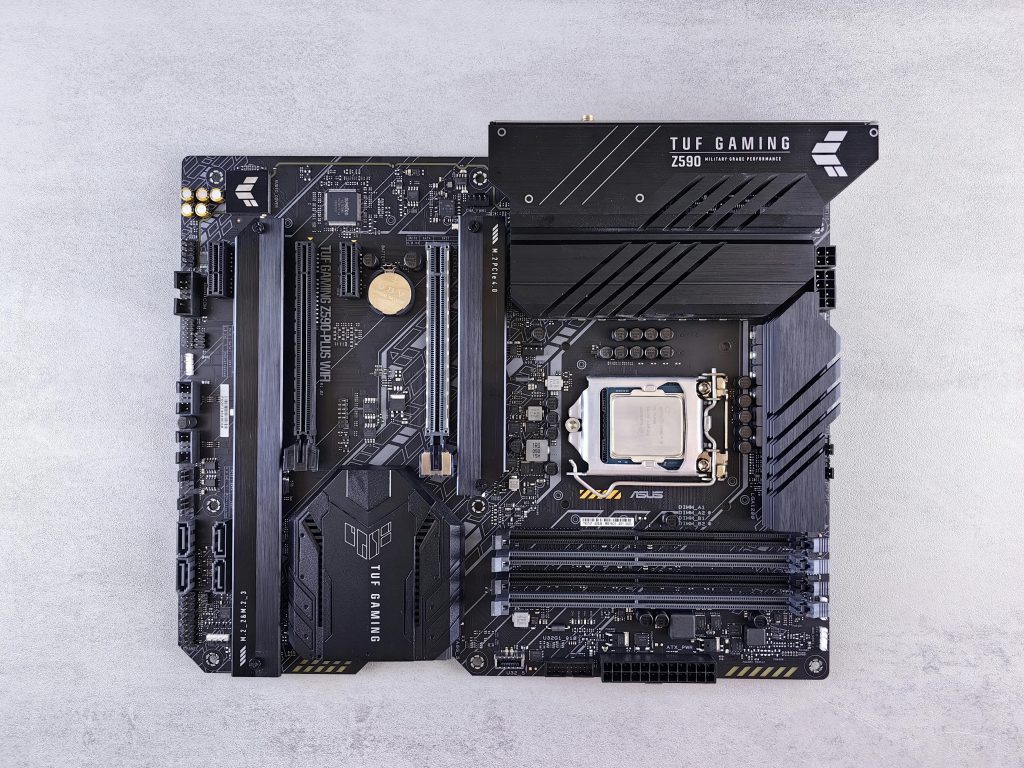
Troubleshooting the Orange DRAM LED Indicator on Your Motherboard: A Step-by-Step Guide
Encountering a persistent DRAM indicator light on your motherboard can be a frustrating experience, especially after hardware modifications. If your Asus Prime Z370-A motherboard’s DRAM LED remains orange and your system fails to boot, it’s essential to approach the situation methodically to identify and resolve the underlying issue. This article provides a comprehensive troubleshooting guide tailored for users facing similar problems.
Understanding the Issue
The orange DRAM light indicates a memory-related problem detected during the POST (Power-On Self Test). Such issues can stem from various causes, including seating problems, incompatible modules, BIOS settings, or hardware faults. Given your recent hardware change involving RAM removal and CPU cooling installation, a detailed check is warranted.
Step 1: Double-Check Hardware Installation
- RAM Seating:
- Power down the system and unplug it.
- Remove all RAM modules.
- Inspect the RAM slots and modules for dust, debris, or damage.
- Re-insert the RAM sticks firmly into their correct slots, ensuring they latch securely.
- Try booting with one stick at a time, using different slots to test each module and slot combination.
- CPU and Socket:
- Verify the CPU is properly seated.
- Check for any bent pins or debris in the CPU socket.
- Reinstall the CPU if necessary, ensuring correct orientation and seating.
- Cooling System:
- Confirm the Noctua NH-U9S cooler is installed correctly.
- Ensure that mounting is secure and that no components are bent or misaligned.
Step 2: Reset CMOS and BIOS Settings
- You’ve already reset CMOS multiple times, which is good. To ensure a thorough reset:
- Use the motherboard jumper or remove the CMOS battery for 5-10 minutes before reinserting.
- After reset, do not load any custom BIOS settings; revert to default.
Step 3: Test with Known Good Memory
- If available, test with known working RAM modules compatible with your motherboard.
- Alternatively, borrow RAM from a working system to rule out faulty modules.
Step 4: Update or Reflash BIOS
- Check if your motherboard has the latest BIOS version supporting your CPU and memory configuration.
- If possible, update the BIOS using the motherboard’s Q-LED indicators or via USB flashback feature. Follow Asus’s official instructions carefully.
Step 5: Inspect Power Supply and Components
Share this content:


