Troubleshooting a Non-Responsive PC After Reapplying Thermal Paste
Experiencing a computer that fails to display output after performing maintenance can be concerning. Recently, a user encountered this issue following the reapplication of thermal paste on their system. Here’s a detailed overview of the situation and some professional advice on troubleshooting such problems.
Scenario Overview
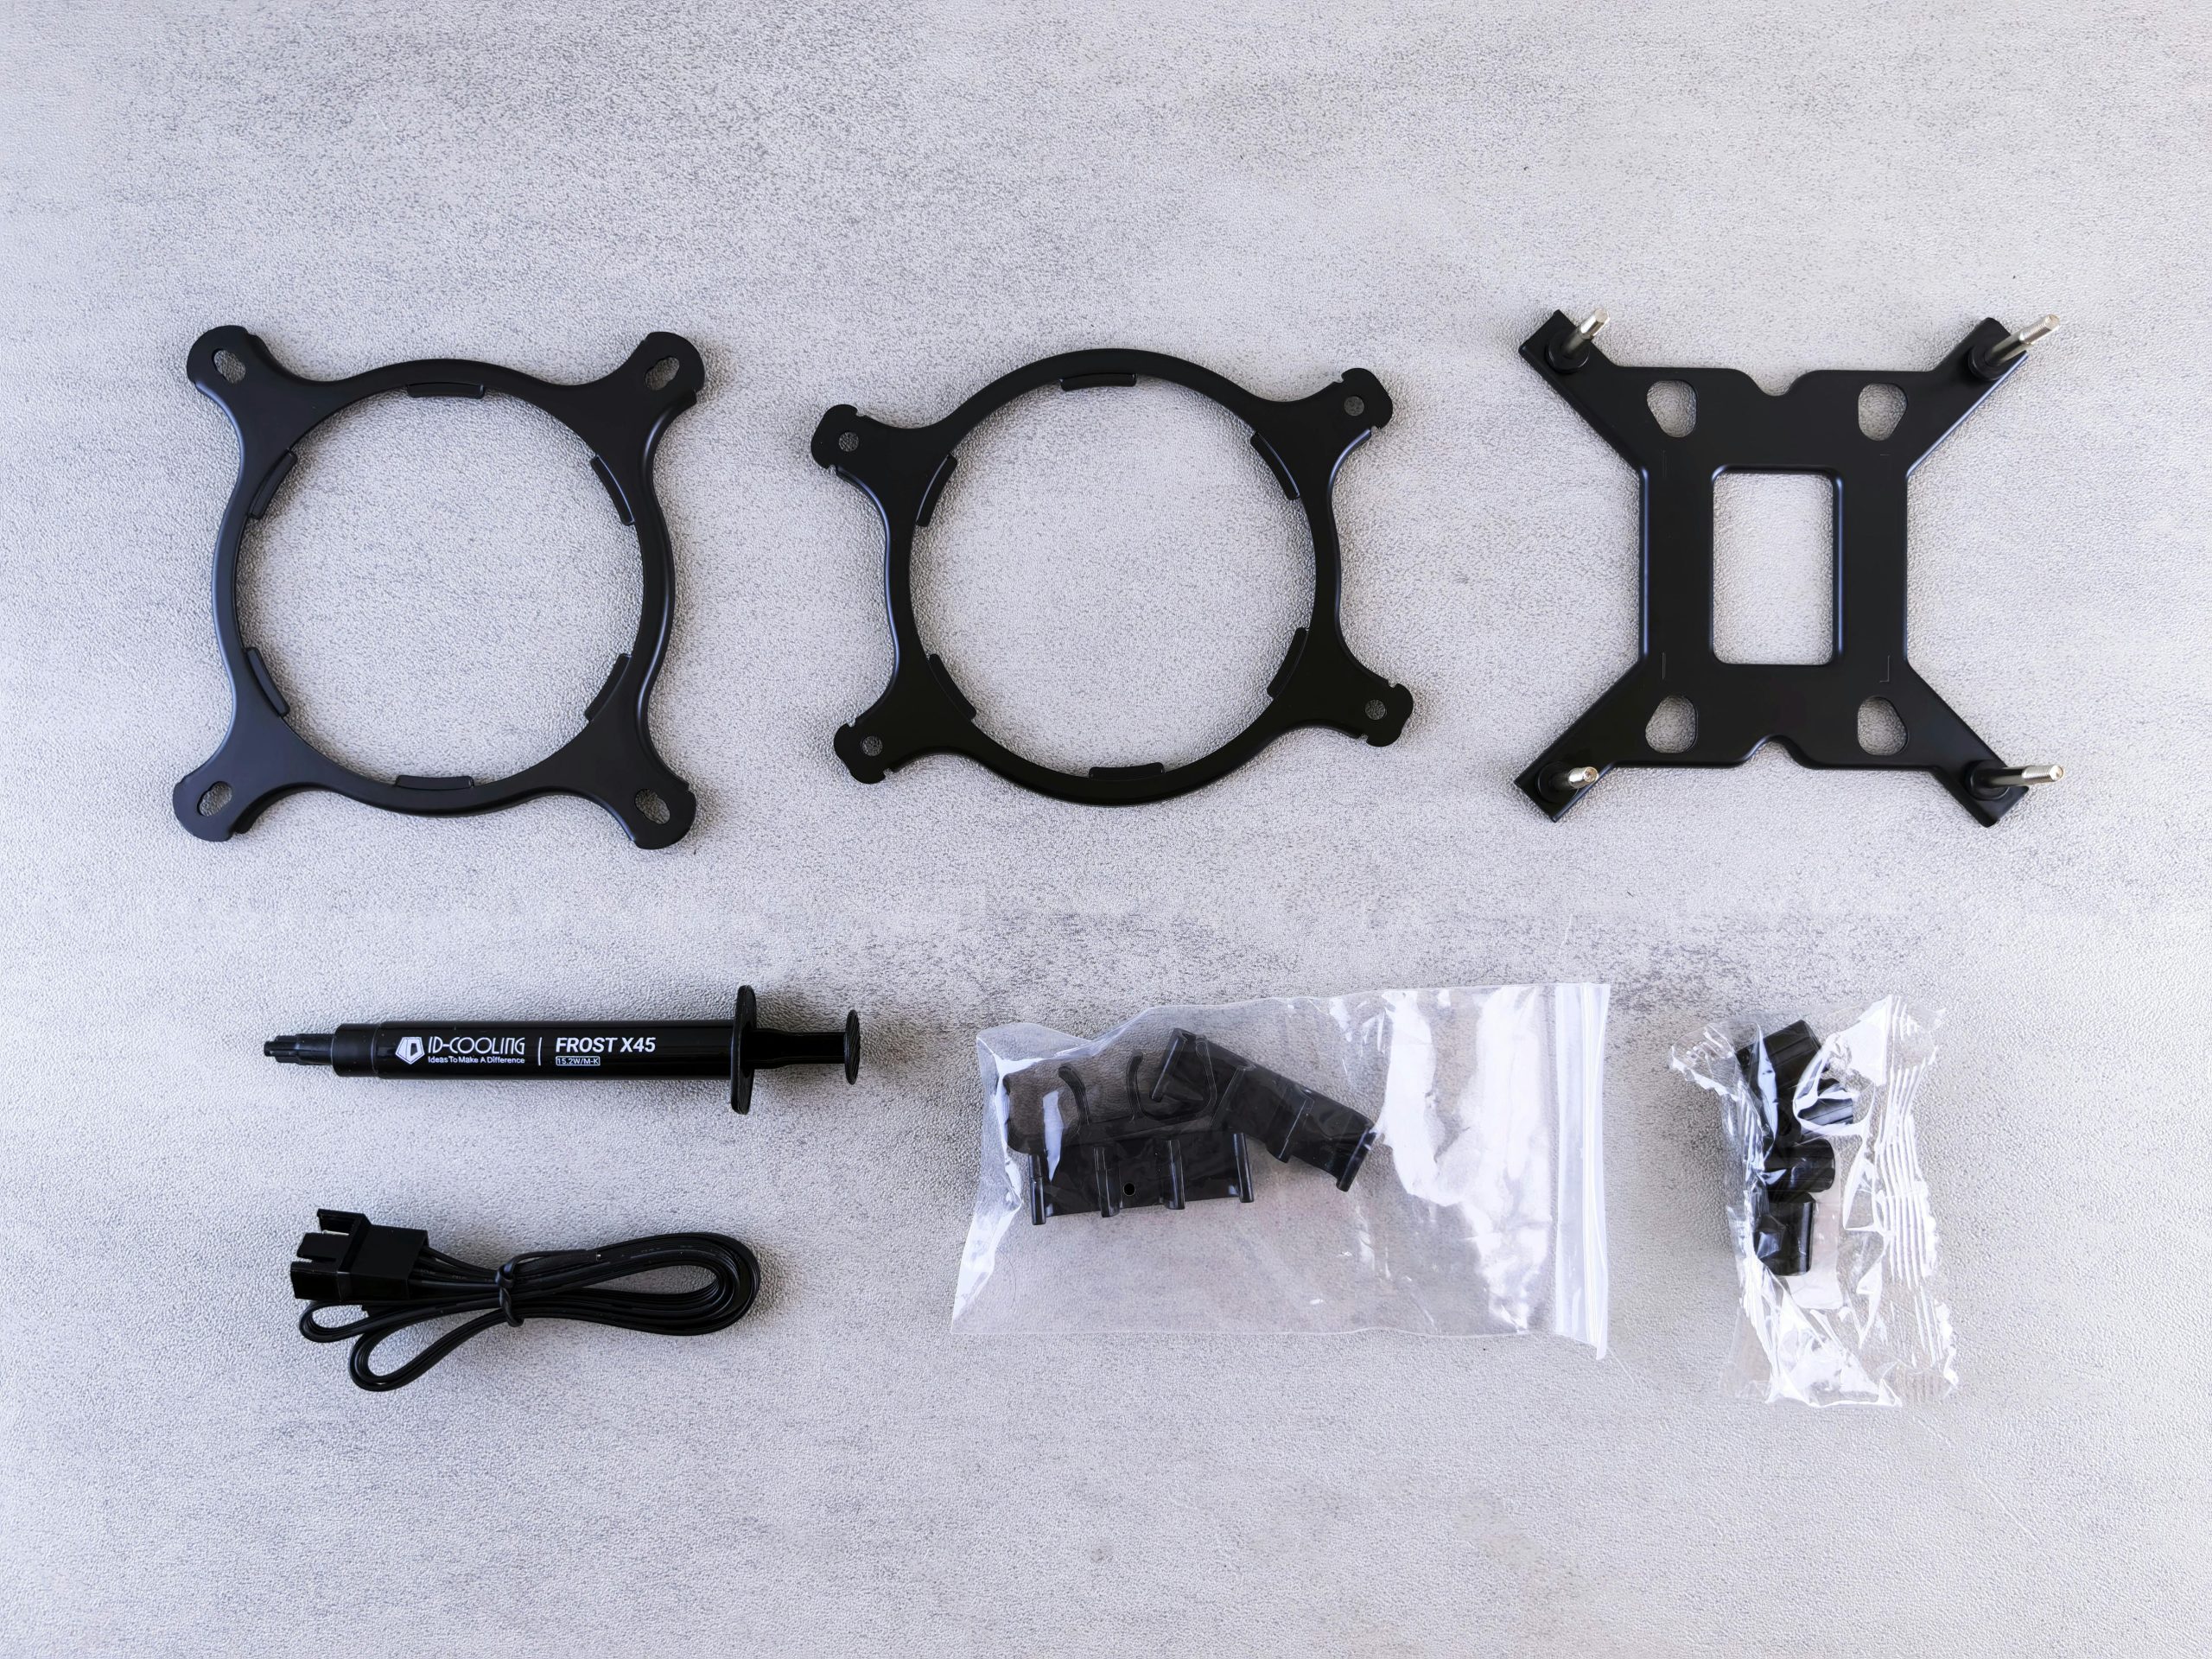
The user’s setup includes an MSI B550 Tomahawk motherboard paired with a Ryzen 7 5800X CPU. After removing and reapplying thermal compound—an essential step during CPU cooling maintenance—they noticed that the system did not display any output on the monitor. To diagnose the problem, the EZ Debug LED on the motherboard was checked, revealing a CPU-related error indicator. Notably, the CPU pins on the processor appeared intact, with no visible signs of damage such as bent or missing pins.
Understanding the Issue
Reapplying thermal paste is generally a straightforward process aimed at improving thermal performance. However, improper application or handling can inadvertently lead to issues such as:
– Excess thermal paste causing poor contact
– Stress or misalignment during reinstallation
– Residue or debris interfering with connections
– Unexpected dislodgement of components
In this case, the EZ Debug LED’s CPU fault indicator suggests that the motherboard is detecting a problem related to the CPU, despite the physical inspection indicating no visible damage.
Potential Causes and Solutions
- Thermal Paste Application and CPU Seating
- Cause: Excessive or uneven thermal paste can hinder proper contact between the CPU and the cooler, potentially affecting system startup.
-
Solution: Carefully remove the cooler, clean off the old thermal paste, and reapply a small, pea-sized amount of high-quality thermal compound. Ensure the CPU is correctly seated in the socket without applying excessive force before reattaching the cooler.
-
Check CPU and Socket Connection
- Cause: During handling, the CPU might have shifted or been improperly seated.
-
Solution: Power down the system, disconnect power sources, and carefully reseat the CPU. Verify that the CPU is aligned correctly and that all socket pins are undamaged and in their proper positions.
-
Inspect Motherboard and CPU for Damage
- Cause: Physical damage or debris can impede proper operation.
- Solution: Visually inspect the CPU and socket area once more for any bent pins, debris, or foreign objects. Use a magnifying glass if necessary
Share this content: