Understanding and Resolving Post-Upgrade System Performance Issues: A Step-by-Step Guide
Upgrading your PC with new hardware components can significantly enhance performance, but it can also introduce unexpected challenges. Recently, a user experienced severe performance degradation and overheating after installing a new SSD. This article explores potential causes, troubleshooting steps, and solutions to common post-upgrade issues, ensuring your system runs smoothly and efficiently.
Scenario Overview
The user initially faced issues with their PC not recognizing the new SSD. During troubleshooting, they needed to reseat their RAM modules into different motherboard slots due to motherboard specifications and compatibility considerations. Specifically:
- The motherboard is a Z590 Pro model.
- The first RAM slot isn’t usable with CPUs of 10th generation or earlier.
- The SSD was installed in the second PCIe slot, which is compatible with the CPU’s generation.
Post-installation, the system exhibited the following problems:
– Reduced performance, operating at approximately half its usual speed.
– Elevated temperatures, with components reaching around 90°C.
– General system sluggishness, despite running diagnostics.
Identifying the Root Causes
These symptoms suggest potential issues related to hardware connections, thermal management, or BIOS/UEFI settings. Common causes include:
- Improper RAM seating or slot configuration.
- Loose or improperly reseated CPU.
- BIOS misconfigurations affecting hardware recognition.
- Incompatibilities or errors introduced during hardware installation.
- Overheating due to inadequate cooling or thermal interface issues.
Troubleshooting and Solutions
1. Resetting BIOS/UEFI
A fundamental step in resolving hardware conflicts is resetting the BIOS/UEFI settings to defaults:
- Power off the PC completely.
- Disconnect from power source.
- Clear the CMOS by either using the motherboard jumper or removing the CMOS battery for a few minutes.
- Reinstall the battery (if removed).
- Power on the system and enter BIOS/UEFI setup.
- Load default settings, save, and exit.
This process often resolves recognition and performance issues caused by configuration errors.
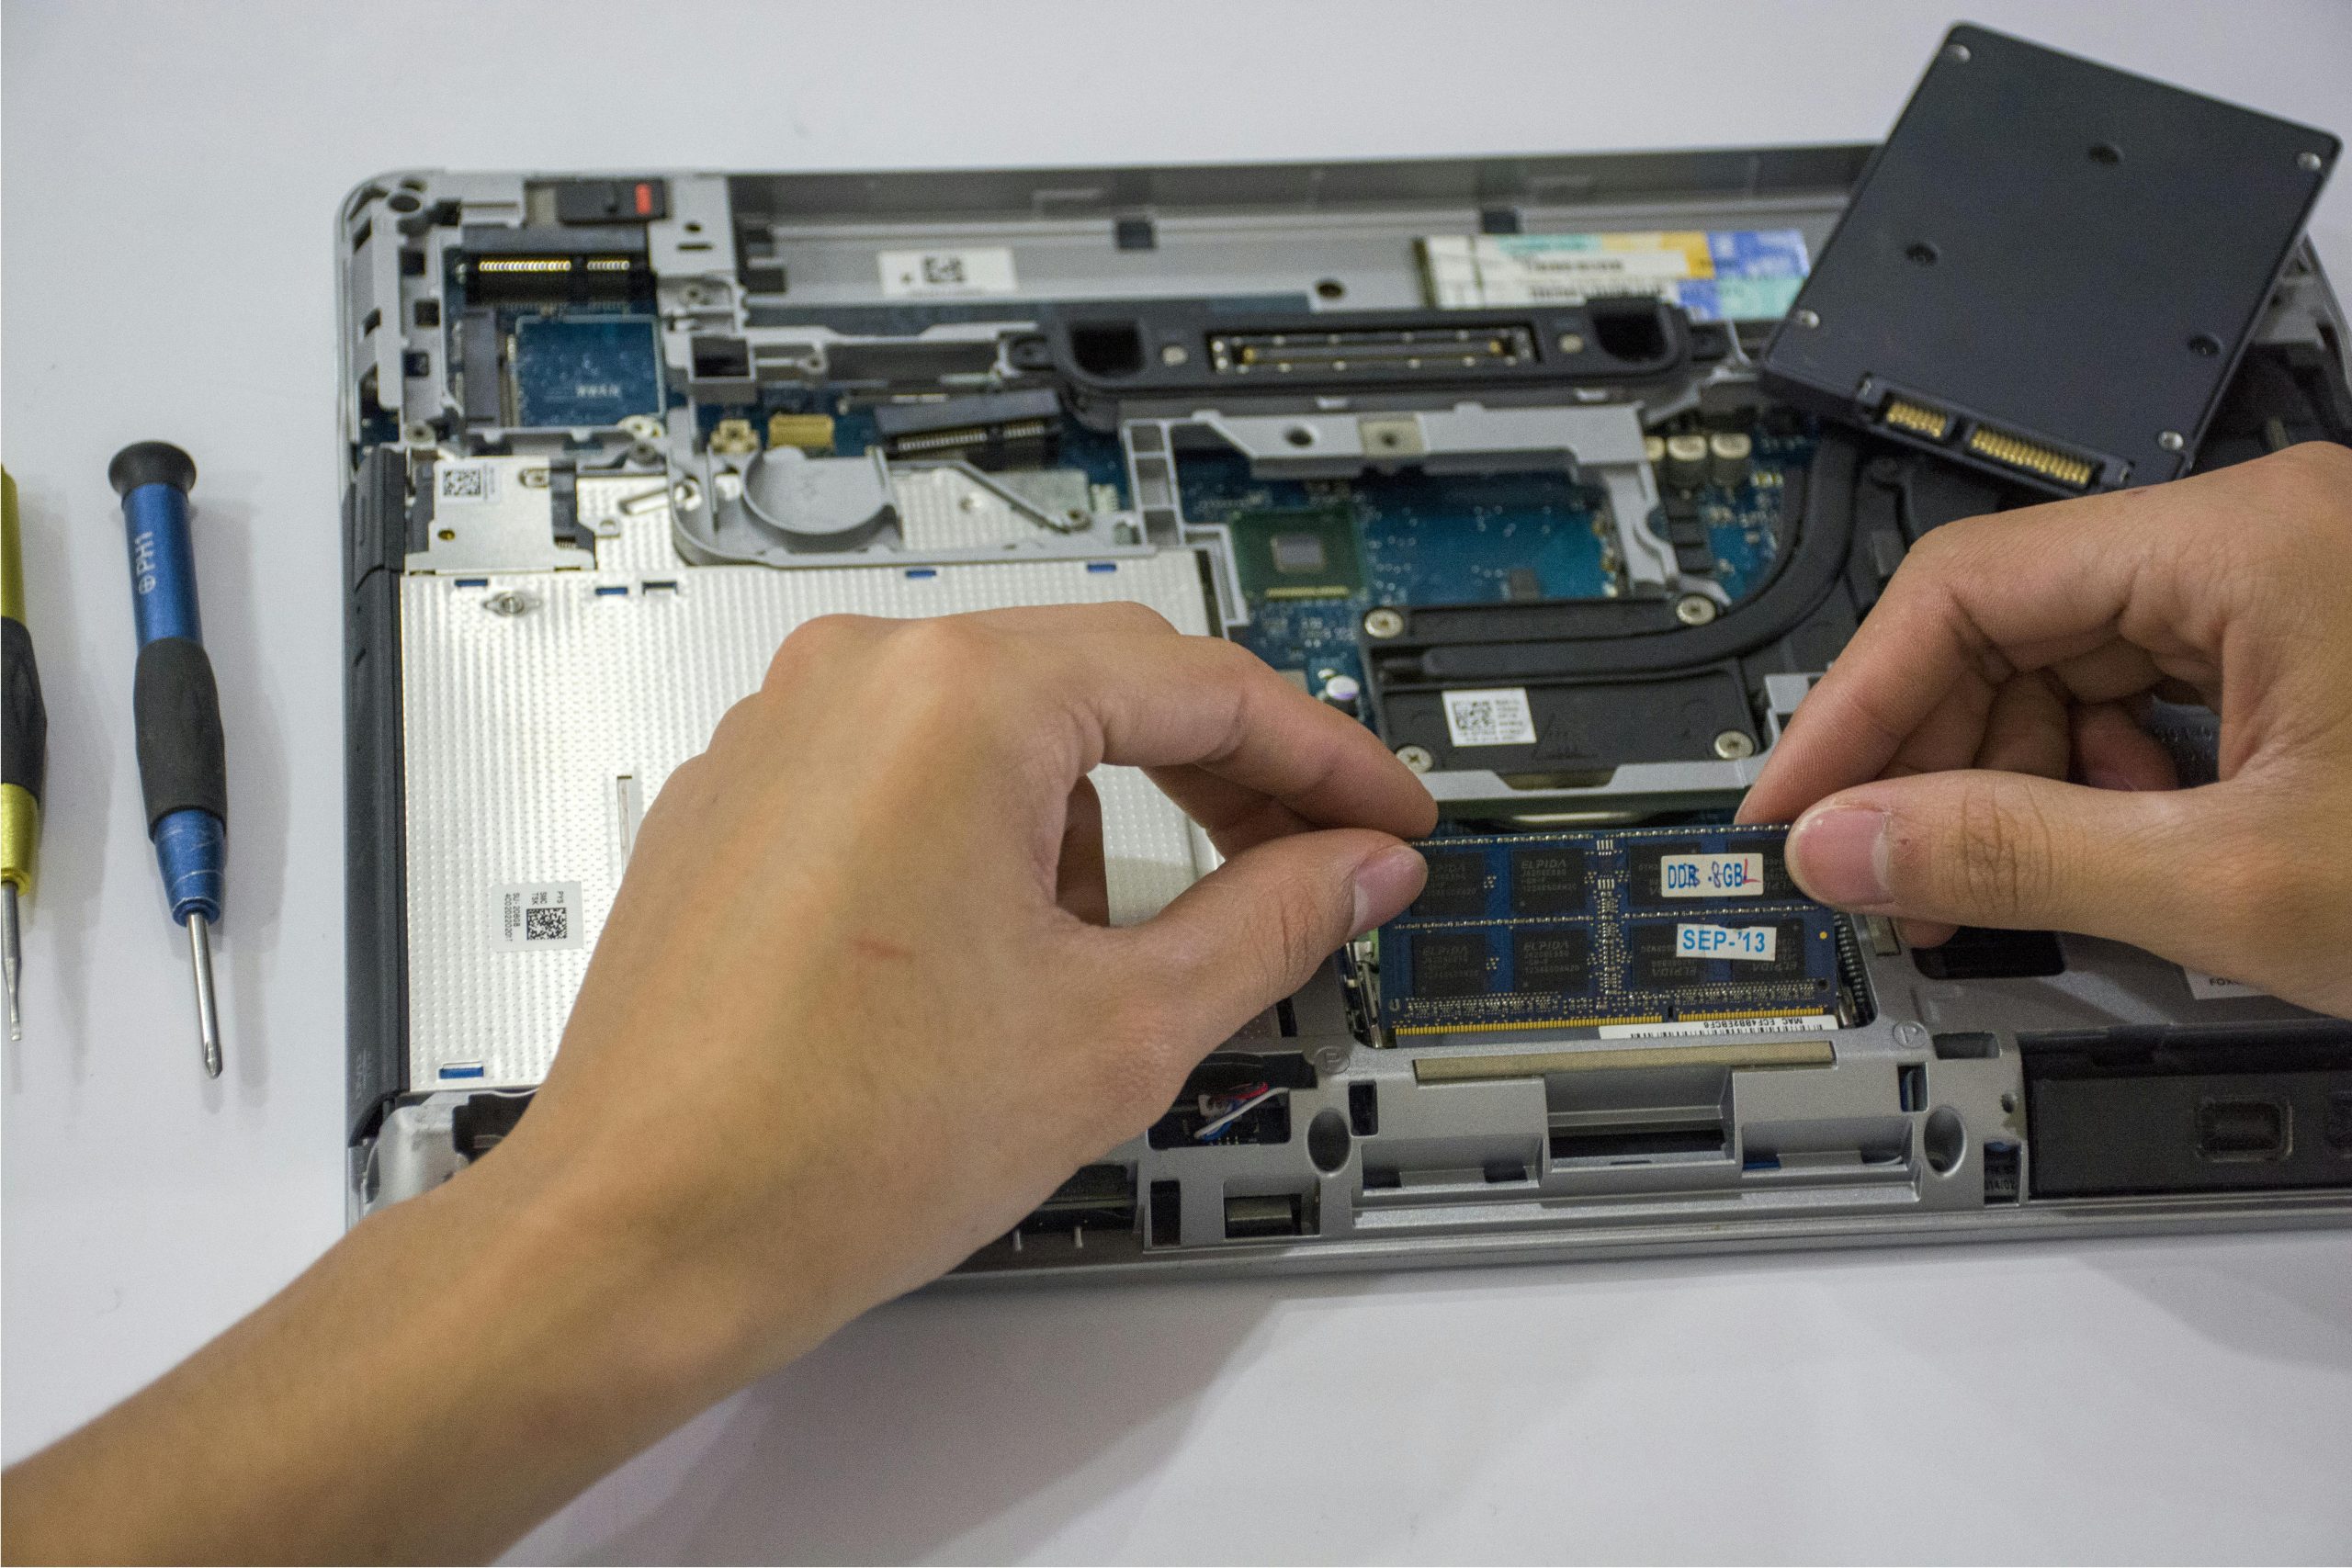
2. Reseating RAM and CPU
Physical reseating ensures proper contact and connection:
- Turn off the system and disconnect power.
- Carefully remove and reinstall RAM modules into their recommended slots (usually slots 2 and 4 for dual channel configurations).
- Check the CPU socket to ensure the CPU is seated correctly and securely. Be cautious to do this only if comfortable and experienced with hardware handling.
In the user’s case, after reseating
Share this content:


