Understanding and Troubleshooting RAM Upgrade Issues on your HP Pavilion Laptop
Upgrading your laptop’s memory (RAM) is a common way to enhance performance, but sometimes, hardware upgrades can lead to unexpected problems. If you’ve recently purchased new RAM modules and are experiencing issues, particularly with your HP Pavilion laptop, you’re not alone. In this article, we’ll explore potential causes and solutions for the problems encountered during a RAM upgrade.
Scenario Overview
Suppose you’ve replaced the original two 4GB RAM modules with two 16GB sticks, aiming for a total of 32GB of memory—well within your HP Pavilion’s supported capacity. However, upon installing both 16GB modules simultaneously, your laptop crashes to the Blue Screen of Death (BSOD). Interestingly, running a single 16GB module works fine when placed in a specific slot (the top slot), but not in the other (the bottom slot).
Possible Causes and Solutions
-
Compatibility and Specs Confirmation
-
Verify RAM Specifications: Ensure that the new RAM modules match the specifications supported by your laptop—such as DDR4 type, voltage, and speed. Mismatched modules can cause instability.
-
Check Support Limits: Confirm that your HP Pavilion model supports 32GB of RAM in total. This information is usually available on the manufacturer’s specifications or user manual.
-
RAM Module Compatibility
-
Brand and Model Consistency: While mixing brands is often possible, variations in internal chips or timings may lead to compatibility issues.
-
Test RAM Modules Individually: You’ve already noted that a 16GB module functions when placed in the top slot. Try testing each stick in both slots individually to see if both modules are functioning properly.
-
Memory Slot and Motherboard Compatibility
-
Slot Conditions: Sometimes, one of the slots may be damaged or not fully functional. Your testing shows the bottom slot may be problematic when using larger modules.
-
BIOS Update: Ensure your BIOS is up to date. Manufacturers release BIOS updates that improve memory compatibility.
-
Overclocking and XMP Profiles
-
Default Settings: Ensure that your BIOS is set to default or optimized defaults. Overclocking profiles can sometimes cause issues with certain modules.
-
Adjust Memory Settings: Manually configuring memory timings and voltage might stabilize the system.
-
Physical Installation Check
-
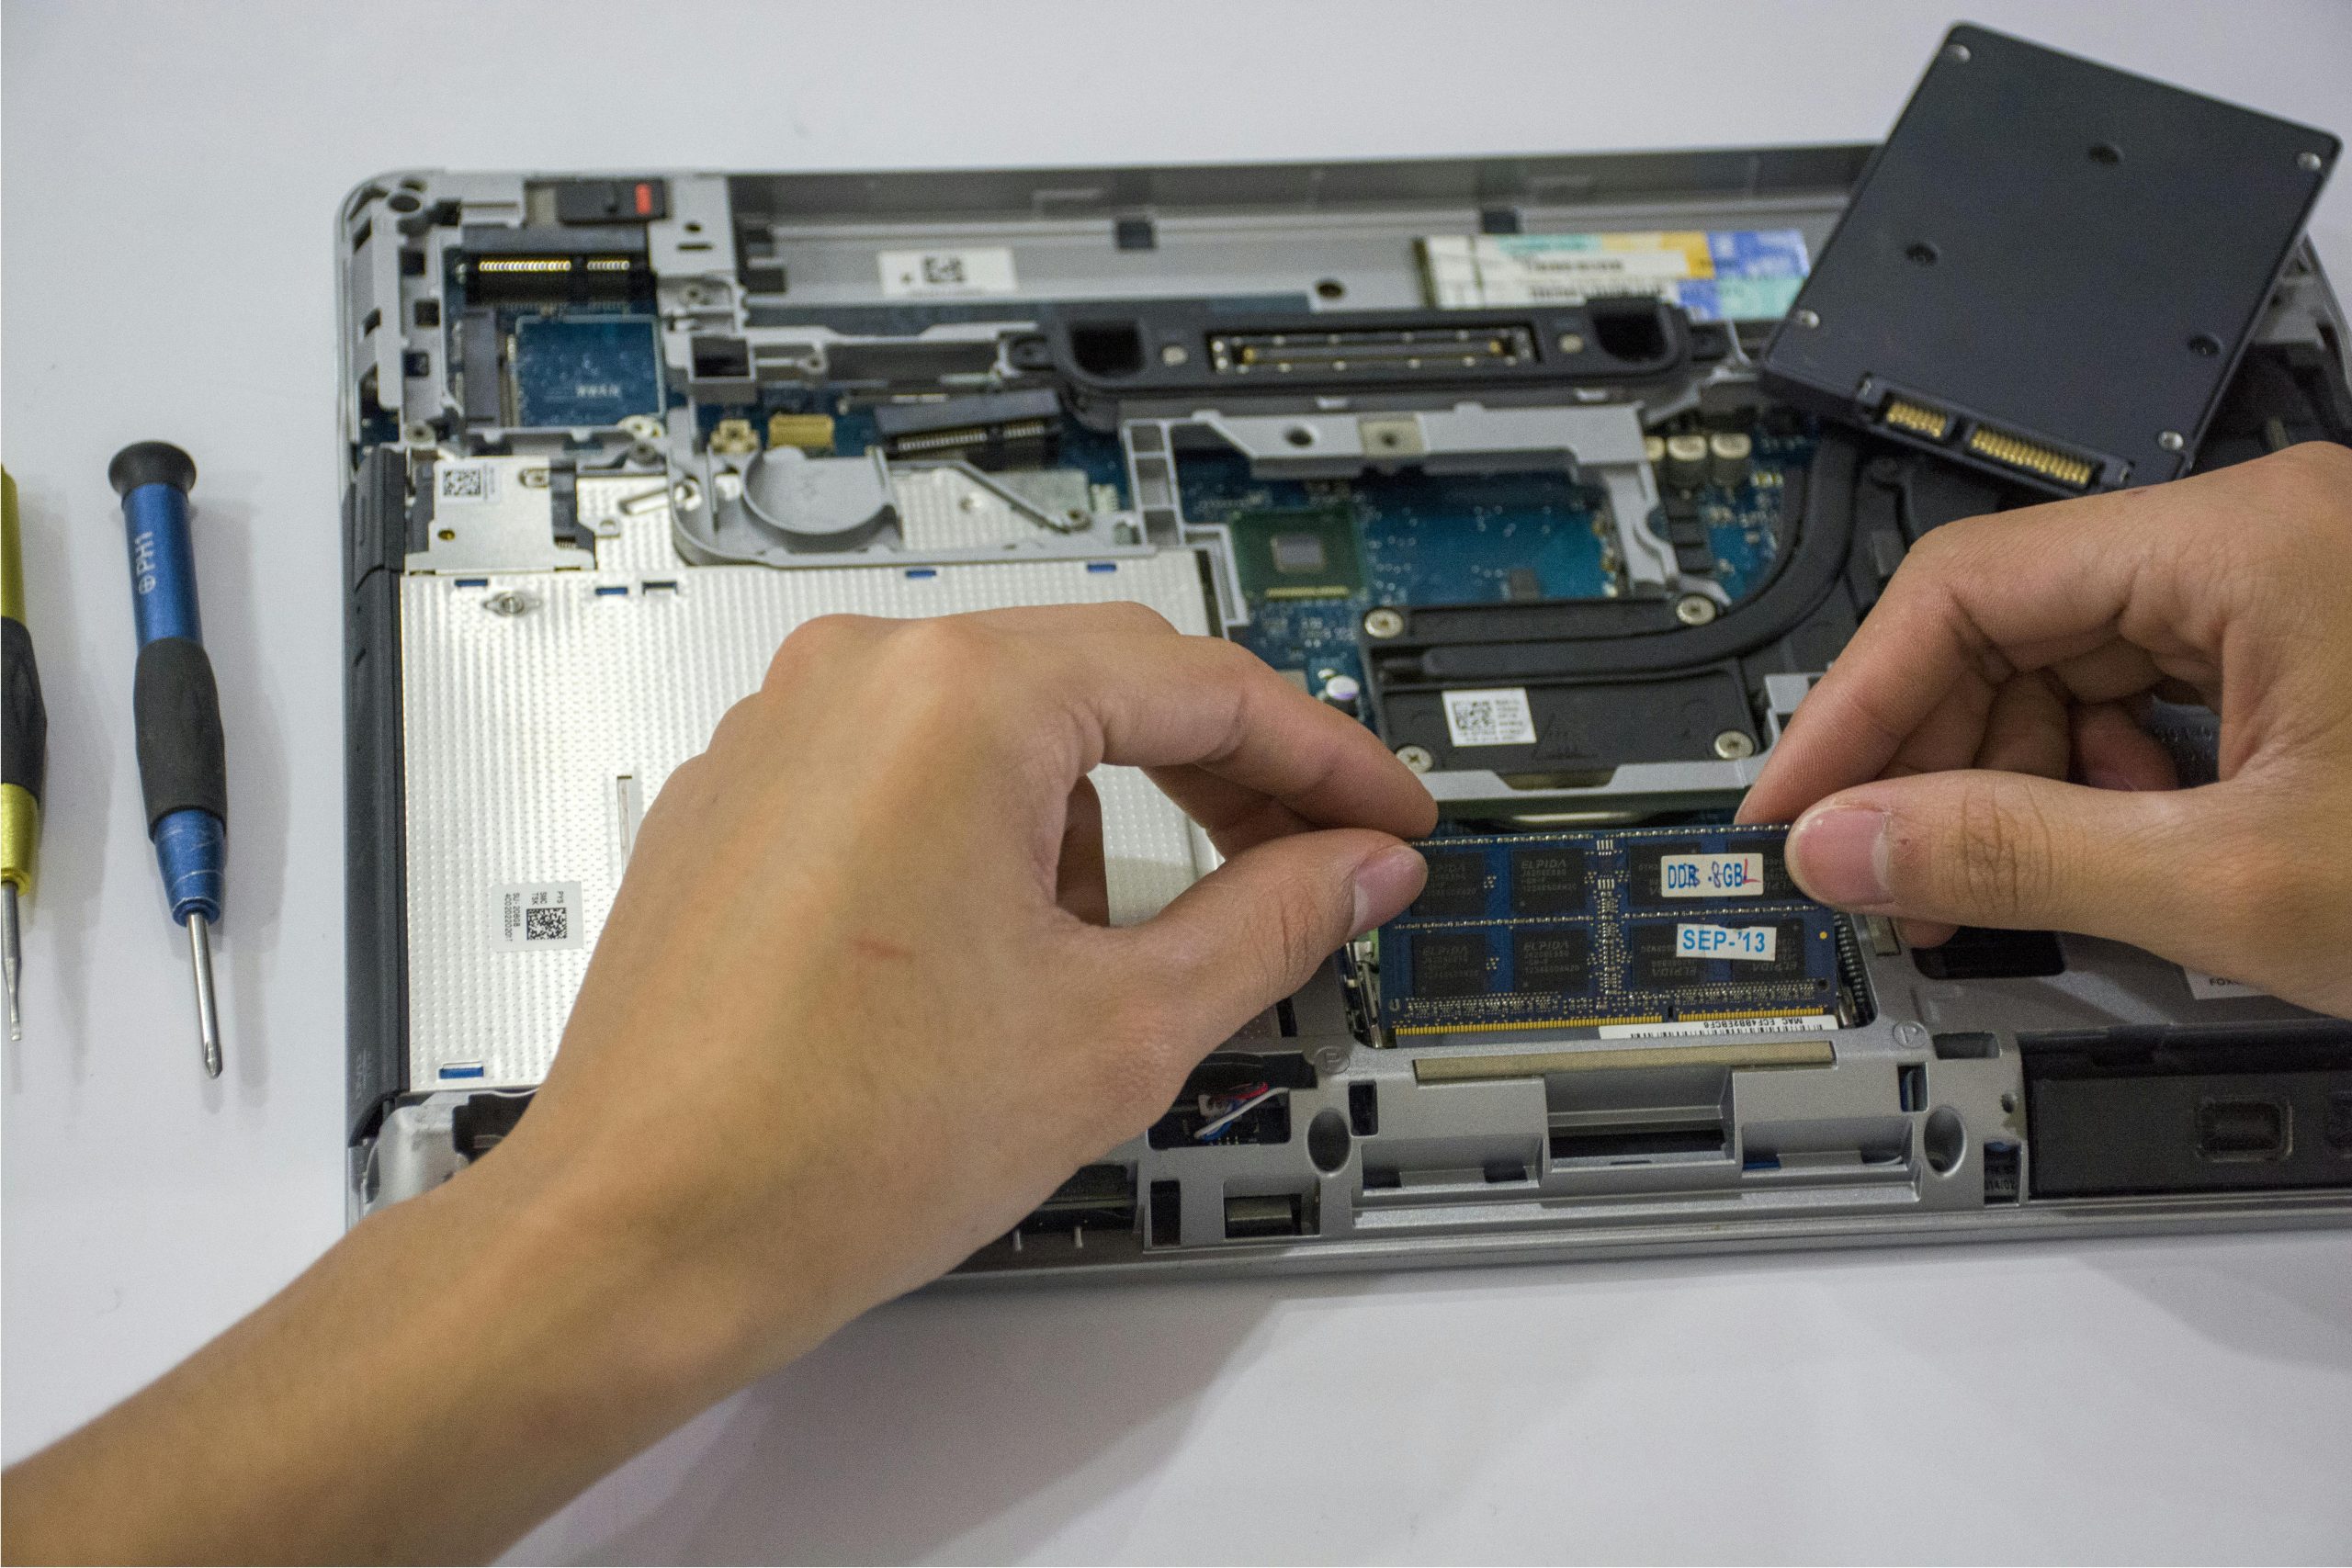
Proper Seating: Double-check that the RAM modules are properly seated in their slots. Loose connections can cause boot failures.
-
Clean Contacts: Make sure the contacts are clean and free from dust or
Share this content:


