Transforming Spare Parts into a Stunning Wall-Mounted PC: A Creative Proof of Concept
In an innovative attempt to repurpose old technology and enhance our workplace environment, I recently embarked on a project to create a wall-mounted PC for our conference room and lobby using mainly spare components. This unique build not only showcases technical ingenuity but also serves as an eye-catching piece of functional art.
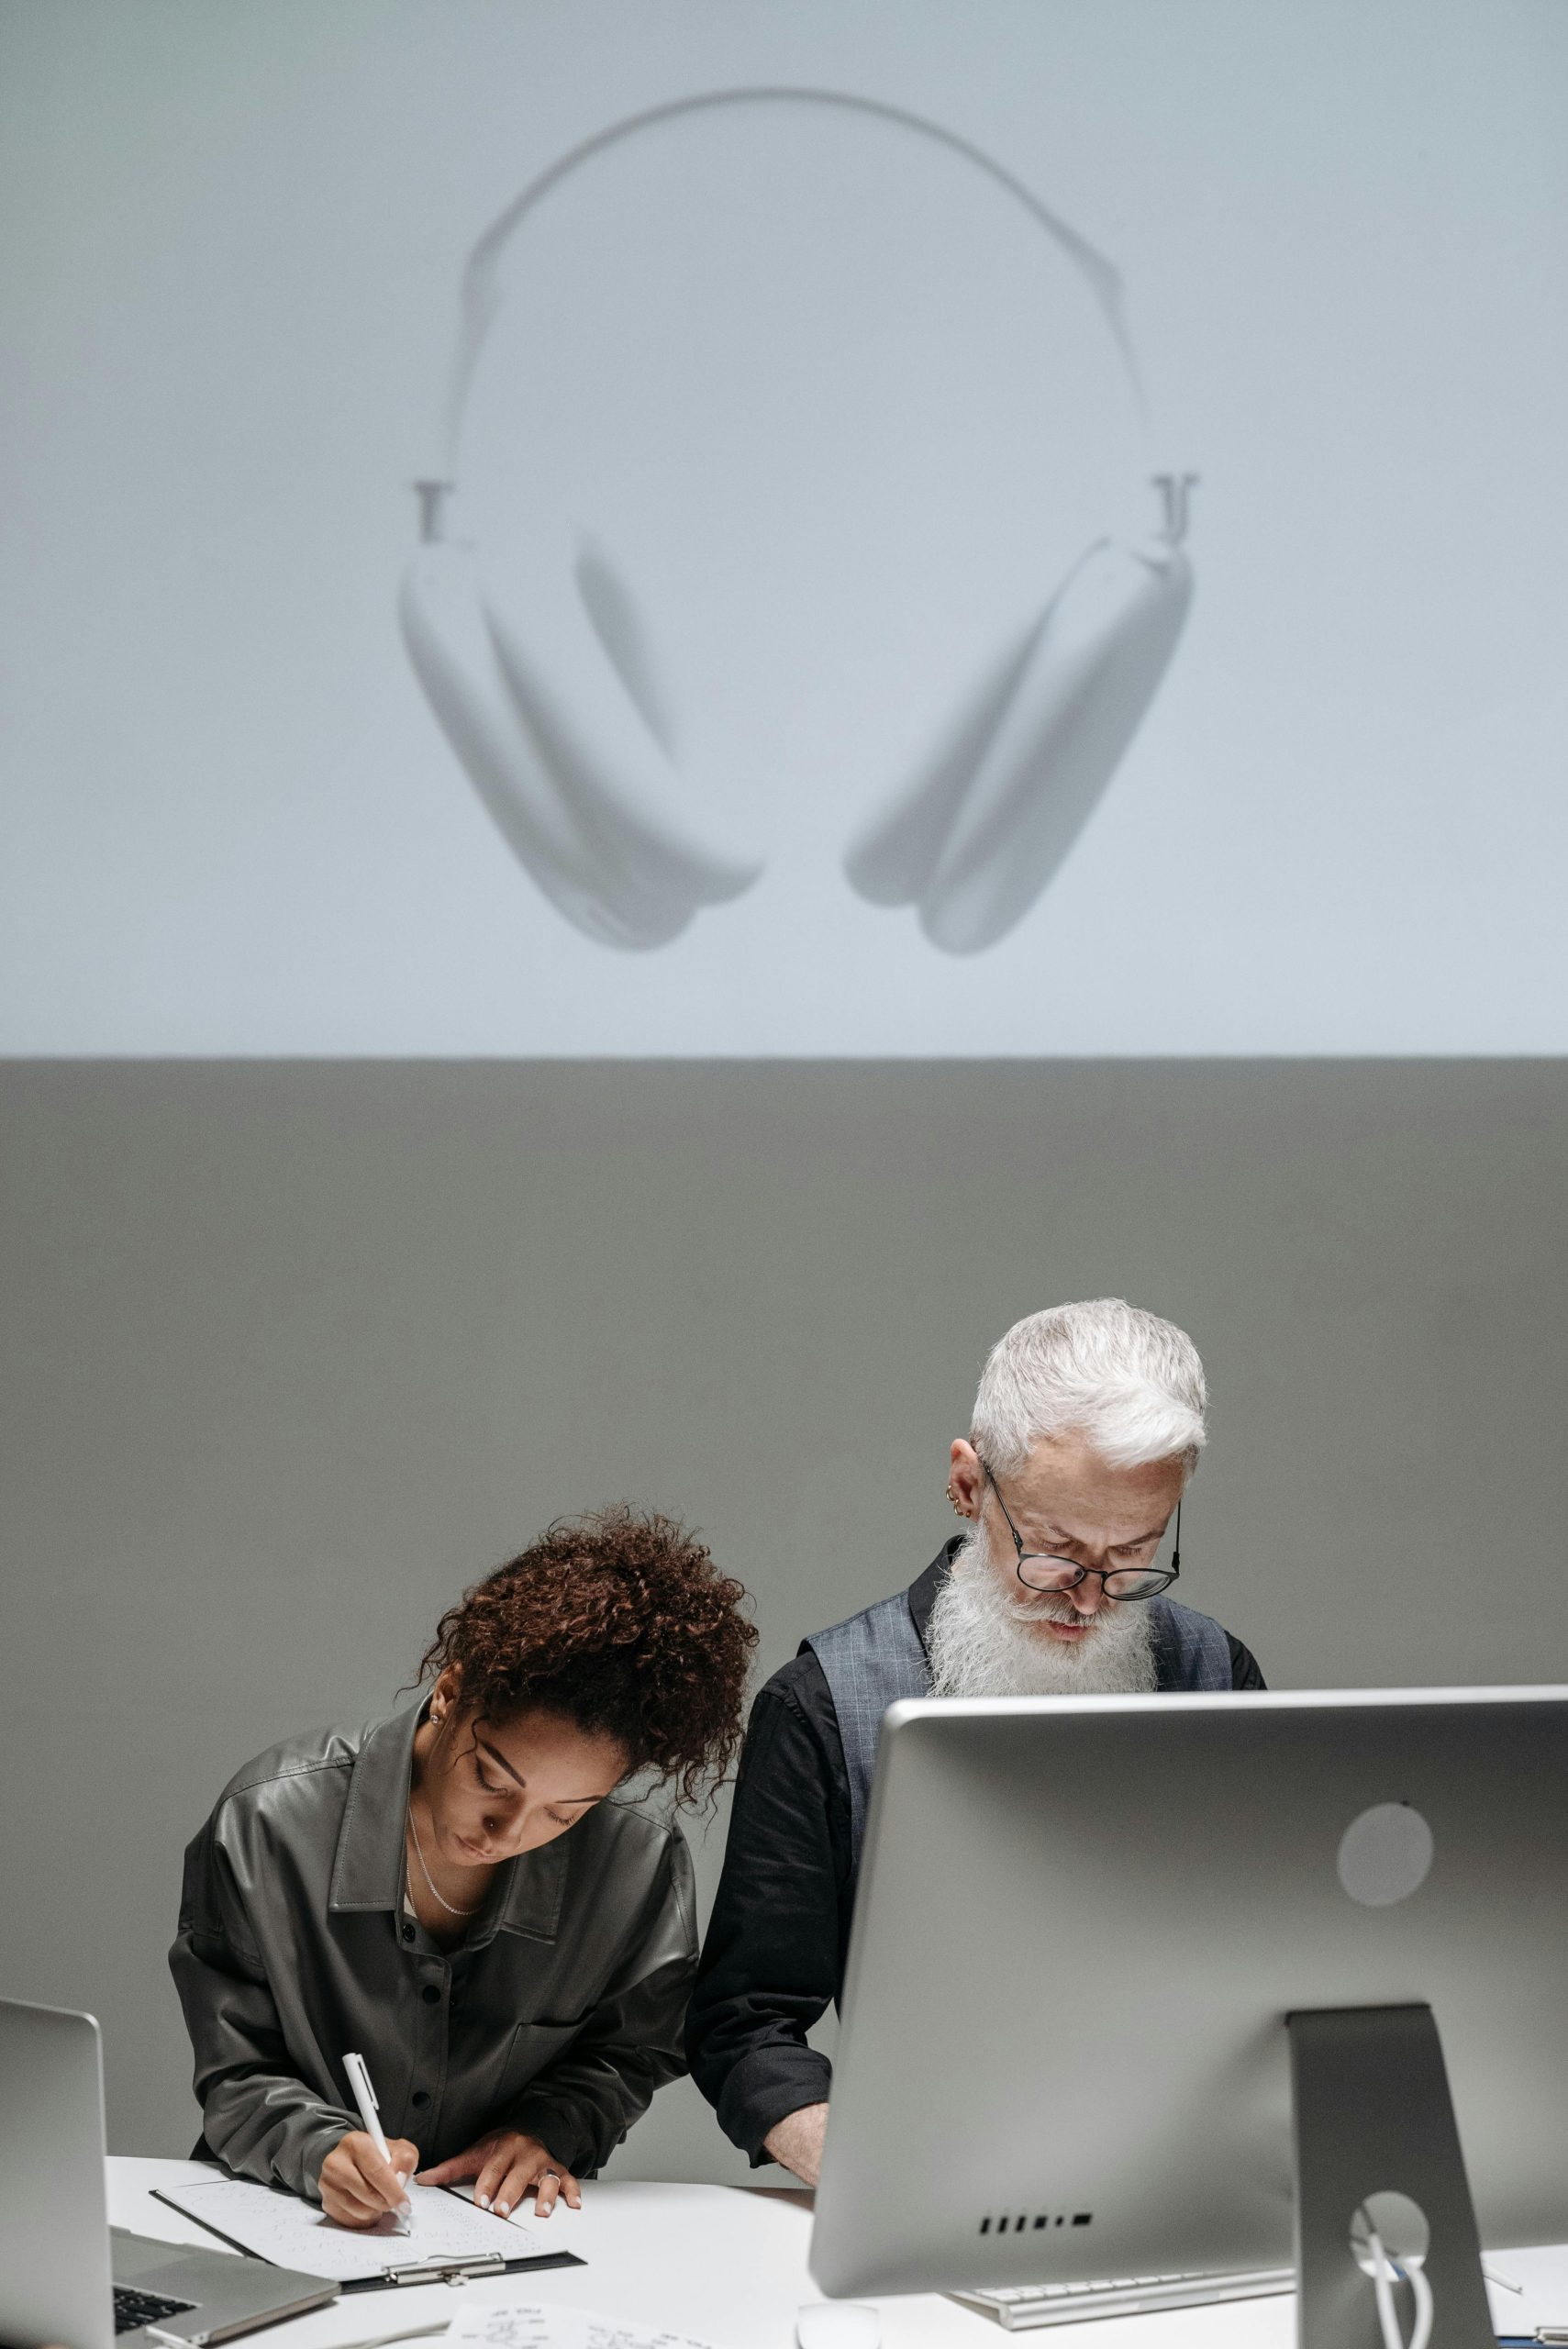
The foundation of my project was an old mining rig plate, coupled with a B550 motherboard, an AMD Ryzen 5 5600 processor, and 32GB of RAM. To elevate the visual appeal of the build, I integrated a NVIDIA GeForce RTX 3070 graphics card, which brings both performance and style. To add a unique twist, I 3D printed a custom bracket that allows for the suspension of a holographic fan directly from the motherboard mounts, positioned just above the PCI slots.
The entire assembly process was both enjoyable and educational, and I’m thrilled with the result. I even took the liberty of creating a brief promotional video, roughly 20 minutes long, to highlight the various aspects of the build and demonstrate its functionality.
This initiative was conducted on a nearly zero budget, primarily utilizing leftover parts found at the office, making it an efficient and cost-effective solution. I was inspired to take on this challenge as a proof of concept, as I had never seen a wall-mounted PC featuring a holographic fan before.
If you’re interested in similar projects or have any questions about the process, feel free to reach out! I’m excited to share this creative journey and hope it inspires others to explore innovative ways to repurpose technology.
Share this content:


Hi, this is a fantastic and innovative project! If you’re looking to display this kind of wall-mounted PC with a holographic fan, here are a few technical tips that might help: