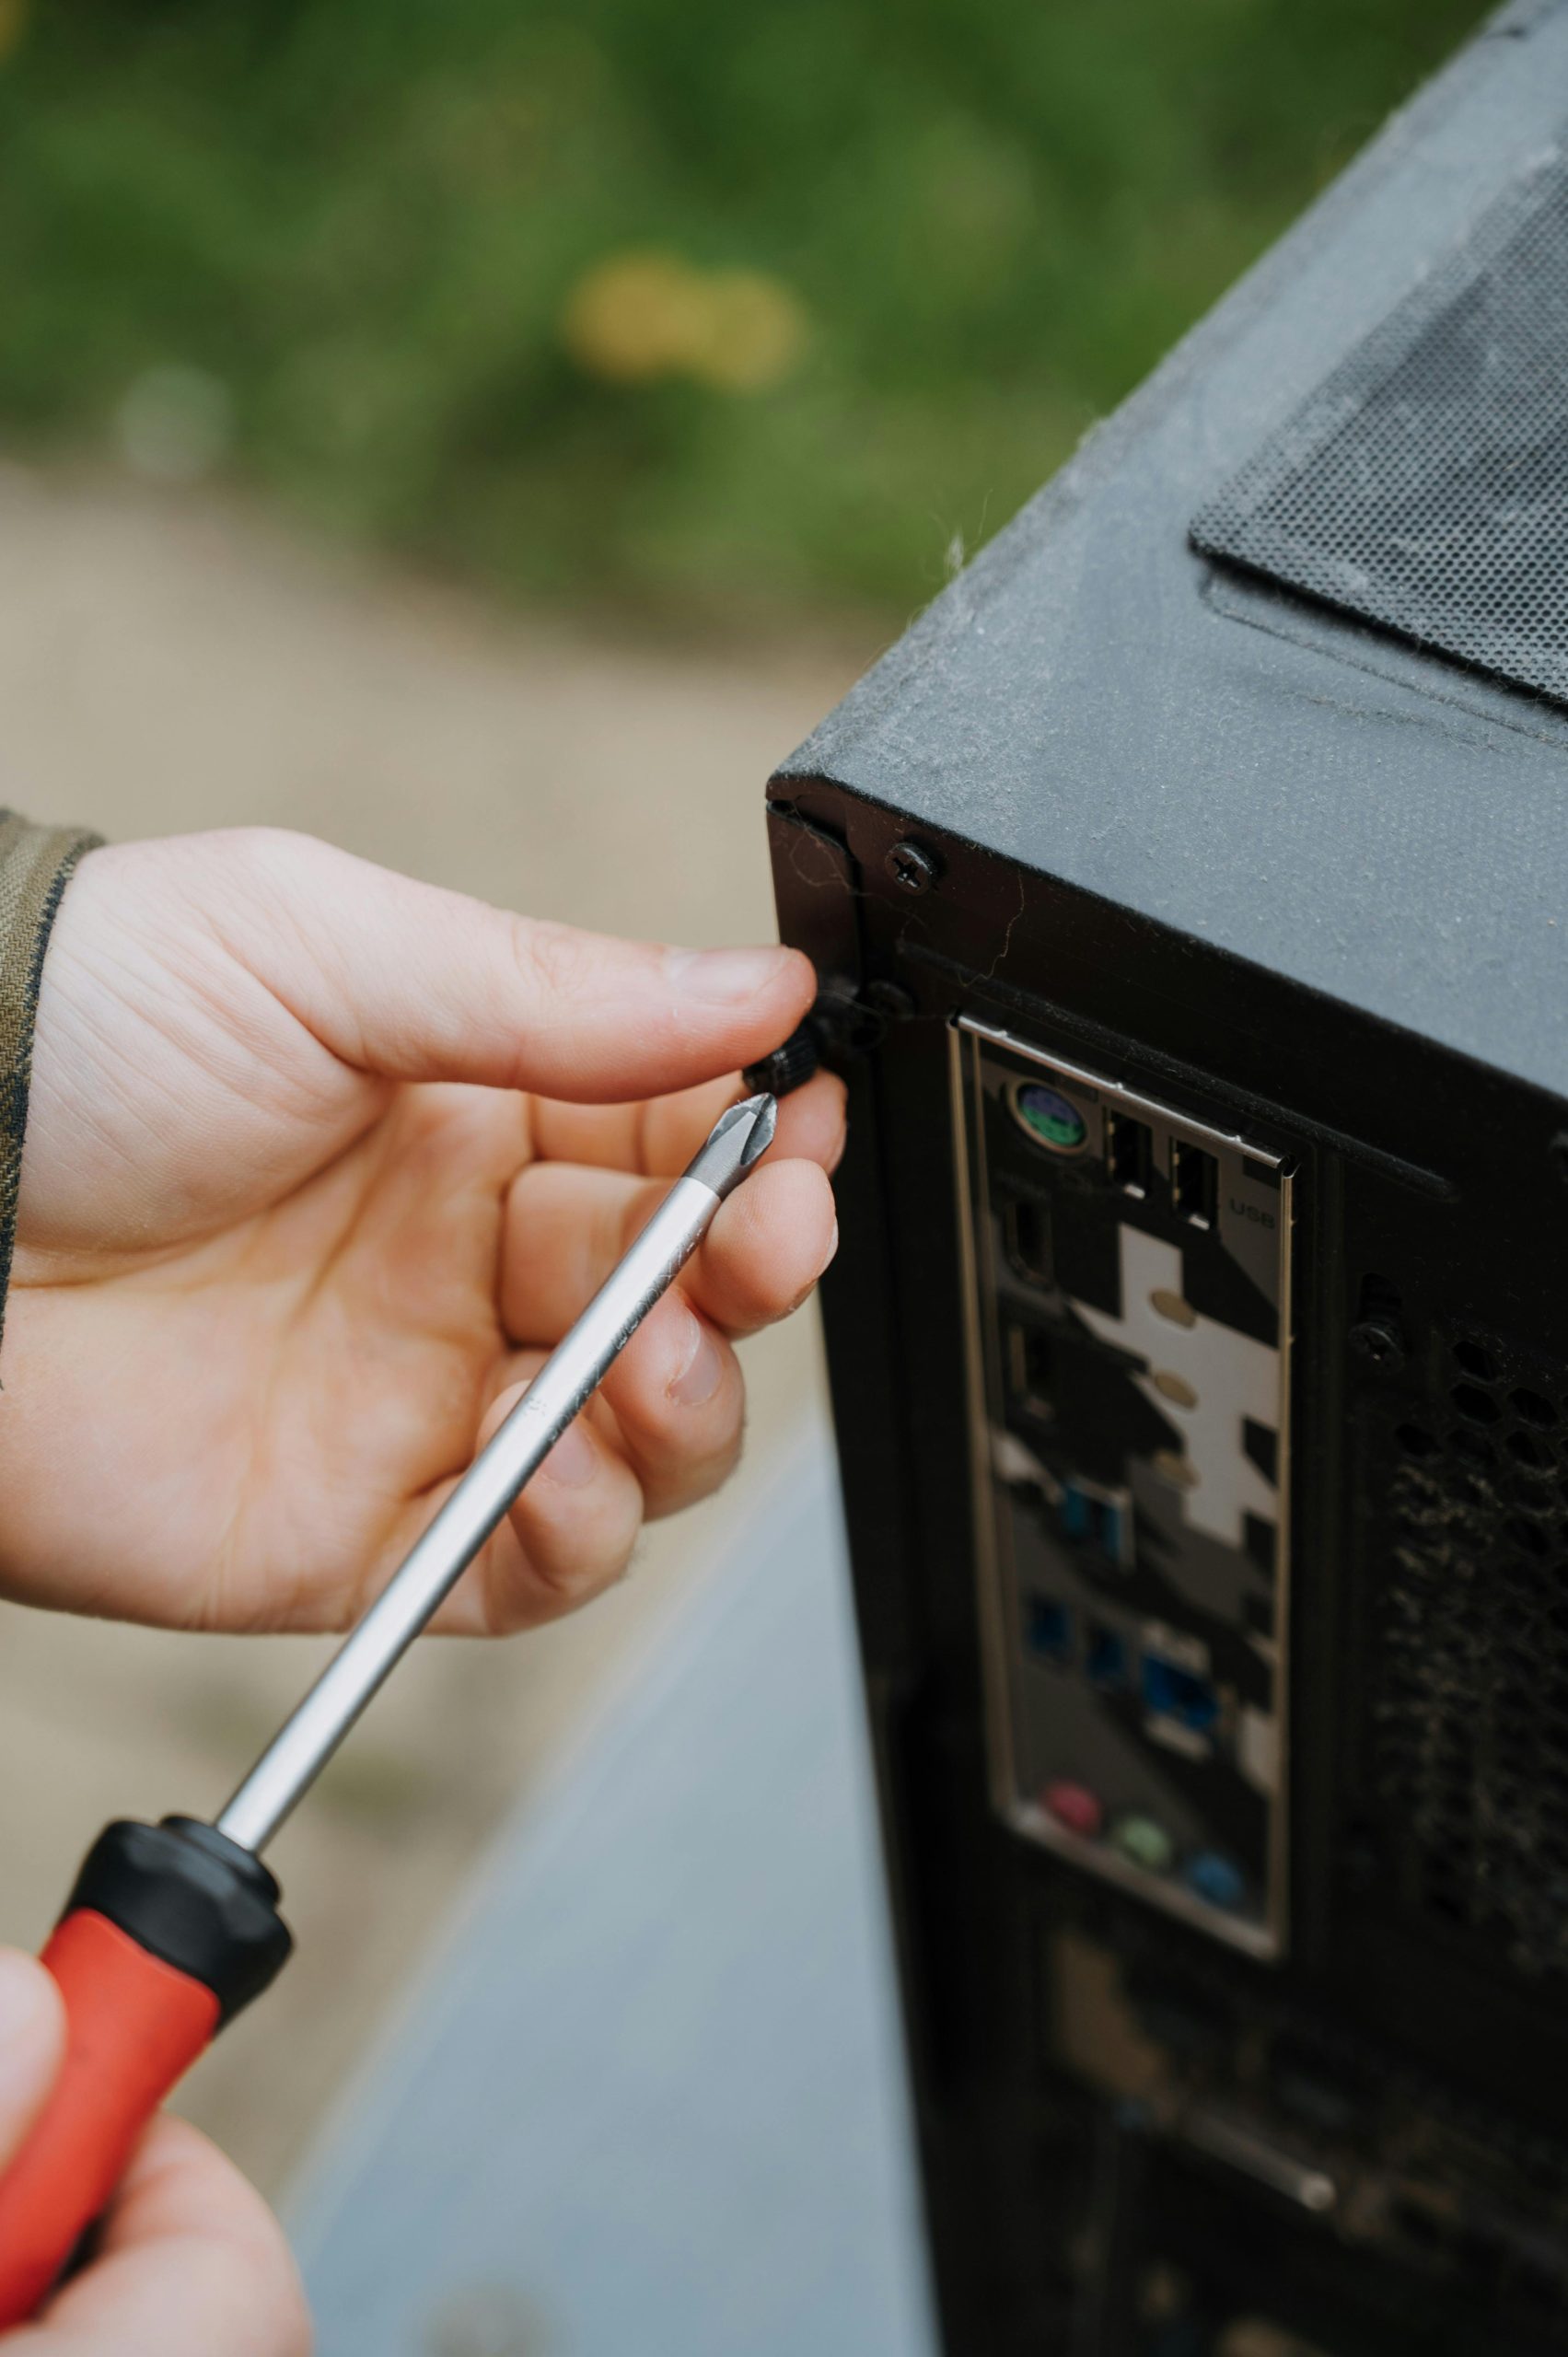
How to Safely Remove a Stripped Screw from Your Motherboard
Removing a stripped screw from a motherboard can be a frustrating challenge, especially when you need to access components like an SSD. If you find yourself in this situation, fear not; there are various methods to tackle this problem effectively while minimizing the risk of damage to the motherboard.
Understanding the Challenge
When dealing with a stripped screw, especially one with a flat surface that is flush against the motherboard, typical tools may not provide the grip needed for removal. You may have already considered methods like pliers, but the limited space can make gripping the screw head nearly impossible. Additionally, techniques like using a rubber band often prove ineffective in such tight spots.
Alternative Techniques for Removal
Here are some strategies that you can employ to remove that stubborn screw:
1. Dremel Tool or Rotary Tool
If you have access to a Dremel or a similar rotary tool, consider using it to create a new slot in the screw head. Carefully cut a notch into the head of the screw to make it easier for a flat-head screwdriver to engage. Ensure to use a steady hand to avoid damaging the surrounding components.
2. Left-Handed Drill Bits
Using left-handed drill bits may seem counterintuitive, but these specialized bits are designed to remove screws in the process of drilling. When you drill in reverse, it may catch the screw and unscrew it from the socket. Just be careful to start with a drill bit that is smaller than the screw head.
3. Epoxy or High-Strength Adhesive
If you’re considering using glue, try a small application of a high-strength epoxy on a screwdriver tip. This method allows for a more controlled application, and once the epoxy cures, it might provide a firm grip on the screw head.
4. Heat Application
Applying controlled heat to the screw can sometimes help expand the metal, making it easier to grip. A soldering iron or a heat gun may be used, but be very cautious to avoid affecting other components on the motherboard.
Important Considerations
As you attempt any of these methods, it is crucial to be gentle and avoid applying too much pressure. Excessive force can lead to cracking or damaging the motherboard, so always prioritize caution during the removal process. If you’re uncertain about any approach, consulting with a professional technician may be a sensible option.
Conclusion
Removing a stripped screw from your motherboard
Share this content:


Thank you for sharing this detailed guide on removing a stripped screw from a motherboard. When dealing with such stubborn screws, safety and precision are paramount to prevent damage to the delicate components. Here are a few additional tips that might help:
If you’re uncomfortable performing these steps or if the screw remains stubborn, consulting with a professional technician can save time and prevent accidental damage. Good luck, and remember to work in a static-free environment!