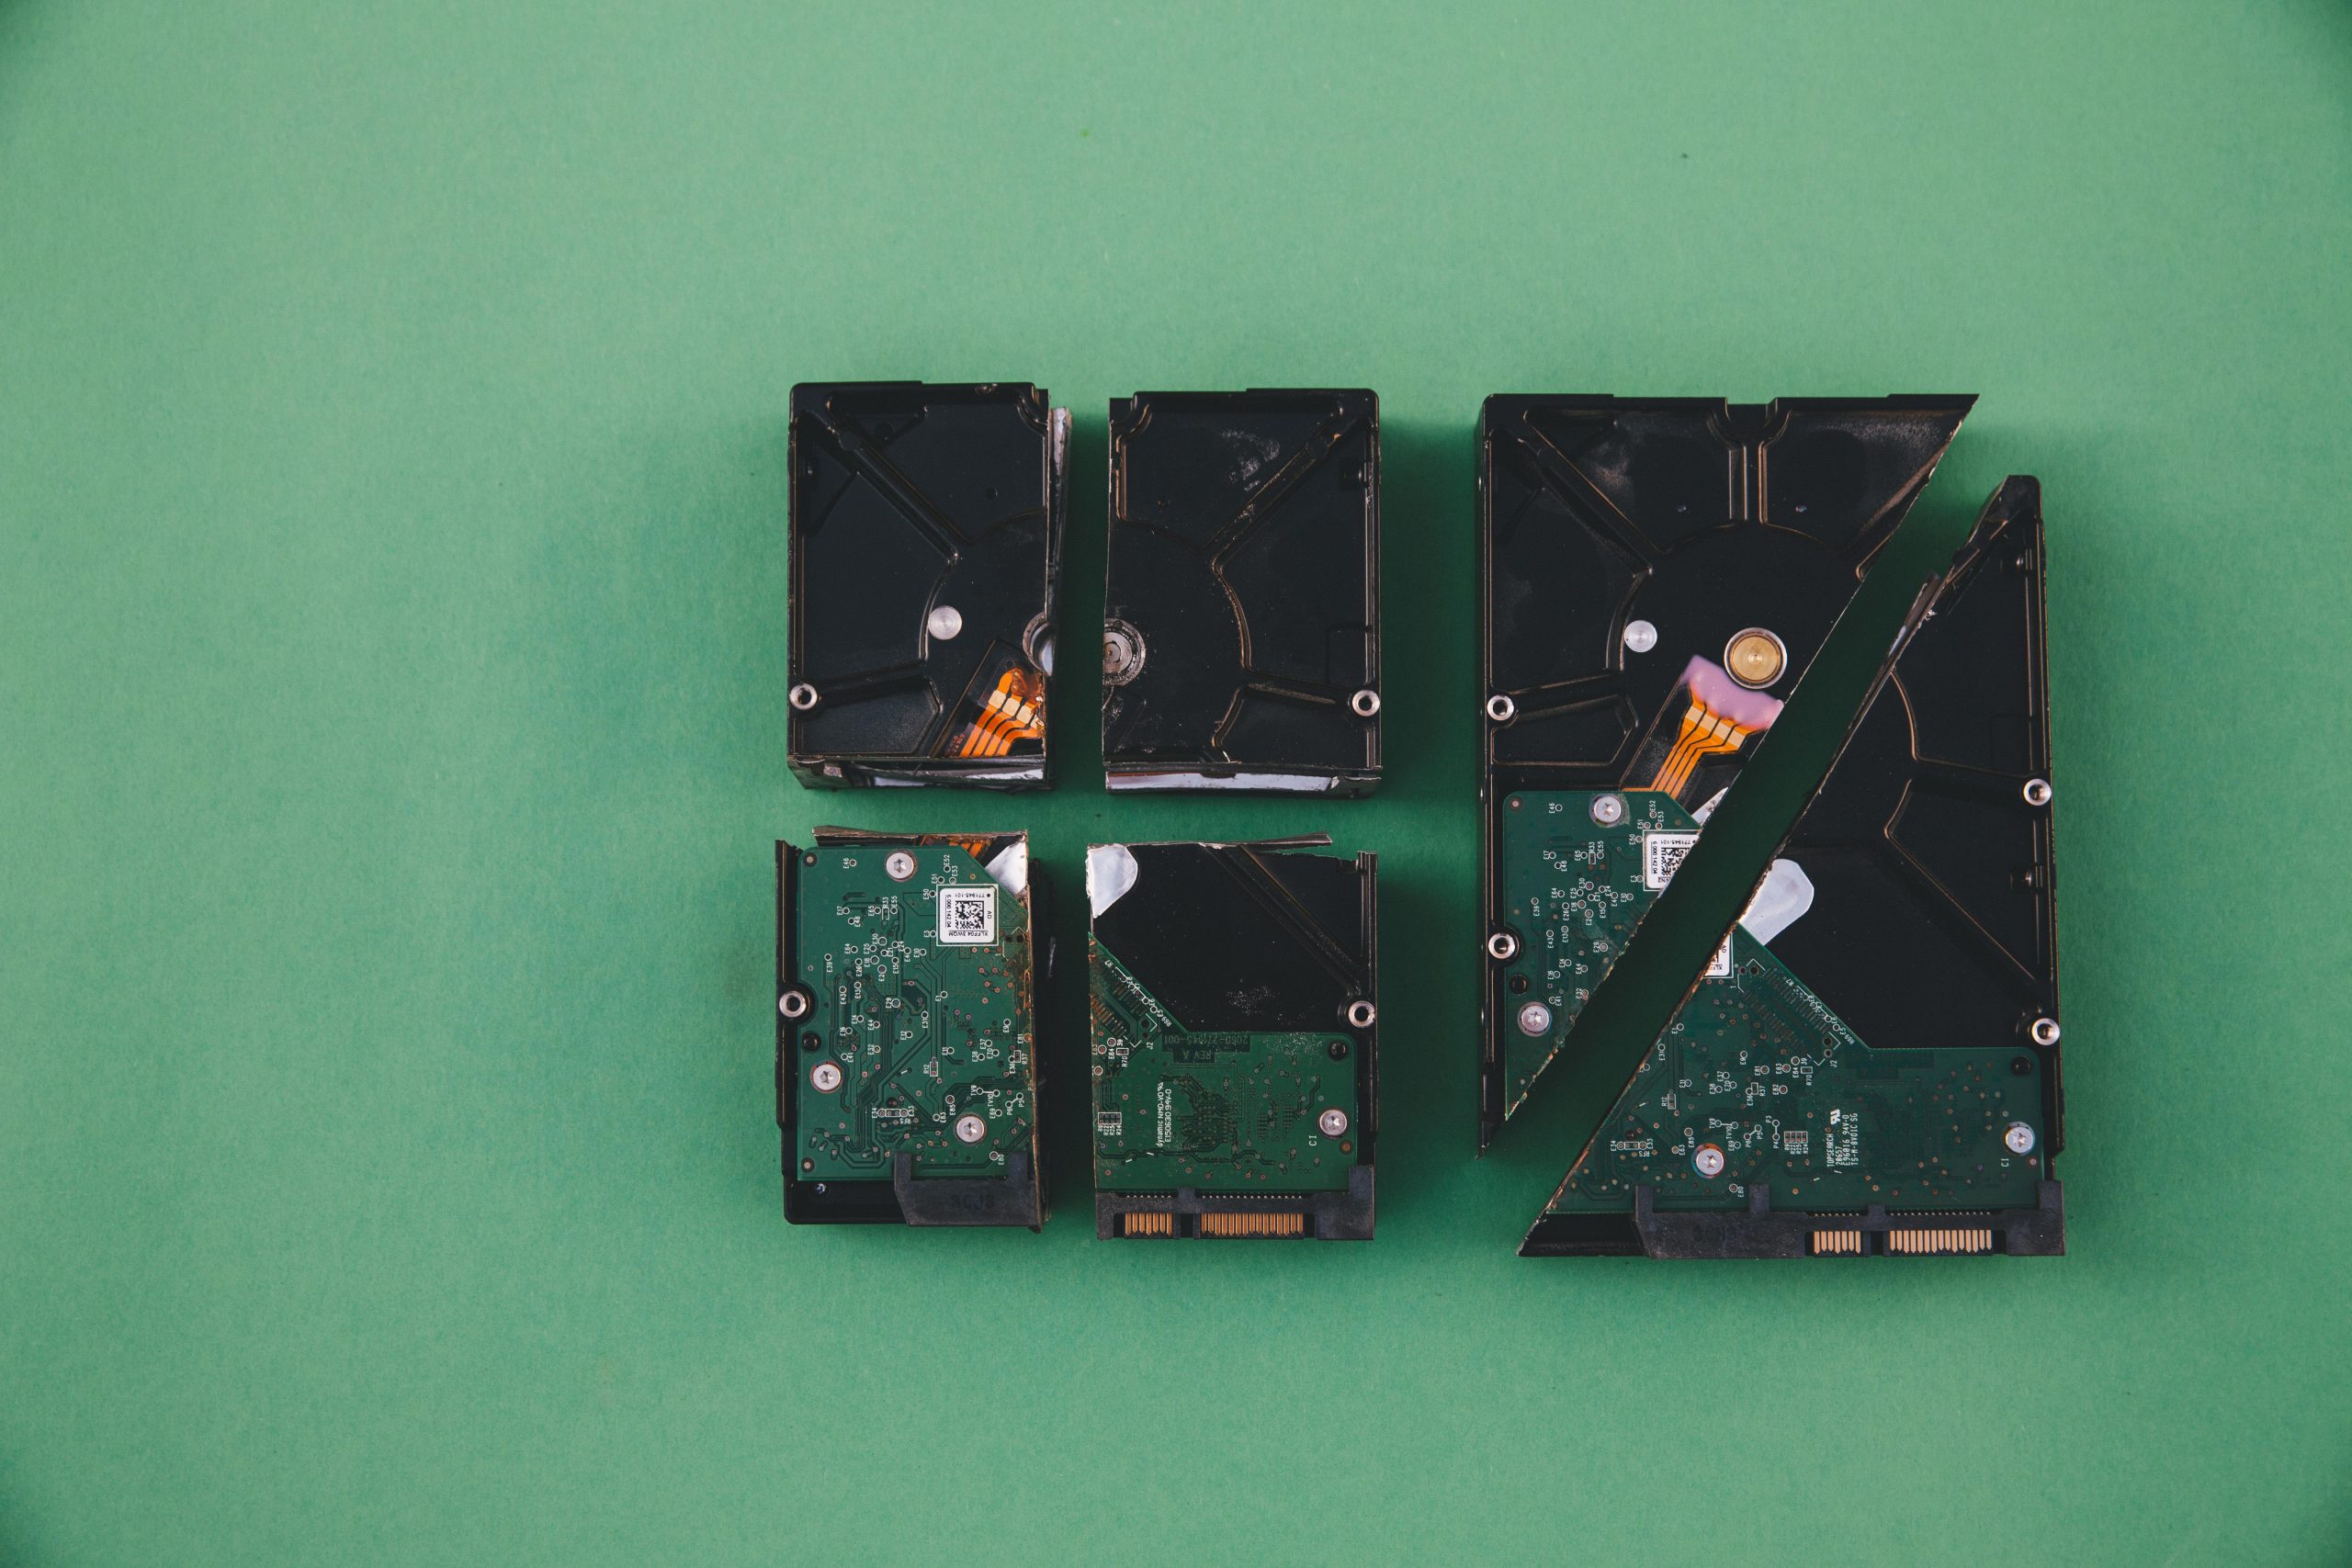
Troubleshooting Guide: WD HDD Not Detected in Windows
Are you grappling with the frustrating issue of your Western Digital (WD) hard drive not being recognized by your Windows computer? This situation can disrupt your workflow, especially if you rely on that drive for storing important files and data. Don’t worry; you’re not alone in this struggle. In this post, we’ll explore effective troubleshooting steps to help you resolve this problem and recover access to your drive.
Common Reasons for Detection Issues
Before diving into the solutions, it’s essential to understand why your WD hard drive might not be detected by your Windows system. Several factors could be at play, including:
- Connection Problems: A loose or faulty cable can prevent your drive from being recognized.
- Power Supply Issues: Insufficient power to the hard drive can cause it to fail to initialize.
- Driver Conflicts: Outdated or corrupted drivers may result in detection failures.
- File System Corruption: If the file system on the HDD is damaged, Windows may struggle to detect it.
Step-by-Step Troubleshooting
- Check Physical Connections
-
Ensure that your hard drive is properly connected to your computer. Double-check USB and power cables for any signs of damage.
-
Try a Different USB Port or Computer
-
Sometimes, the issue might stem from the USB port itself. Connecting the HDD to a different port or another computer can help identify if the drive is functioning correctly.
-
Listen for Sounds
-
When you power on the hard drive, listen for any unusual clicking or grinding noises. Such sounds can indicate serious hardware failures.
-
Update or Reinstall Drivers
-
Go to Device Manager (right-click on the Start menu) and check for any yellow exclamation marks near Disk Drives. If you find any, right-click and select ‘Update Driver’. Alternatively, you can uninstall the device and reboot your computer to reinstall the drivers automatically.
-
Check Disk Management
-
Open Disk Management (right-click on ‘This PC’ > ‘Manage’ > ‘Disk Management’) to see if the drive appears there. If it’s listed but not initialized, you may need to initialize or format it.
-
Run Hardware Troubleshooter
- Use the built-in hardware troubleshooter by going to Settings > Update & Security > Troubleshoot > Additional troubleshooters. Run the “Hardware and Devices” troubleshooter to identify
Share this content:


Hello,
It seems you’re experiencing issues with your WD external hard drive not being detected on Windows. Here are some additional steps and tips that might help you resolve the problem quickly: