Enhancing Data Recovery from WD My Book: Expert Guidance on Controller Replacement and ROM Swapping
Encountering data loss issues can be distressing, especially when your storage device ceases to power on. For users of Western Digital My Book external drives experiencing such problems, understanding the underlying hardware components and recovery techniques is crucial. This article aims to provide a professional overview of troubleshooting steps, focusing on controller board replacement and ROM chip transfer, based on real-world scenarios and best practices.
Identifying the Issue: Power Failure and Data Inaccessibility
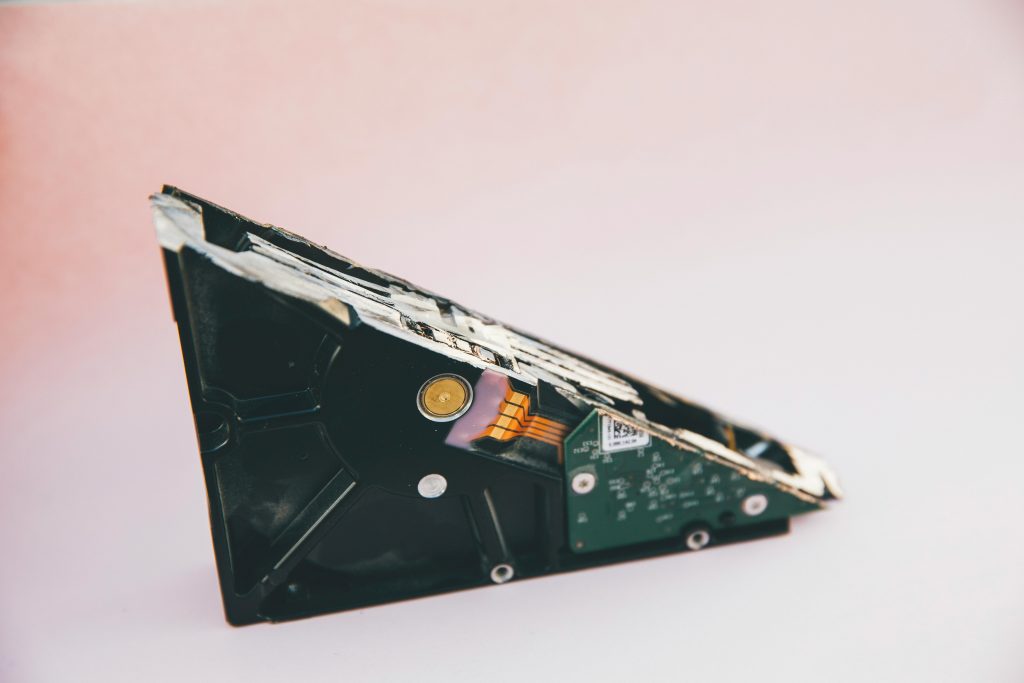
Users frequently report WD My Book drives that suddenly stop powering on. When this occurs, one common culprit is the controller board— the electronic component responsible for managing the drive’s functions. External drive failures often stem from controller board malfunctions rather than the hard drive itself.
In one case, upon disconnecting the drive from its enclosure (shucking) and connecting the internal SATA interface directly to a computer, the system recognizes the drive but cannot access data—suggesting hardware encryption or firmware issues linked to the controller board.
Sourcing a Compatible Donor Board
To address this, a common approach involves replacing the controller board. The key is to find a donor PCB (Printed Circuit Board) with matching model numbers and PCB identifiers to minimize compatibility issues. After installing a donor board, the drive may power on successfully; however, further steps might be necessary for full functionality.
Performing ROM Chip Transfer: The Next Step
In some instances, even after swapping the controller board, the drive remains unrecognized by the host OS—often displaying errors such as “USB device not recognized.” This indicates that embedded firmware components, like the ROM chip, need to be transferred from the original board to the donor.
Expert consensus suggests that the ROM chip contains essential firmware information, including encryption keys, that must be preserved for the drive’s proper operation. Transferring this chip typically involves micro-soldering skills, as the ROM is a small, delicate component.
Identifying the Correct ROM Chip
A critical step is accurately identifying the ROM chip to be transferred. In this context, the chip labeled:
“WINBOND 25X20CLVIG 1524”
is likely the firmware/ROM on the original controller board. Ensuring that this specific chip is migrated to the donor board can restore the drive’s recognition and functionality.
Professional Assistance and Precautions
Given the complexity and precision required — especially when micro-soldering — it is strongly recommended to
Share this content: