Troubleshooting Non-Functional USB Ports on a New Motherboard: A Guide for ASUS X870 F Users
Introduction
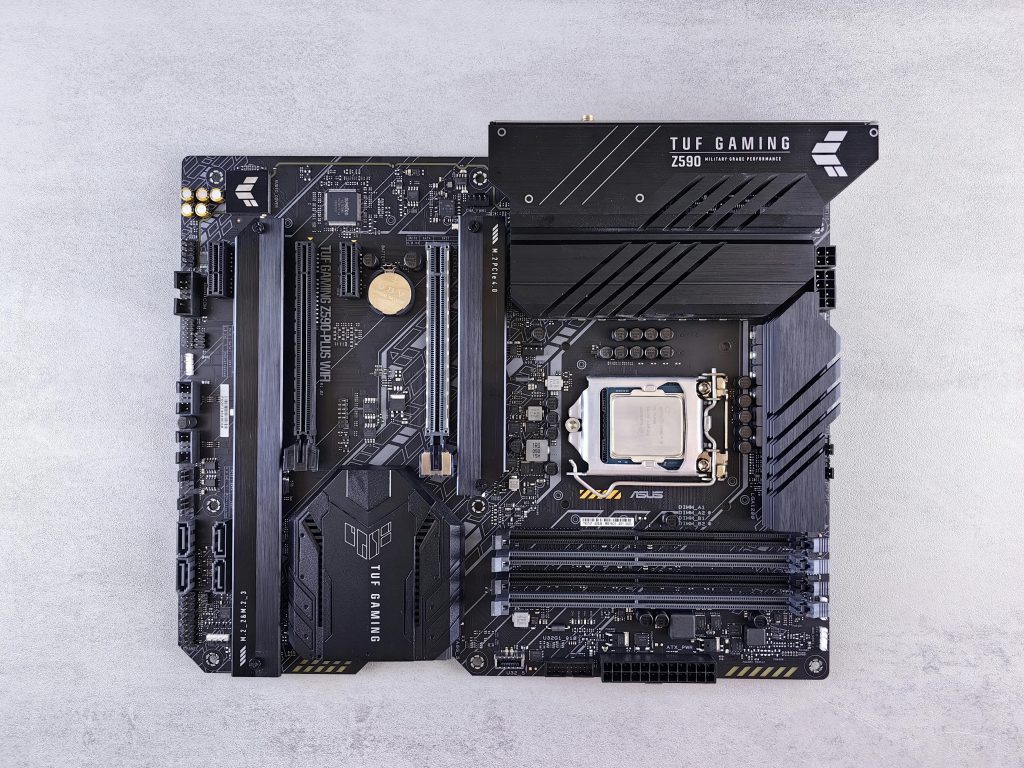
Setting up a new motherboard can be an exciting experience, but it often comes with unexpected challenges. One common issue faced by users is the failure of USB ports to function properly during the Windows installation process. If you’re experiencing this problem with your ASUS X870 F motherboard, you’re not alone. This article will explore the potential causes and provide step-by-step solutions to resolve USB port issues during OS installation.
Understanding the Issue
Many users report that while their USB ports function correctly within the BIOS environment, they become unresponsive during the Windows installation process. Specifically, peripherals such as keyboards and mice may not work, preventing successful OS setup. This problem can be confusing, especially when USB ports work fine in BIOS but fail during OS setup.
Common Symptoms include:
-
Unrecognized or unresponsive USB devices during Windows installation
-
RGB lighting on peripherals like mice turning off
-
Successful detection of USB devices in BIOS but not in the installer
-
USB ports working in Linux but not in Windows installer
Potential Causes
-
Missing or outdated motherboard chipset drivers
-
Compatibility issues with legacy USB support settings
-
BIOS configuration settings that affect USB functionality
-
Faulty or incompatible USB ports/hardware
-
Corrupted or incomplete BIOS firmware
Step-by-Step Troubleshooting
-
Verify BIOS Settings
-
Ensure all USB ports are enabled in the BIOS. Look for options related to USB configuration and legacy support.
-
Toggle the “Legacy USB Support” setting. Sometimes disabling and re-enabling legacy support can resolve compatibility issues.
-
Update your BIOS to the latest firmware version available from ASUS’s official website to ensure optimal compatibility.
-
Check BIOS Mode and Boot Settings
-
Experiment with enabling or disabling “Boot Legacy” options.
-
Disable Fast Boot if enabled, as it can sometimes interfere with USB recognition during OS installation.
-
Confirm that the boot mode (UEFI vs. Legacy BIOS) aligns with your installation media.
-
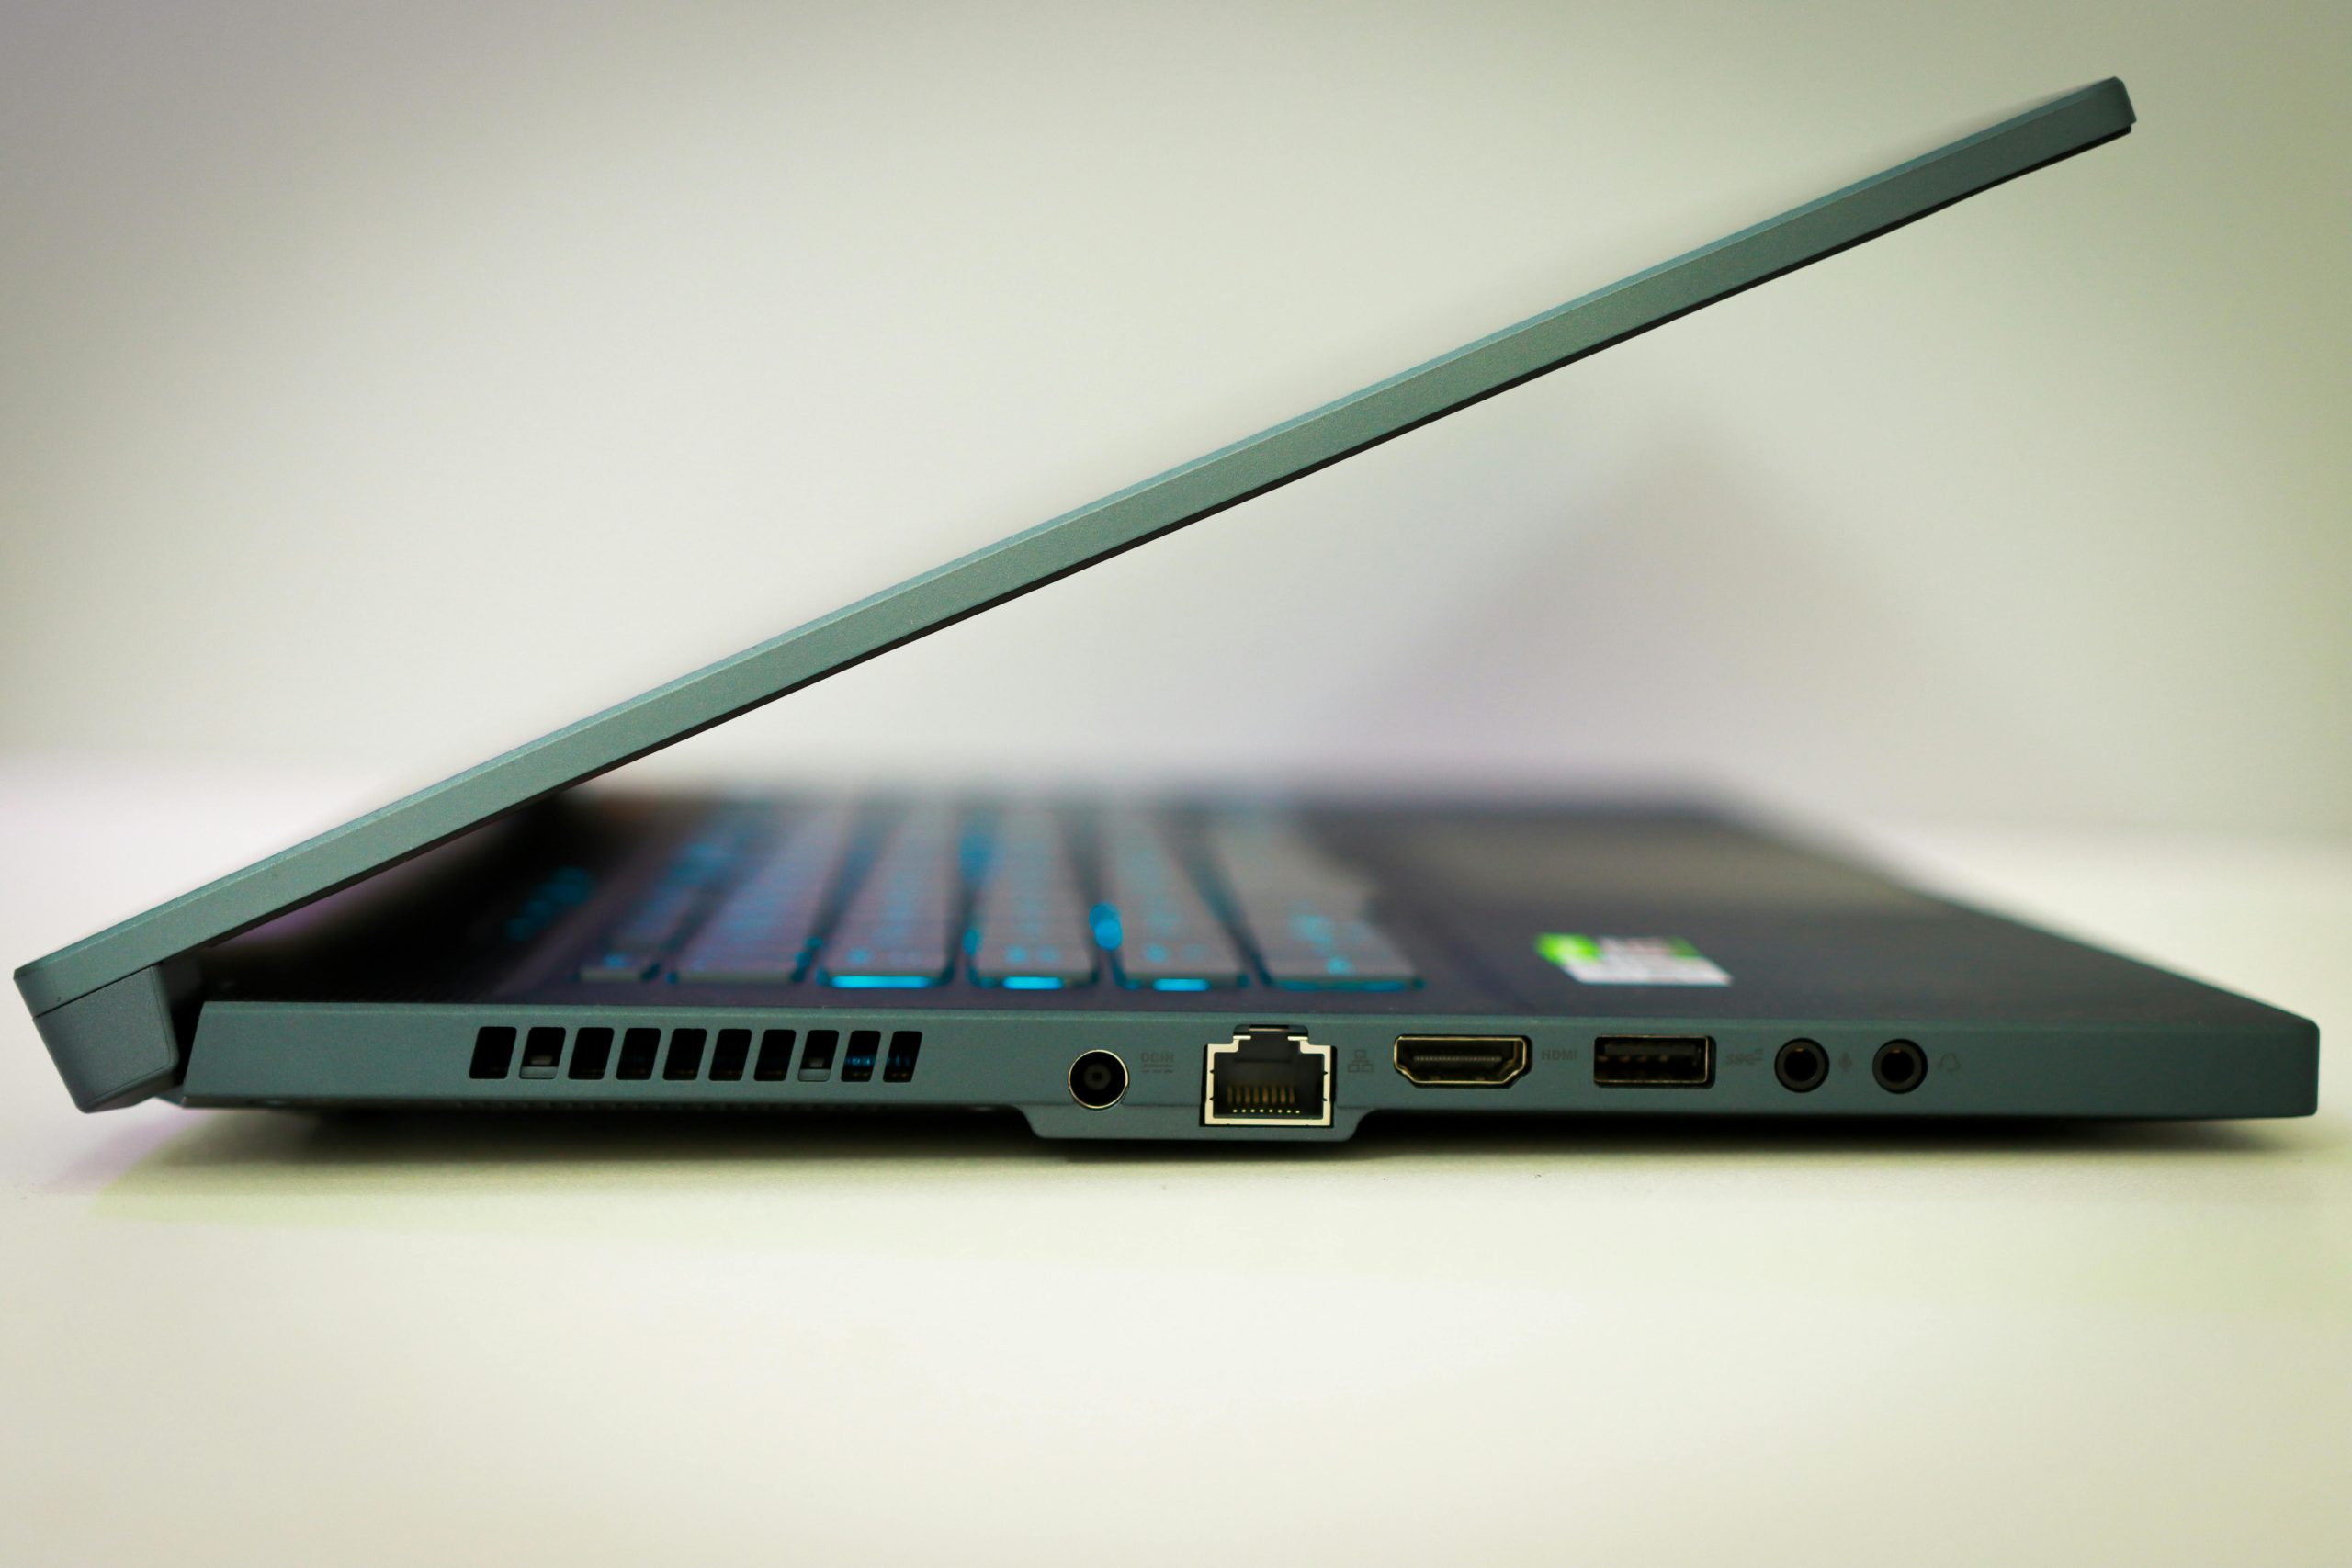
Use Compatible USB Ports and Devices
-
Prefer using USB 2.0 ports over USB 3.x ports for installation, as some motherboards have limited support for USB 3.x during early boot processes.
-
Connect peripherals directly to the motherboard’s rear ports, avoiding USB hubs or extension cables.
-
Prepare Windows Installation Media Properly
-
Create a bootable Windows 11 USB using tools like Rufus, selecting the appropriate
Share this content: