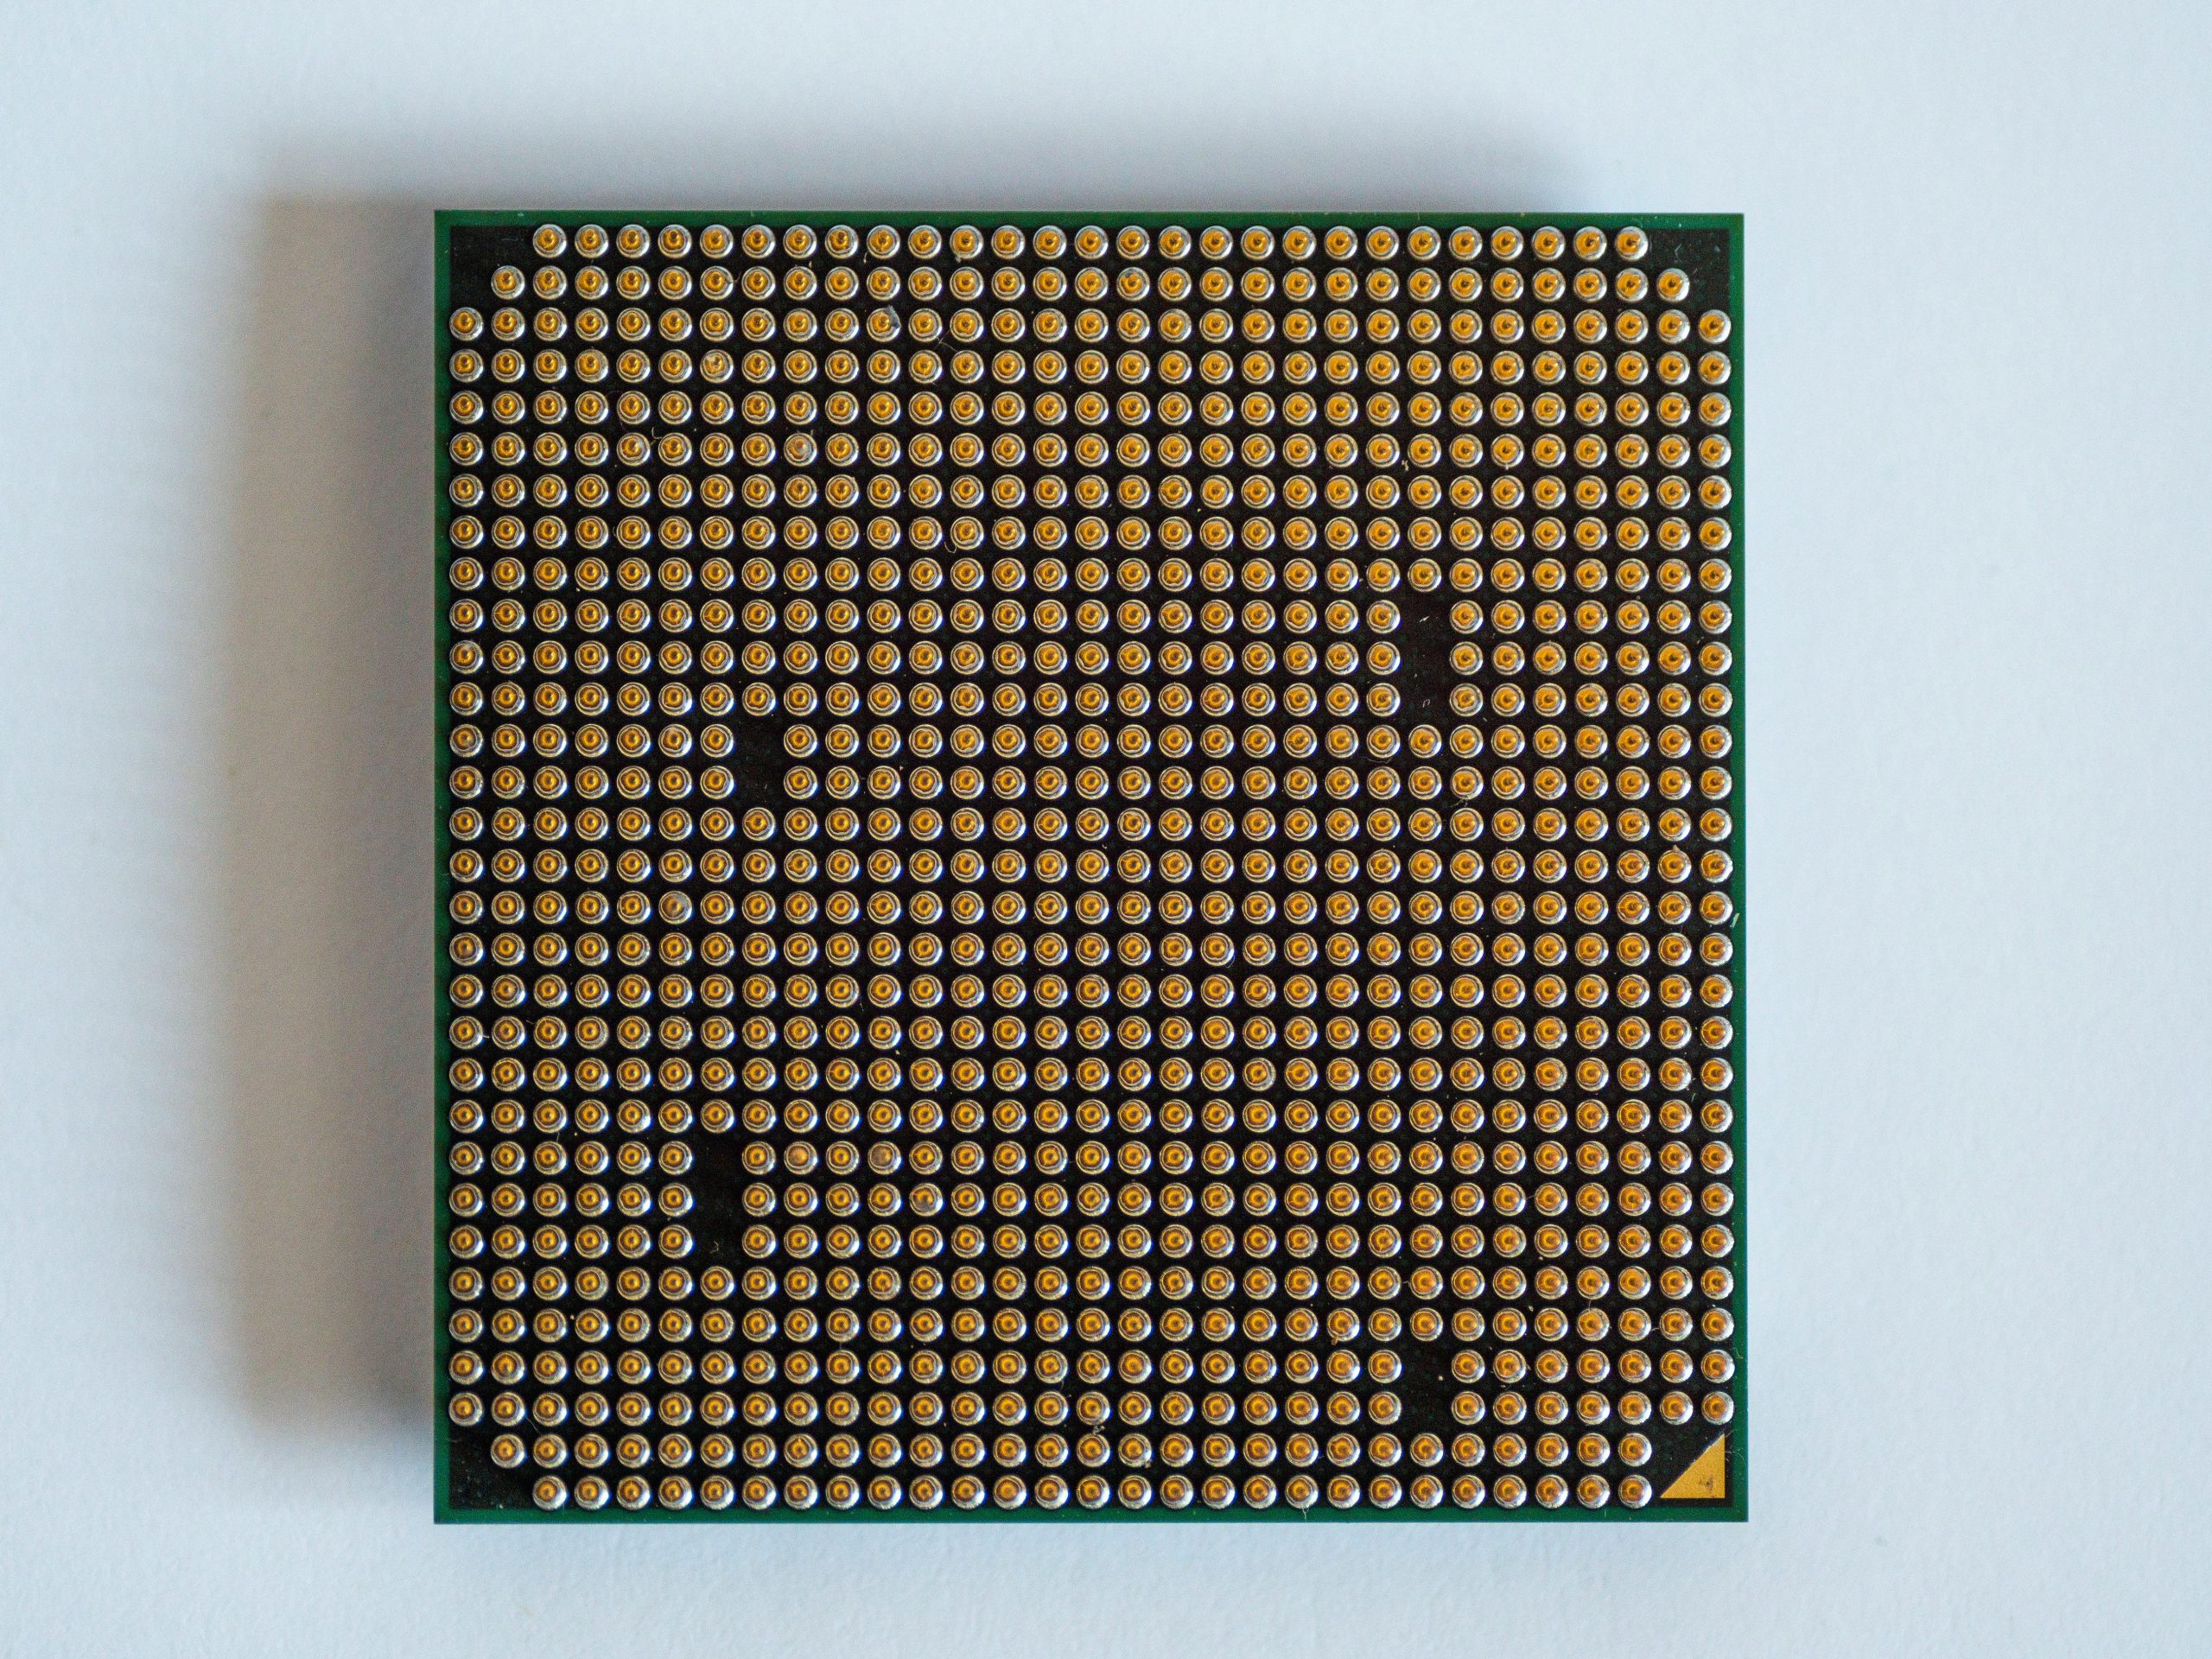
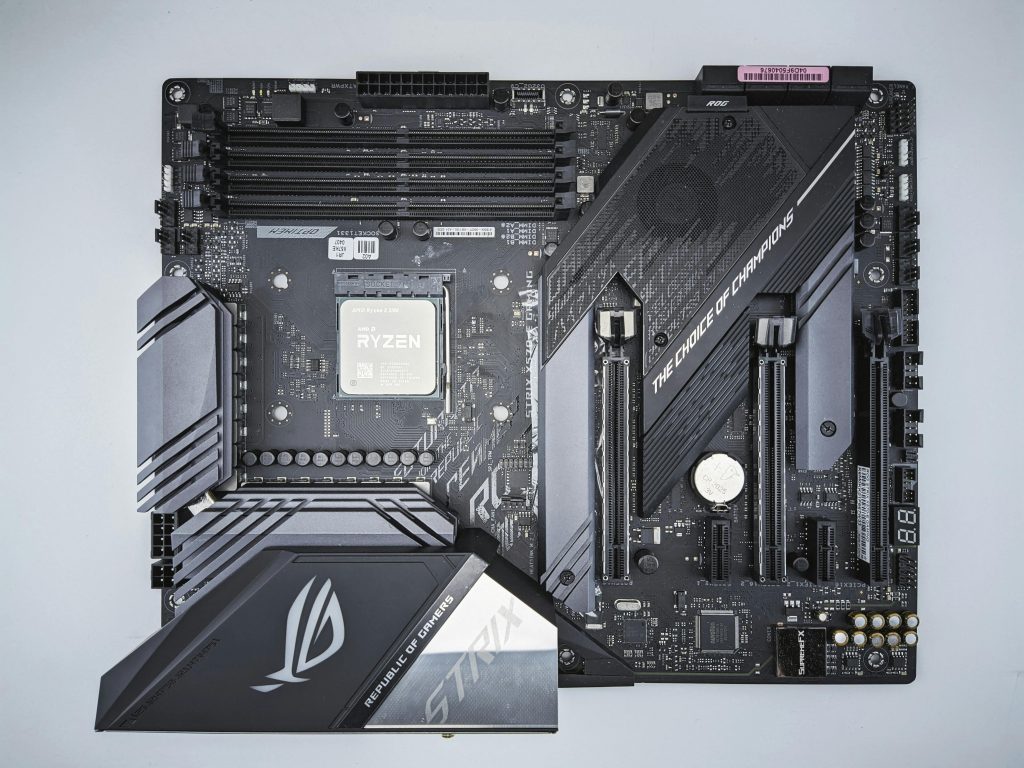
Successfully Removed My CPU: A Journey of Patience and Precision
Today, I tackled a task that I had been putting off for a while: removing my CPU from the motherboard. After grappling with various challenges, I can finally share my experience.
The process wasn’t as straightforward as I had anticipated. Despite following the recommended steps, I encountered several obstacles that made the removal more laborious than expected. The pins and clips were particularly tricky, requiring a gentle touch and a bit of finesse to ensure no damage occurred.
However, after some determination and careful maneuvering, I finally succeeded in detaching the CPU. This experience has not only boosted my confidence in handling PC components but has also given me a deeper appreciation for the intricacies involved in assembling and disassembling computer hardware.
For anyone looking to undertake a similar project, my advice is to be patient and to take your time. A calm approach can make all the difference. Happy building!
Share this content:


Hi, it sounds like you did a great job with your CPU removal! If you’re planning further hardware maintenance, here are some tips to ensure a smooth process:
If you encounter specific issues during removal or need further assistance, feel free to share details, and we can help troubleshoot further. Happy building and safe handling of your hardware!