Troubleshooting a Stubborn Screw: How to Safely Remove a Stripped Screw from Your Motherboard
Anyone who has worked on their PC knows that sometimes, projects don’t go as planned. If you’ve ever found yourself in a frustrating situation with a stripped screw, especially on a delicate component like a motherboard, you’re not alone. Today, we’ll explore strategies for dealing with this issue while keeping your hardware safe and sound.
The Challenge
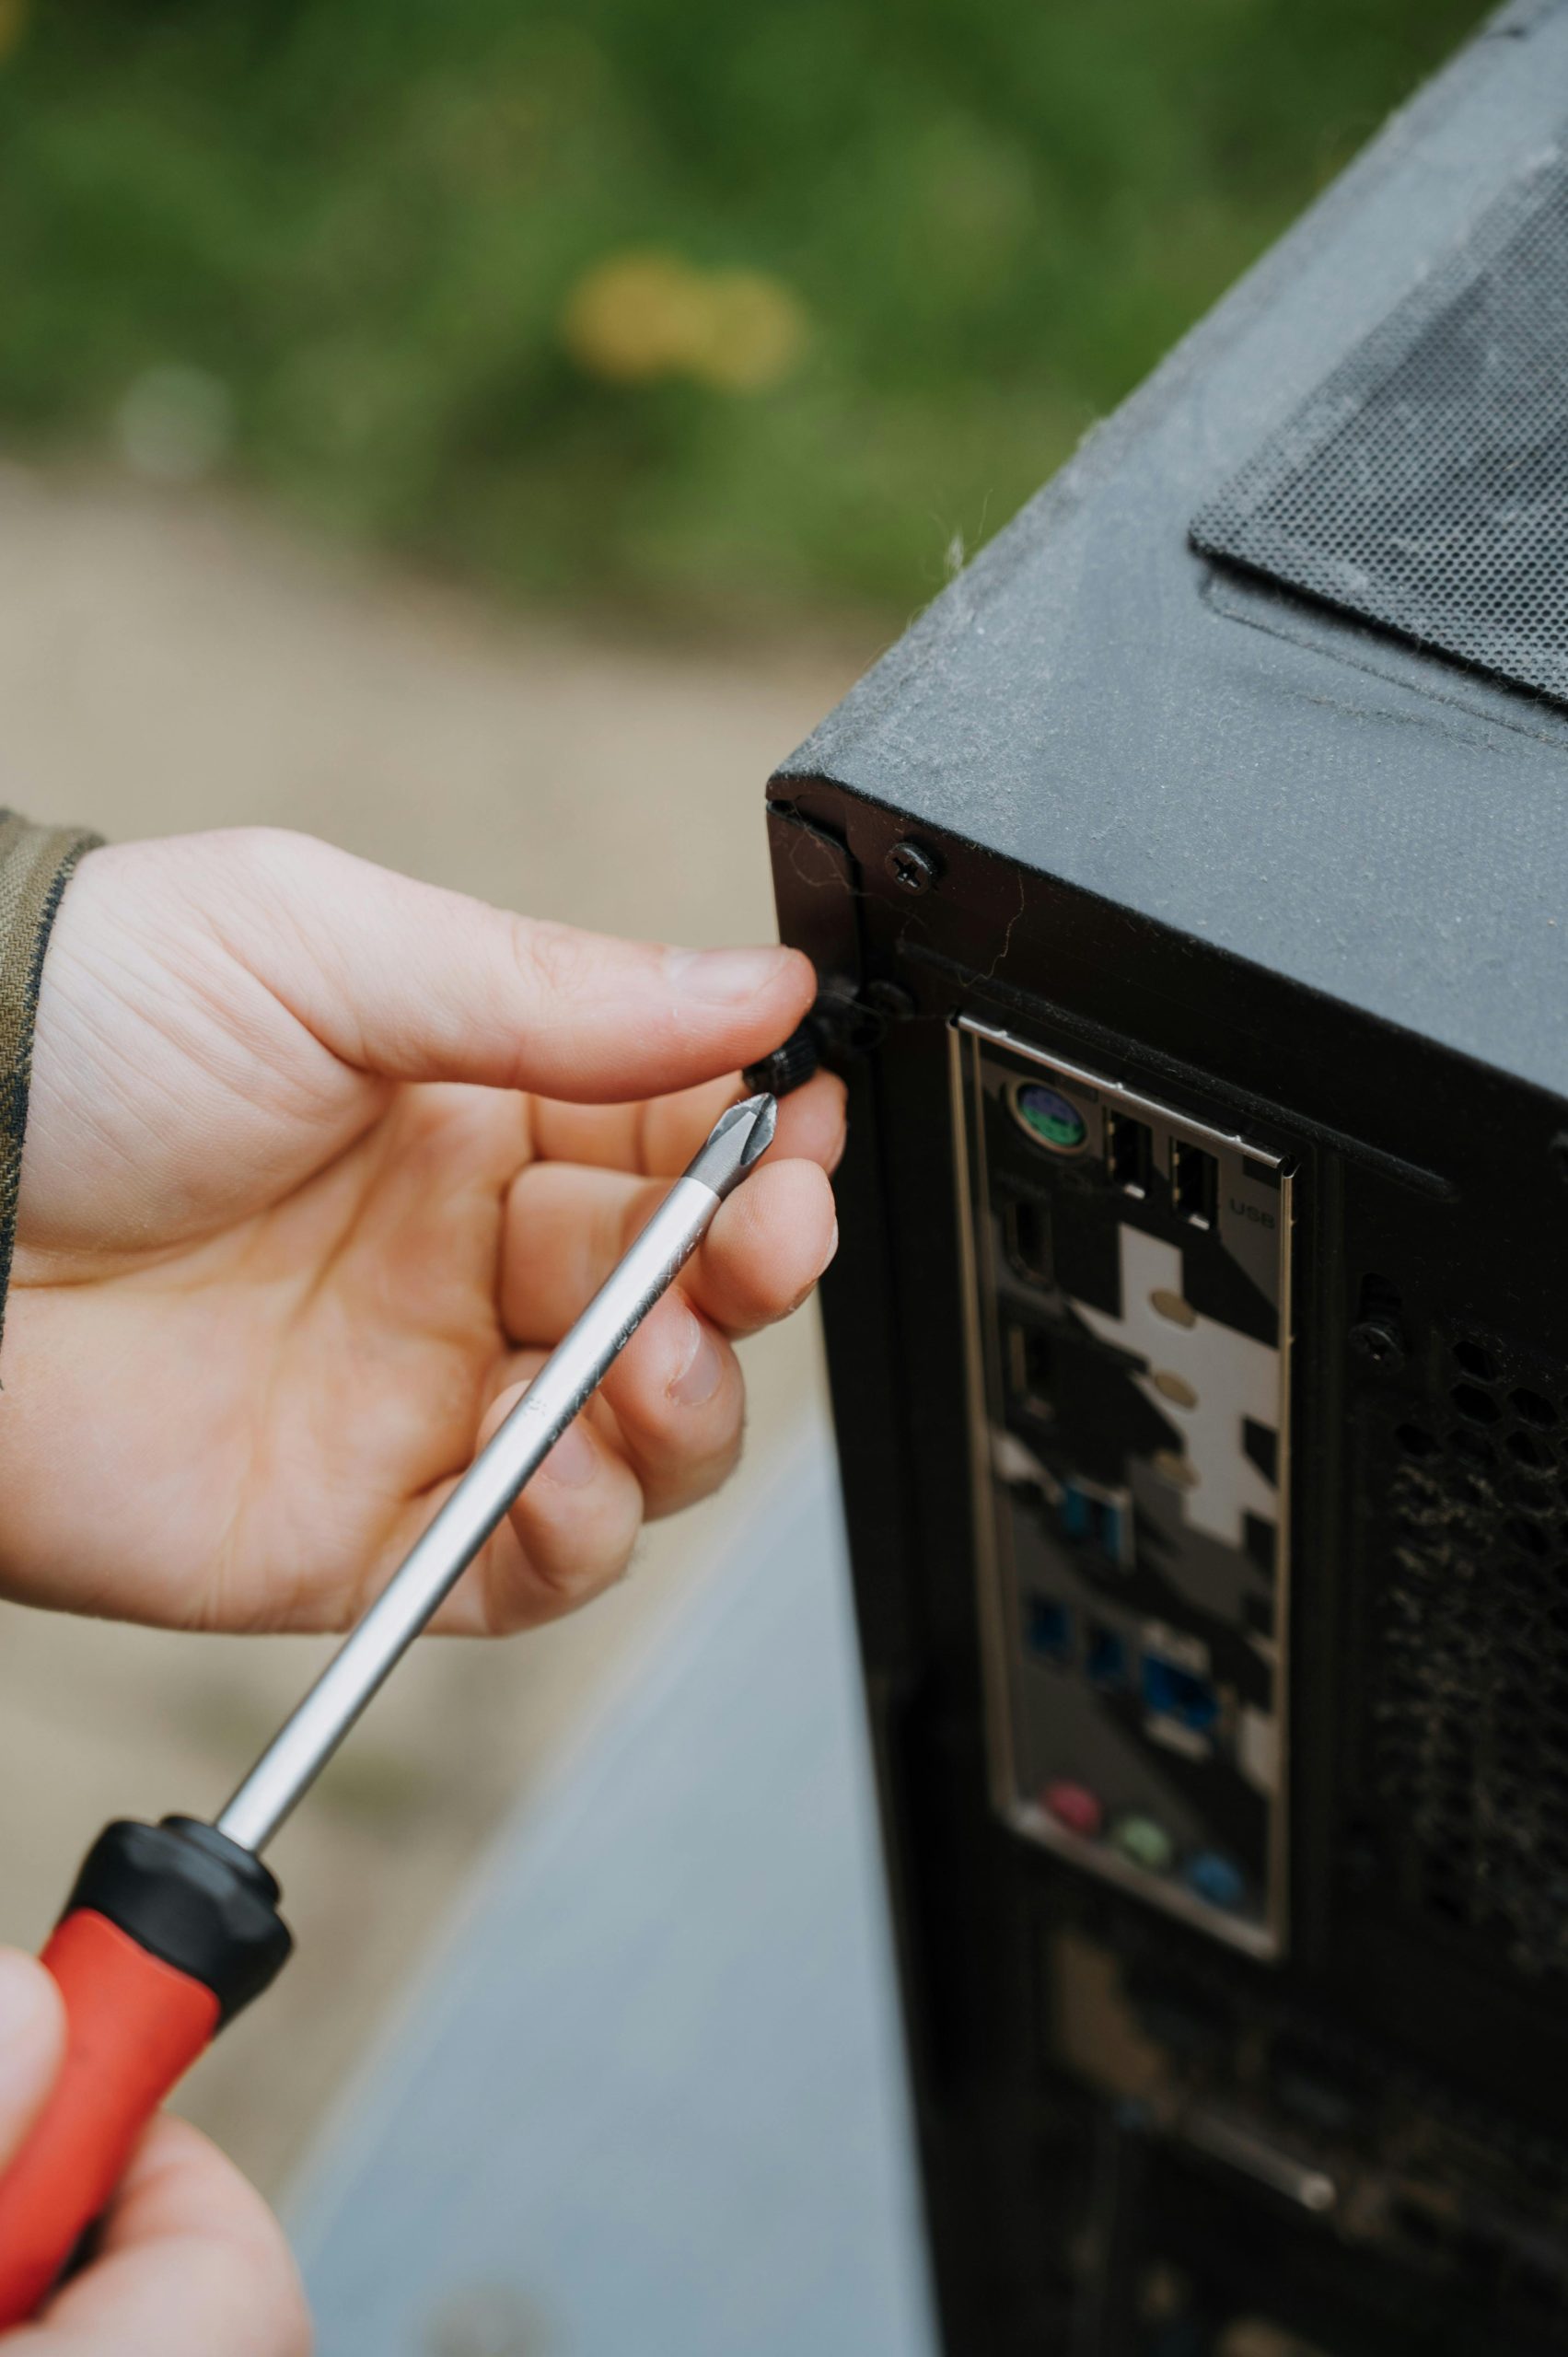
Having recently upgraded to an AM5 motherboard, you might encounter a situation where a screw simply refuses to budge while trying to detach the back holder bar for CPU cooler installation. After trying various methods—like using elastic bands, super glue, or tape—you may feel like you’ve only made the situation worse. It’s understandable to feel desperate, especially if you don’t have a Dremel tool on hand to make precision cuts.
Potential Solutions
While it’s easy to dwell on frustration, let’s look at some useful techniques for removing that stubborn screw:
1. Rubber Band Technique
If you haven’t already tried this, take a thick rubber band and place it over the stripped screw head. Use a screwdriver that fits snugly into the rubber band. The added grip might provide the friction necessary to loosen the screw.
2. Use a Flathead Screwdriver
If the screw is only slightly stripped, switching to a flathead screwdriver might give you better leverage. Press down firmly while turning and see if that helps.
3. Pliers for Extraction
If there’s enough of the screw head exposed, using locking pliers (or vice grips) can be a game-changer. Grip the screw tightly with the pliers and turn it counterclockwise. This method often provides the torque needed to free a stubborn screw.
4. Screw Extractor Kit
If you’re dealing with a significant dilemma, consider investing in a screw extractor kit. These tools are specifically designed for extracting stripped screws without causing further damage.
5. Drilling Out the Screw
If all else fails, and you can access the screw without damaging surrounding components, you could resort to carefully drilling it out. Make sure to use a small drill bit, and be very cautious to avoid damaging the motherboard.
Final Thoughts
It’s easy to feel overwhelmed in situations like these, but remember, patience and the right tools can lead to success. If you’re unsure or worried about causing more harm, don’t hesitate to seek help from a professional
Share this content:


Hi there,
Dealing with a stripped screw on your motherboard can be quite challenging, but there are several techniques you can try to remove it safely:
Always ensure your work area is static-free and handle tools gently to prevent damage. If unsure, consulting a professional technician is advisable. Good luck, and take your time—patience is key!