Help Needed: Navigating a Sticky Situation with My M1 MacBook Air Keyboard
Hello, fellow tech enthusiasts!
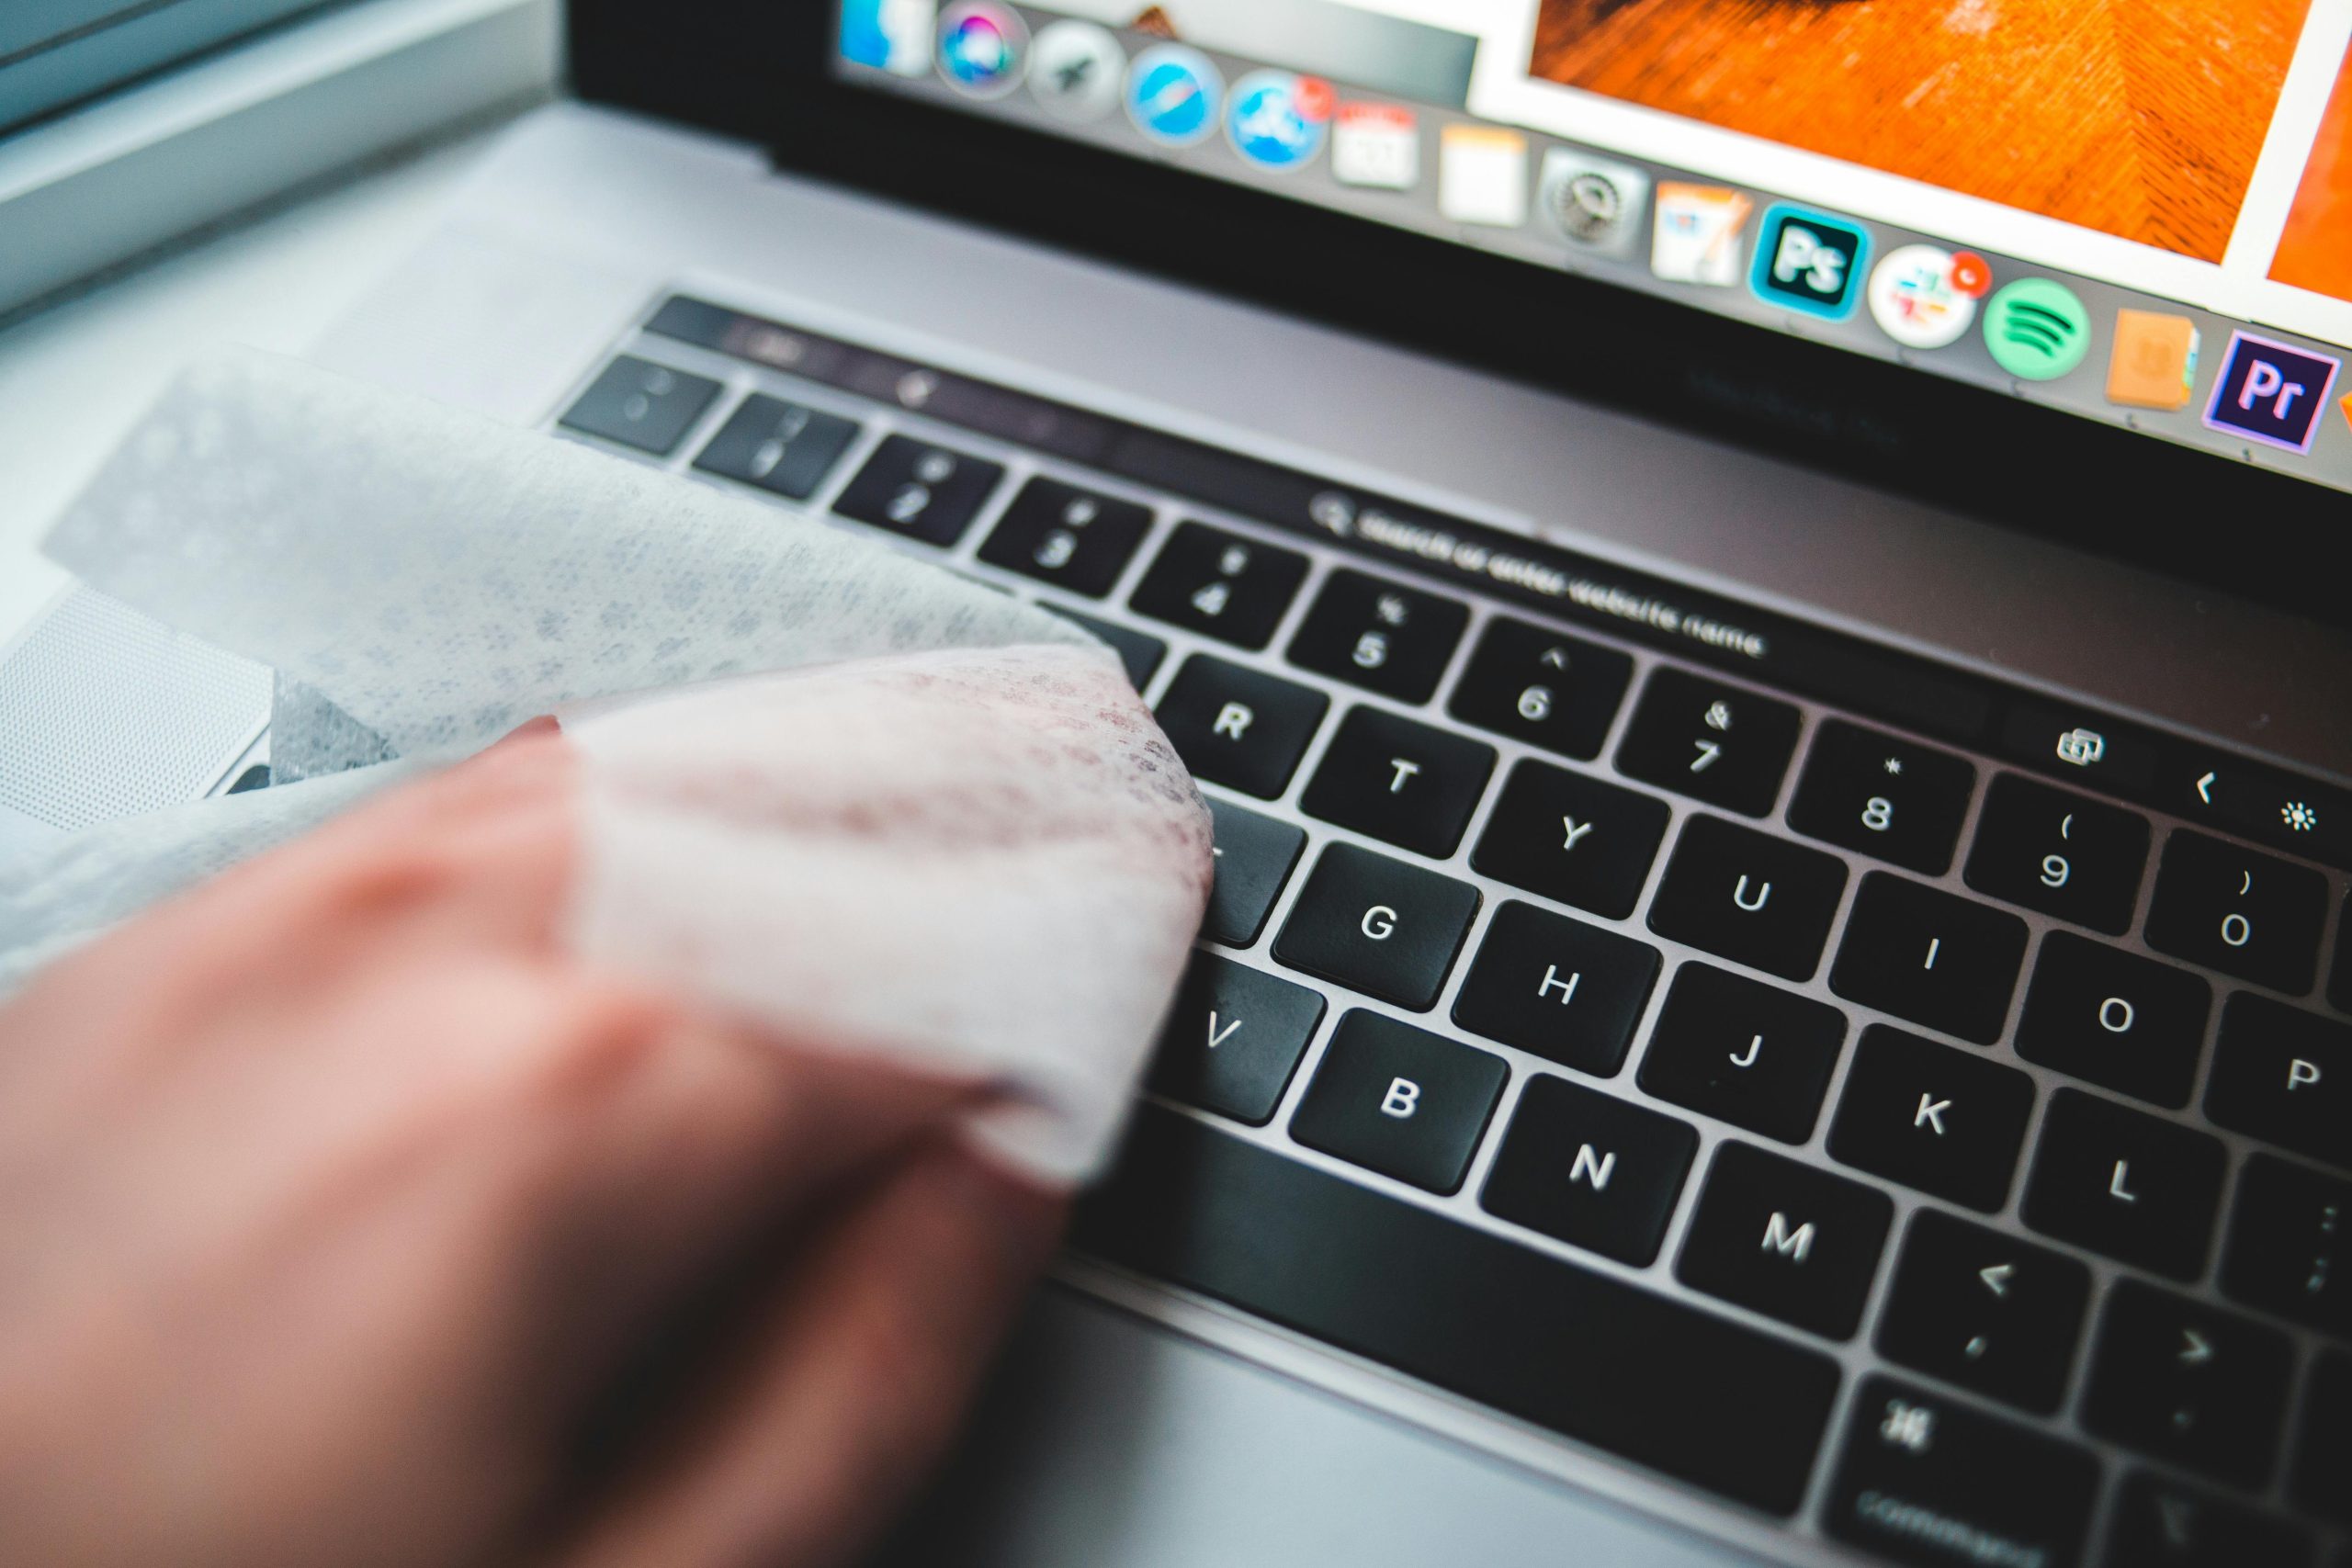
I recently found myself in a bit of a conundrum after attempting to clean the keyboard of my M1 MacBook Air. In a moment of spontaneity, I removed the keycaps for a more thorough cleaning, but now I’m faced with a dilemma: I can’t figure out how to reattach them.
If anyone has experience with keyboard assembly or can offer step-by-step guidance on how to put the keys back in place, I would greatly appreciate your insights. Your expertise could really help me resolve this issue and get my keyboard back in working order.
Thank you in advance for your assistance!
Share this content:


Reattaching Keycaps on Your M1 MacBook Air
Hello! It sounds like you’ve taken a brave step in cleaning your keyboard. Reattaching the keycaps on a MacBook Air can be a bit tricky, but with patience and the right approach, you can get your keyboard back to normal.
Steps to Reattach Keycaps:
Additional Tips: